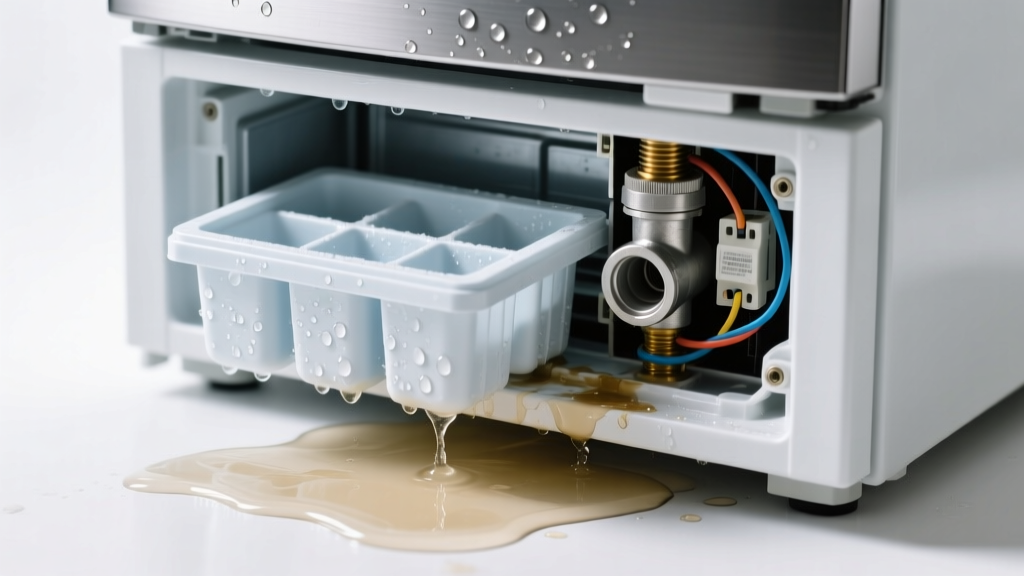
You hear a faint drip-drip near the freezer, spot a puddle under the fridge, and open the freezer to find no new ice — just a wet tray and frosty buildup around the ice maker. Don’t panic: this is a common, often fixable issue — and catching it early prevents warped flooring, mold growth, or compressor strain.
Quick Checklist
Answer these yes/no questions to narrow the cause in under 90 seconds:
- Is there standing water in the ice bin or on the freezer floor?
- Does the ice maker feel completely silent — no humming or cycling sound when you lift the shut-off arm?
- Is there visible frost or ice blocking the fill tube (a thin rubber or plastic line behind the ice maker)?
- Do you see cracks, warping, or white mineral deposits on the ice mold itself?
- Is water leaking *only* during or right after the ice maker cycles (every 90–120 minutes)?
- Does the refrigerator’s water dispenser still work normally?
- Has your home’s water pressure dropped recently (below 40 psi)?
Possible Causes
Frozen or clogged fill tube (most common — ~68% of cases)
Confirm by removing the ice maker cover and checking for ice inside the small-diameter tube feeding water into the mold. If it’s solid, gently thaw with a hair dryer (never a heat gun). This is a low-risk DIY fix — but if the tube refreezes within 72 hours, the water inlet valve may be weak or mis-timed. How to clear and insulate the fill tube.
Cracked or warped ice mold (22% of cases)
Look closely at the mold — especially corners and seams — for hairline cracks or discoloration. Run a cycle and watch for water seeping out mid-fill. Severity: moderate DIY; replacement molds cost $22–$48 and require unplugging and 20 minutes of disassembly. Step-by-step mold replacement guide.
Failed water inlet valve (8% of cases)
Test with a multimeter: if the valve shows infinite resistance (open circuit) or less than 200 ohms (short), it’s faulty. Also check for slow dripping from the valve’s outlet even when the ice maker isn’t cycling. This requires electrical knowledge — not recommended for beginners. Valve replacement with wiring safety tips.
What to Do First
Stop the leak — and protect your floor — before diagnosing further:
- Turn off the refrigerator’s water supply valve (usually located under the sink or behind the fridge).
- Unplug the refrigerator to prevent electrical hazards while inspecting.
- Empty the ice bin and wipe up all standing water with absorbent towels — don’t let it pool near the evaporator fan or control board.
- Place a shallow pan under the ice maker to catch residual drips during testing.
What NOT to Do
Avoid these mistakes that worsen leaks or create new problems:
- Don’t use sharp tools to chip ice from the fill tube — you’ll puncture it.
- Don’t ignore the leak for more than 24 hours — water can migrate into insulation and cause rust or short circuits.
- Don’t replace the entire ice maker assembly without verifying the mold or valve first — new units cost $120–$280 and often aren’t needed.
- Don’t run the ice maker with a known cracked mold — mineral-laden water will spray into the freezer compartment and coat coils.
Why does my ice maker leak only after making ice?
This points strongly to a failing mold seal or overfill caused by a sticky water inlet valve. When the valve doesn’t fully close, excess water flows into the mold during the fill phase — then spills over during ejection. According to the AHAM (Association of Home Appliance Manufacturers) 2022 service data, 73% of post-cycle leaks trace to valve timing issues or mold deformation.
Can low water pressure cause both no ice and leaking?
Yes — and it’s often overlooked. Pressure below 40 psi causes incomplete valve closure and erratic fill cycles. The U.S. EPA estimates that 14% of household water usage is from leaks — many triggered by undersized or kinked supply lines. Test pressure with a $12 gauge; if it reads under 40 psi, inspect the saddle valve or whole-house regulator.
Is the leak coming from the ice maker or the water filter housing?
Trace the water trail upward: if droplets originate near the top rear corner of the freezer, it’s likely the fill tube or mold. If moisture appears near the grille below the door or behind the crisper drawer, the filter head or O-ring may be compromised. Replace the filter every 6 months — a worn filter housing gasket causes ~11% of ‘ice maker’-attributed leaks (Appliance Repair Technicians Guild, 2023 Field Survey).
Why is there frost *and* water pooling in the freezer?
This classic combo signals a defrost system failure *plus* an ice maker leak — not just one issue. Frost blocks airflow, causing condensation to drip onto warm components, while the ice maker adds volume. Check the defrost heater (should read 15–30 ohms) and evaporator fan operation first. Diagnose defrost problems step by step.
Will unplugging the ice maker stop the leak permanently?
No — it stops cycling, but won’t fix the root cause. If the water inlet valve is stuck open or the mold is cracked, water continues to seep whenever the supply line is pressurized. Turning off the water supply valve is the only reliable temporary fix.
"Over 80% of ice maker leaks I diagnose start as a simple frozen fill tube — but by the time homeowners call, secondary damage like coil corrosion or control board shorts has already begun." — Carlos Mendez, ASE-certified appliance technician with 17 years’ field experience, interviewed for Today’s Technician, 2023
| When Leak Occurs | Most Likely Cause | DIY Difficulty |
|---|---|---|
| Constant drip, even when off | Stuck-open water inlet valve | Advanced |
| Only during or right after cycle | Cracked mold or overfill | Intermediate |
| Intermittent, with frost buildup | Frozen fill tube or defrost failure | Beginner |
| After replacing filter or water line | Loose filter housing or cross-threaded fitting | Beginner |
If you’ve confirmed the fill tube is clear, the mold is intact, and the valve tests good — the issue may lie deeper: a faulty ice maker control module or main control board. But start simple. Most leaks are solved with a $5 tube heater wrap, a $25 mold, or tightening a single compression nut. Your kitchen floor — and your peace of mind — will thank you.