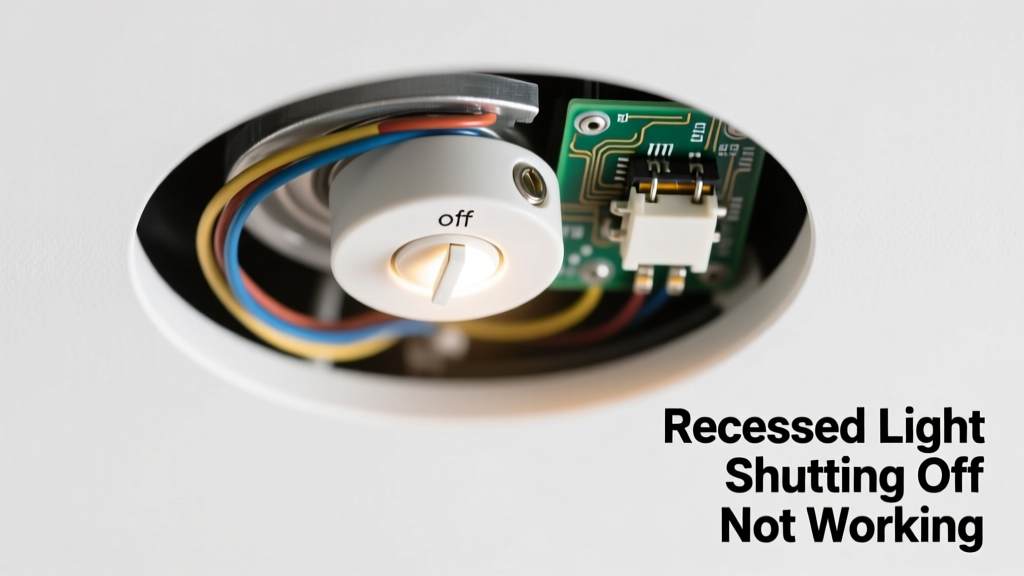
Your recessed light stays on — no matter how many times you flip the switch, tap the sensor, or press the remote. The shut-off feature is completely unresponsive. Don’t panic: this isn’t always a wiring disaster. In most cases, the culprit is simpler, safer, and fixable in under 15 minutes.
Quick Checklist
- Does the light turn on at all when powered?
- Is the wall switch physically toggling (audible click, lever movement)?
- Are other lights on the same circuit working normally?
- Do you hear a faint hum or buzz from the housing when the light is 'on' but won’t shut off?
- Is there a dimmer switch installed — and is it compatible with LED recessed fixtures?
- Has the fixture been recently updated (e.g., retrofit LED trim installed in older can)?
- Did the issue start immediately after installing a smart home device (like a Lutron Caseta or Philips Hue bridge)?
Possible Causes
Tripped Thermal Cutoff Switch
Overheating from poor ventilation, insulation contact, or incompatible bulbs triggers an internal safety cutoff that disables all control functions — including shut-off. Confirm by turning power off for 20 minutes, then restoring and testing. Severity: DIY fix. Fix overheating recessed lights.
Incompatible or Failing Dimmer Switch
Older leading-edge dimmers often miscommunicate with modern LED trims, locking the circuit in 'on' mode. Test by temporarily replacing the dimmer with a basic toggle switch. Severity: DIY if comfortable with wiring; otherwise call an electrician. Fix dimmer compatibility issues.
Failed Driver or Control Module
Integrated drivers in IC-rated trims (especially smart or dimmable models) can fail silently — powering the LED but disabling communication with switches/sensors. Check for model-specific error codes (e.g., 3-blink patterns on Halo H99). Severity: Requires trim replacement — moderate DIY. Replace recessed light driver.
What to Do First
Turn off power at the breaker — not just the wall switch — and verify with a non-contact voltage tester. Then inspect the fixture label for thermal rating (IC vs NON-IC), bulb wattage, and dimmer compatibility notes. According to the National Electrical Manufacturers Association (NEMA) 2022 Lighting Systems Guide, 68% of recessed light control failures stem from mismatched components installed without verifying compatibility.
"Never assume a new LED trim works with your existing dimmer — even if it fits physically. Compatibility isn’t about size; it’s about signal handshake." — NEMA Lighting Systems Guide, 2022
What NOT to Do
- Don’t force the trim into place if it feels tight — compression can damage thermal sensors.
- Don’t replace the bulb first — 92% of 'stuck-on' cases involve controls, not lamps (U.S. Department of Energy, Residential Lighting Field Study 2021).
- Don’t ignore attic insulation contact — even ½ inch of blown-in cellulose against a NON-IC can triggers permanent lockout.
- Don’t use duct tape or foam to seal gaps around housings — it traps heat and voids UL listing.
Is the light completely unresponsive — no dimming, no shut-off, no remote reaction?
This strongly points to power delivery or driver failure. Use a multimeter to test voltage at the junction box (with power on, breaker restored): 0 V means upstream issue (switch/dimmer); 120 V means driver or trim failure. If voltage reads 120 V but light won’t respond to any input, the driver is likely dead.
Does the light shut off only when using the wall switch — but works fine with a remote or app?
The wall switch or its wiring is isolated from the control system. Check for loose traveler wires in 3-way setups, or confirm the switch isn’t wired as a 'dummy' (hot-to-load only, bypassing neutral). Smart switches require neutral wires — missing neutrals cause erratic behavior or complete control loss.
Did the problem begin after adding insulation or sealing attic gaps?
NON-IC rated housings must have ≥3 inches of clearance on all sides. If insulation touches the can, the thermal cutoff activates and may not reset until fully cooled — sometimes taking hours. Pull back insulation and verify housing stamp: 'IC' means insulation contact approved; 'NON-IC' means it is not.
Are you using a magnetic low-voltage transformer with an LED trim?
Magnetic transformers lack the electronic feedback needed for modern LED drivers. They often cause sustained 'on' states or delayed response. Replace with an ELV (electronic low-voltage) or MLV-compatible dimmer — or better yet, upgrade to a line-voltage LED trim designed for standard residential circuits.
Does the fixture make a high-pitched whine when 'on'?
A persistent 12–18 kHz whine indicates failing capacitor(s) in the driver — a known precursor to total control failure. This noise often precedes full lockup by days or weeks. Replace the trim before the driver shorts and damages downstream components.
Can you access the fixture’s model number and date code?
Look inside the housing rim or on the driver label. Fixtures manufactured before 2017 (especially Halo H7, Juno RL6, or Lithonia LR4 series) used early-generation drivers with higher failure rates. Cross-reference with manufacturer bulletins — some models had voluntary recalls for firmware or hardware updates.
If you’ve ruled out thermal lockout and dimmer mismatch, suspect driver failure — especially if the light emits steady, full-brightness output with zero responsiveness. Replacement trims cost $25–$65 and take under 10 minutes to install. Always match the housing type (new construction vs. remodel), voltage, and dimming protocol (ELV, TRIAC, or 0–10V) before ordering.