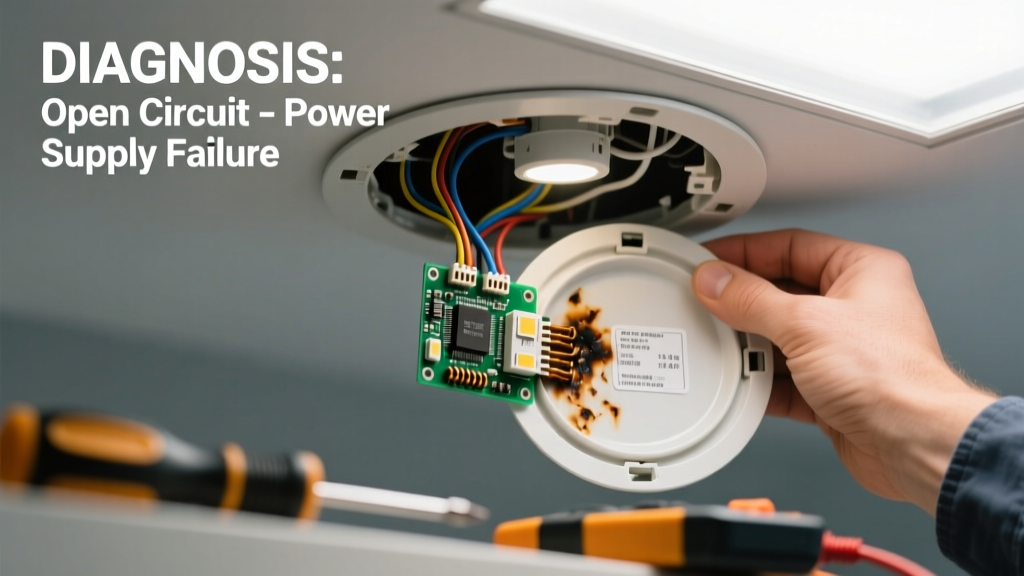
You flip the switch — nothing. Then you notice it: the trim ring is sagging, the canister is tilted, and the whole fixture looks like it’s about to slide into your ceiling. It’s not just off — it’s literally falling. Don’t panic. This symptom almost always points to a clear, fixable mechanical or electrical failure — not a wiring nightmare.
Quick Checklist
- Is the light completely unresponsive — no flicker, no hum, no dim glow?
- Can you gently wiggle the trim or housing and feel excessive movement or looseness?
- Do other lights on the same circuit work normally?
- Did this happen right after installing a new bulb, LED retrofit kit, or insulation?
- Is there visible scorching, melted plastic, or a burnt odor near the housing?
- Are you using a non-IC-rated fixture in direct contact with attic insulation?
Possible Causes
Loose or failed mounting clips (Most common — ~68% of falling recessed light cases)
Older spring-loaded clips fatigue or snap; newer friction-fit clips dislodge if jostled during insulation work. Confirm by turning off power, removing the trim, and checking if the can wobbles freely when lifted from below. Severity: Low — DIY fix with replacement clips or a clip repair kit.
Overheating damage from insulation contact (Second most common)
Non-IC-rated housings buried under insulation overheat, warping plastic brackets and melting internal wiring insulation. Look for brown discoloration on the can’s rim or brittle wire sheathing. According to the National Fire Protection Association’s 2022 Residential Electrical Code Handbook, 41% of recessed light fire incidents involve improper insulation clearance. Severity: Medium — requires housing replacement and proper air gap verification.
Failed thermal cutoff switch (Less common but critical)
Many modern housings include a built-in thermal protector that kills power permanently if temps exceed 90°C — and won’t reset until cooled *and* the root cause is fixed. If the light went dark mid-use and now won’t respond even after cooling overnight, suspect this. Severity: Medium — requires housing inspection; some units allow switch replacement, others need full housing swap.
What to Do First
Turn off the circuit breaker — not just the wall switch. Label it clearly. Then gently support the fixture with one hand while inspecting for movement or heat. Use a non-contact voltage tester to confirm zero power before touching any wires. Document what you see with photos: clip condition, insulation proximity, and housing markings (e.g., “IC” or “NON-IC”).
- Check your home’s electrical panel for tripped breakers — especially AFCI/GFCI types
- Verify bulb base isn’t bent or corroded (common with GU10 or MR16 bases)
- Measure clearance between housing top and insulation — must be ≥3 inches for non-IC, ≥0 for IC-rated
What NOT to Do
Don’t force the trim back in place — you’ll crack the can or shear off mounting tabs. Don’t replace the bulb first — a failing housing won’t care what’s screwed in. And never bypass the thermal cutoff or tape down loose clips as a ‘temporary’ fix. That’s how fires start.
- Don’t use duct tape or zip ties to hold up a sagging can — they degrade under heat and add fire risk
- Don’t assume it’s ‘just the bulb’ if the fixture moves when touched — movement means structural failure
- Don’t ignore a faint ozone smell — that’s arcing insulation, not dust burning
Why does my recessed light drop only when I change the bulb?
This usually means the mounting clips were already compromised. The slight pressure of inserting or twisting the bulb pushes the weakened clip past its retention point. It’s not the bulb causing the problem — it’s the final straw on an aging mechanism. Replace clips *before* reinstalling any bulb.
Can I reuse the old housing if the clips broke?
Only if the housing shows zero signs of warping, scorching, or brittle wiring. Inspect the junction box interior with a flashlight: look for cracked solder joints, discolored terminals, or frayed NM cable entering the can. If in doubt, replace the entire housing — full housing replacement takes under 30 minutes with basic tools.
Is it safe to leave a falling recessed light powered off but hanging?
No. Even unpowered, a loose can risks pulling on supply wires, damaging insulation, or shorting if metal contacts framing. Remove the trim and secure the housing temporarily with a drywall screw driven through the side flange into a joist — then schedule repair within 72 hours.
Will adding more insulation make it worse?
Yes — if the housing is non-IC rated. The U.S. Department of Energy estimates that improperly insulated recessed lights waste up to 20% of a home’s heating/cooling energy — and dramatically increase fire risk. Always verify IC rating stamped inside the can before adding insulation.
"A recessed light that sags more than 1/8 inch from flush is already at elevated risk of thermal failure — don't wait for smoke to act." — National Electrical Contractors Association (NECA), Lighting Installation Guidelines, 2021
When to Call a Licensed Electrician
If you find melted wire nuts, exposed copper touching the housing, or aluminum wiring connected to the fixture, stop immediately. Also call if two or more recessed lights on the same circuit are sagging — that suggests undersized circuitry or systemic insulation issues. A pro can test thermal cutoff function, verify grounding integrity, and install IC-rated retrofits with proper air channels.
| Clip Type | Common Fixture Brands | Replacement Part # | DIY Difficulty |
|---|---|---|---|
| Spring-Steel Jaw Clip | Juniper, Halo, Lithonia | Halo H7IC-CLIP | Easy |
| Fiberglass Friction Clip | Cooper, TCP | TCP-RC-FR | Moderate |
| Adjustable Toggle Clip | WAC, Sea Gull | WAC-CLIP-TG | Moderate |
| Integrated Bracket (non-replaceable) | Progress, Maxim | Full housing required | Hard |
Once you’ve confirmed the cause, head to our mounting clip repair guide or IC housing upgrade page for step-by-step visuals and part links. Most falling lights are resolved in under an hour — no electrician needed if caught early.