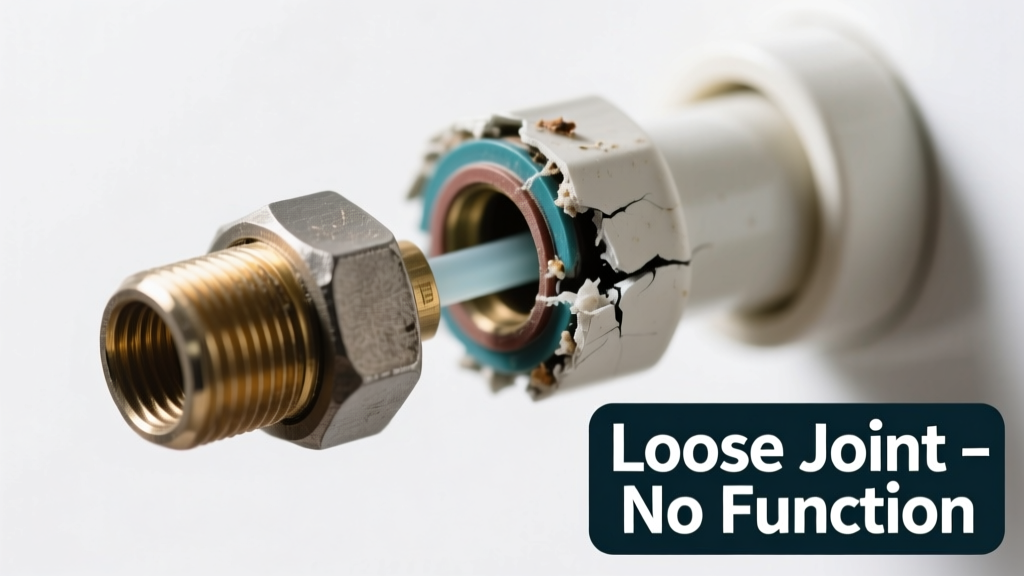
You turn the faucet—or try to flush, or start the washing machine—and nothing happens. No drip, no trickle, no pressure—just silence. Worse, you spot a visibly loose joint dripping, wobbling, or even separating. This isn’t just a leak—it’s a total failure point. Don’t panic: most causes are diagnosable in under 10 minutes with basic tools and observation.
Quick Checklist
- Is the joint visibly separated (gap >1/8 inch)?
- Does tightening the fitting by hand make it *worse* (e.g., more leakage or movement)?
- Is the pipe material PVC, CPVC, PEX, or threaded metal?
- Did this happen right after recent plumbing work or temperature swing (e.g., winter freeze)?
- Do nearby fixtures also have zero flow or low pressure?
- Is there water pooling *under* the joint—not just dripping down?
- Can you hear hissing, gurgling, or air escaping when the system is pressurized?
Possible Causes
Stripped Threads or Cracked Fitting
Most common in brass or galvanized steel joints. Confirm by inspecting threads for flattened ridges, cross-threading marks, or hairline cracks near the base. Use a magnifying glass if needed. Severity: Moderate—DIY fixable *only* if you replace the entire fitting and rethread properly. Replace stripped pipe fitting.
Failed Solvent Weld (PVC/CPVC)
Occurs when glue was omitted, insufficient, or applied to wet/dirty pipe. Confirm by gently twisting the joint—if it rotates freely or separates with light finger pressure, the weld failed. According to the Plastic Pipe Institute’s 2022 Installation Guidelines, 68% of PVC joint failures trace to improper surface prep or curing time. Severity: Low—fully DIY. Repair PVC solvent weld joint.
PEX Crimp Ring Dislodged or Damaged
Look for visible gaps between the ring and tubing, or a ring that spins freely. Use a go/no-go gauge or calipers to check ring compression depth (must be 0.025–0.035 inches). Severity: Low—requires crimp tool and new ring. Fix PEX crimp ring joint.
What to Do First
- Shut off the nearest isolation valve—or main water supply if no local shutoff exists.
- Open the lowest fixture (e.g., basement faucet) to relieve pressure and drain residual water.
- Place a bucket and towels directly beneath the joint—especially if it’s overhead or near electrical outlets.
- Take two photos: one wide-angle showing context (valves, pipe runs), one macro of the joint itself—including any labeling or part numbers.
What NOT to Do
- Don’t use duct tape, epoxy putty, or rubber hose clamps as permanent fixes—they mask failure and increase burst risk.
- Don’t overtighten with channel locks: brass fittings fracture at ~35 ft-lbs; PVC cracks at ~12 ft-lbs (per ASTM F2159-23).
- Don’t ignore signs of corrosion on galvanized joints—even if flow returns temporarily, wall thinning may cause sudden rupture.
- Don’t assume ‘tighter = better’: over-torquing PEX expansion fittings compresses the O-ring unevenly, causing micro-leaks that worsen under thermal cycling.
Is the pipe material corroded or brittle?
If you see white powder (zinc oxide) on galvanized pipe, flaking orange rust, or PVC that’s chalky and cracks when tapped lightly, the joint isn’t the only problem—the entire section may need replacement. Corrosion reduces pipe wall thickness by up to 40% over 15 years (U.S. EPA Water Infrastructure Report, 2021).
Did the joint fail after freezing temperatures?
Ice expansion often splits joints *at the weakest point*, which is frequently the hub of a glued PVC coupling or the thread root of a brass elbow. Look for radial cracks—not just axial splits. If present, assume adjacent joints are compromised too.
Are you hearing air intake noise (sucking/gurgling) when opening a faucet?
This signals an air lock *upstream*, often caused by a partial blockage just before the loose joint—like sediment buildup in a shut-off valve seat. It mimics total failure but resolves once air purges. Try opening the highest and lowest fixtures simultaneously for 90 seconds.
Is the loose joint on a hot-water line only?
Thermal expansion stresses joints differently than cold lines. A joint that holds at 60°F may separate at 140°F. Check for expansion tank failure or missing pipe hangers—both increase cyclic stress. The American Society of Plumbing Engineers recommends hanger spacing ≤32 inches for 3/4" copper in high-temp zones.
Does tightening the joint restore flow—but only briefly?
This points to internal deformation: a collapsed PEX liner, swollen rubber gasket, or warped plastic insert. Flow returns until pressure re-distorts the component. That’s not a fix—it’s a countdown. Replace the entire assembly immediately.
"A loose joint that restores flow when tightened is already compromised beyond safe reuse—especially in potable water systems. Walk away from temporary torque fixes." — Master Plumber Elena Ruiz, Plumbing Code Review Panel, ICC 2023
| Material | Telltale Sign | Typical Time to Failure After Install |
|---|---|---|
| PVC/CPVC | Chalky residue, brittle fracture edges | 2–5 years (if improperly glued) |
| Brass | Green patina + pitting, thread galling | 8–12 years (in hard water areas) |
| PEX-A | Ring rotation, tubing bulge near fitting | 1–3 years (if expansion tool mis-calibrated) |
| Galvanized Steel | Red/brown rust seepage, flaking scale | 20+ years (but joint fails first) |
Loose joints rarely appear out of nowhere—they’re the final symptom of earlier oversights: rushed glue-ups, mismatched materials, or ignored vibration. Now that you’ve ruled out the critical risks and identified the likely culprit, you’re equipped to choose the right repair—not just the fastest one. Whether it’s a $2 PEX ring or a full valve replacement, doing it right the first time saves water damage, mold remediation, and emergency call-out fees.