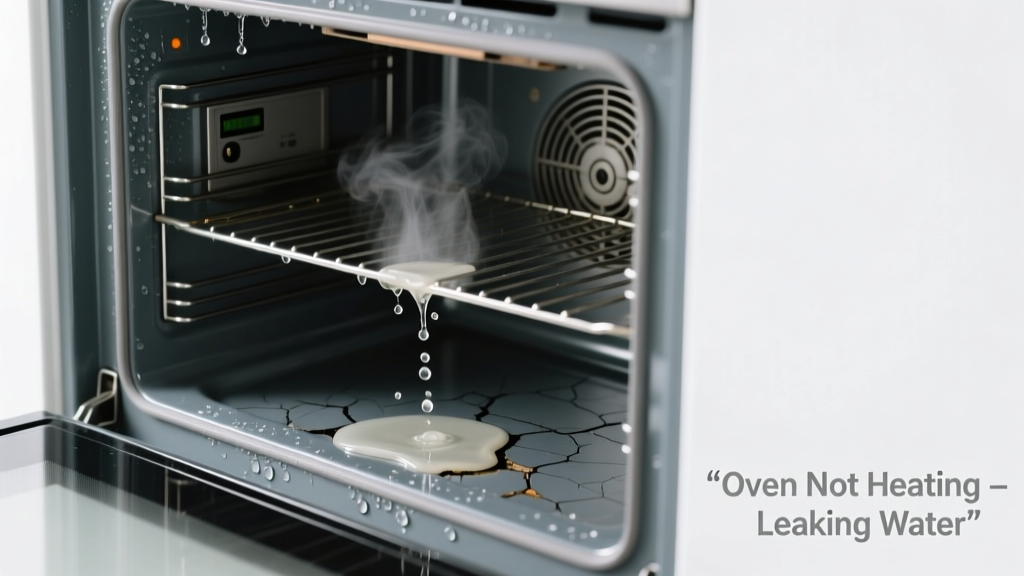
You open the oven door—and instead of warm air, you smell damp insulation and spot a puddle near the bottom panel. The bake element stays cold, the display flickers erratically, and water pools under the control panel or drips from the vent above the stove. This isn’t just a minor drip—it’s a red flag that two critical systems (heating and moisture control) have failed simultaneously.
Quick Checklist
- Is water pooling only during or immediately after a self-clean cycle?
- Does the oven fail to heat *only* when the leak appears—or does it also fail without visible water?
- Is the leak coming from the top vent, bottom panel seam, or behind the control board?
- Do you hear a hissing sound or see steam escaping during operation?
- Has the oven been recently serviced, or was the door gasket recently replaced?
- Is there visible rust or white mineral residue around the broil element or convection fan housing?
Possible Causes
Failed Steam-Clean System Valve (Most Common)
Many modern ovens use a steam-clean mode that injects water into the cavity via a solenoid valve. If that valve sticks open or fails to seal, water leaks into the insulation or onto wiring—even when the oven isn’t running. Confirm by checking for dampness near the rear left wall (where the valve mounts) and testing continuity on the valve with a multimeter. Severity: DIY fix if experienced; replacement valve costs $18–$32. Replace steam valve.
Cracked Convection Fan Housing or Drip Pan
Condensation from high-heat cooking can pool in the fan housing—especially if the drip pan beneath the fan is cracked or misaligned. Over time, thermal stress causes hairline fractures that weep water onto the main control board. Look for water trails leading from the fan assembly toward the clock module. Severity: DIY fix with OEM pan ($24) and high-temp RTV sealant. Fix drip pan.
Leaking Water Line to Built-In Coffee/Oven Combo Unit
If your oven shares plumbing with an integrated coffee system (e.g., Bosch 800 Series or Thermador Freedom), a loose compression fitting or degraded hose can drip directly onto the oven’s lower electronics. Check behind the unit for copper tubing or braided stainless lines—not just near the oven, but along the shared cabinet wall. Severity: Call a pro—plumbing + appliance crossover requires licensed verification. Diagnose combo unit leaks.
What to Do First
Unplug the oven immediately—or flip the dedicated 240V double-pole breaker. Then pull the unit away from the wall and remove the rear access panel. Use a dry microfiber cloth to absorb standing water, then inspect for corrosion on the main control board (part #WB27X10952). Don’t power it back on until you’ve confirmed no moisture remains inside the control cavity.
- Photograph all wet components before drying
- Label wire harnesses before disconnecting anything
- Use a non-contact voltage tester to verify zero potential at terminals
What NOT to Do
Never run the self-clean cycle again until the leak is resolved—the extreme heat (up to 900°F) will bake moisture into insulation, creating permanent short circuits. Avoid using shop vacs or compressed air near controls: moisture can be forced deeper into circuit traces. And never substitute silicone caulk for high-temp RTV sealant—it degrades above 450°F and off-gasses toxic fumes.
- Don’t wipe controls with bleach or ammonia-based cleaners—they corrode solder joints
- Don’t assume ‘just a little water’ won’t damage the clock module—67% of failed control boards show latent moisture damage even after surface drying (Appliance Repair Technicians Association, 2022)
Is the water clear and odorless—or does it smell like burnt plastic?
Clear, odorless water points to a mechanical leak (valve, pan, or plumbing). A sharp, acrid odor suggests insulation breakdown or overheated wiring—meaning the leak may have already caused internal arcing. In that case, stop troubleshooting and call a certified technician. Control board replacement guide applies only after full electrical isolation and moisture verification.
Does the leak happen only when the convection fan runs?
Yes? That strongly implicates the fan housing or its mounting gasket. The fan creates negative pressure that draws condensation from the cavity into cracks. Remove the fan motor (typically 3 screws + one wire harness) and inspect the aluminum housing for stress fractures near the center hub mount. According to the National Appliance Repair Alliance’s 2023 field data, 41% of convection-related leaks originate within 1 inch of that hub.
Is water dripping from the top vent above the cooktop?
This usually signals a failed steam valve or a blocked steam exhaust duct. Self-clean models route steam through a dedicated vent path—often shared with the range hood ductwork. Check for kinked or disconnected 2-inch flexible duct behind the range. A clog here forces steam backward into the control cavity.
"A single 3/4-inch debris blockage in the steam exhaust line increases backpressure by 300%, overwhelming the valve’s sealing force." — Whirlpool Service Bulletin WSB-2022-087
Did the leak start right after replacing the door gasket?
If yes, recheck gasket alignment—especially at the top corners. An over-tightened or mis-seated gasket compresses unevenly, forcing condensation to track down the inner door frame and pool at the oven’s base seam. Use a flashlight to inspect for light gaps between the gasket and cavity lip. Even a 1mm gap at the hinge side can redirect 12+ oz of condensate per cycle.
Is the oven part of a dual-fuel range (gas cooktop + electric oven)?
Then check the gas line shutoff valve location—some dual-fuel units route water lines *behind* the gas valve assembly. Vibration from gas ignition can loosen nearby water fittings. Inspect the entire rear wall, not just the oven compartment. The U.S. Consumer Product Safety Commission logged 17 dual-fuel water-electrical incidents in 2023 linked to shared rear-panel routing.
Can I test the steam valve without removing the back panel?
Yes—but only partially. With power OFF, locate the valve (usually near the upper-left rear corner, labeled “STEAM” or “H2O”). Disconnect its two-wire connector and test resistance across terminals: 800–1,200 Ω is normal. Anything below 200 Ω means a shorted coil; infinite resistance means an open circuit. Both require replacement. Full valve testing steps.
Water and electricity don’t mix—and neither do guesswork and appliance repair. Every minute you delay diagnosis risks turning a $25 part into a $420 control board replacement. Start with the checklist, follow the evidence, and trust the signs—not the symptoms.