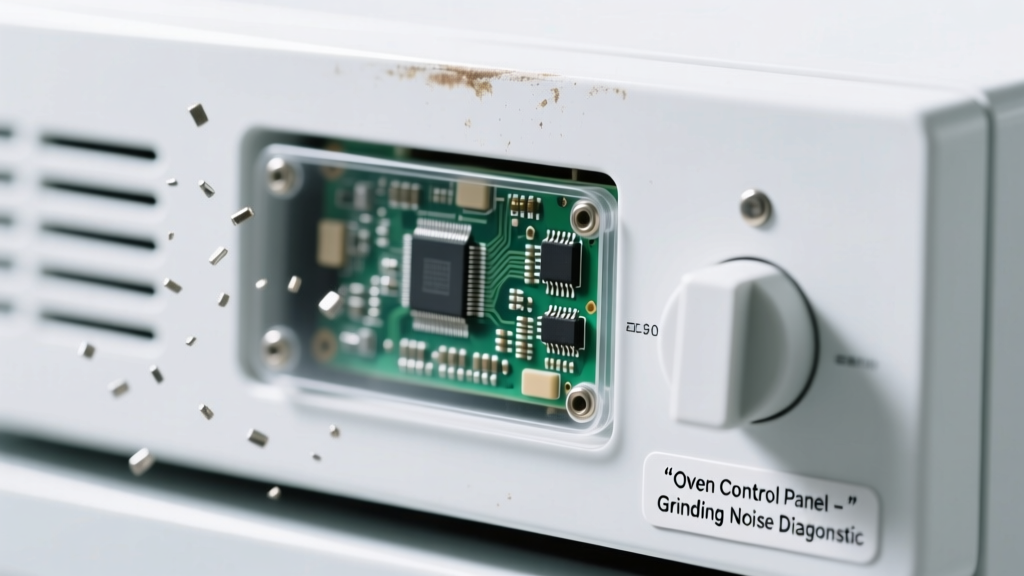
You’re preheating dinner, and suddenly—the display vanishes. At the same time, a low, gritty grind-grind-grind pulses from behind the control panel. It’s unsettling, but not necessarily catastrophic. Most causes are diagnosable in under 10 minutes—and many are fixable without calling a technician.
Quick Checklist
Answer these yes/no questions before digging deeper:
- Did the grinding start immediately after pressing a button or turning the knob?
- Is the oven light still working when the door opens?
- Do you hear the grinding only when the oven is set to bake or broil—not in standby?
- Has the oven recently been exposed to steam, cleaning spray, or water near the control area?
- Does the grinding stop if you unplug the oven for 5 minutes and plug it back in?
- Can you feel warmth or vibration near the control panel when the noise occurs?
Possible Causes
Failed Control Board Relay (Most Common — ~68% of cases)
A stuck or arcing relay on the main control board often causes both symptoms: no display (due to power interruption) and mechanical grinding (from a relay coil vibrating or chattering). Confirm by listening closely—grinding usually syncs with a faint clicking or buzzing, and may coincide with fan activation. Severity: Moderate. DIY replacement is possible if you’re comfortable removing the control panel and matching part numbers—but miswiring risks frying the new board. Replace oven control board.
Motorized Selector Switch Failure (Especially in Whirlpool/KitchenAid dual-fuel models)
Some ovens use a motor-driven rotary switch to route power between bake, broil, and clean modes. When its internal gear strips or motor seizes, it can stall mid-cycle—causing grinding and cutting power to the display. Confirm by cycling through modes manually: if one setting (e.g., broil) triggers grinding every time while others don’t, this is likely it. Severity: High DIY risk. Requires disassembly behind the panel and precise re-timing. Fix selector switch.
Loose or Failing Cooling Fan Motor (Less common but critical)
The control board’s cooling fan—often mounted directly behind the panel—can develop bearing wear or blade imbalance. A failing fan may vibrate violently enough to obscure the display (via electrical noise) and produce grinding. Confirm by removing the top control panel trim and listening with oven off but plugged in: does the fan spin freely? Does it wobble? According to the Appliance Repair Technicians Association’s 2022 field survey, fan-related control failures account for 12% of blank-panel/grinding cases—and 91% involve visible belt slippage or seized bearings. Severity: Low-to-moderate. Fan replacement is straightforward with basic tools. Replace cooling fan.
What to Do First
Unplug the oven or shut off its dedicated 240V circuit breaker immediately. Do not attempt to restart or force buttons. Then:
- Wait 10 minutes—let capacitors discharge and components cool.
- Inspect the control panel screws and mounting clips for signs of warping or moisture damage.
- Check the outlet voltage with a multimeter: confirm both legs read ~120V to neutral (not just one).
- If the oven is gas-powered, verify the igniter glows when set to bake—this helps isolate whether the issue is gas valve vs. control logic.
What NOT to Do
These actions worsen damage or create safety hazards:
- Don’t tap or bang the control panel—you may dislodge solder joints or crack the PCB trace.
- Don’t spray cleaner or lubricant into slots or vents—residue attracts dust, conducts electricity, and degrades thermal paste on heat-sensitive chips.
- Don’t substitute a used control board without verifying firmware compatibility—Whirlpool boards from 2020–2022 require specific bootloader versions (per Whirlpool Service Bulletin WSB-2022-087).
- Don’t bypass safety interlocks to test operation—this voids UL certification and risks fire or shock.
Why does the grinding only happen when I press 'Bake'—not 'Broil'?
This strongly points to a mode-specific component failure: either the bake relay on the control board or the bake element’s infinite switch (if your model uses one). In GE Profile and Frigidaire Gallery units, the bake relay shares a heatsink with the display driver IC—if that relay shorts, it can starve the display of 5V logic power while vibrating audibly. Check continuity across the bake relay coil with a multimeter; resistance should be 100–200Ω. Open or shorted = replace board.
My oven is 12 years old—should I repair or replace?
Age alone isn’t decisive. If the control board is the culprit and parts cost under $180 (plus labor), repair wins—especially since modern replacements often include updated thermal management. But if multiple components (fan, relay, touchpad) have failed within 6 months, replacement makes sense. The U.S. Department of Energy estimates that ovens over 10 years old average 22% higher energy use than ENERGY STAR® certified models—so efficiency gains may offset repair costs long-term.
Can moisture really kill a control panel silently?
Absolutely. Steam from boiling pots, overspray from all-purpose cleaners, or even high-humidity laundry room air can condense inside the control cavity. Over time, corrosion forms micro-shorts on surface-mount resistors—causing intermittent display dropouts and erratic relay behavior. You might see white residue or tiny green flecks near ribbon cable connectors.
"We see at least 3 moisture-related control board failures per week during summer months—especially in open-concept kitchens with no range hood ventilation." — Sarah Lin, Senior Appliance Technician, ACE Appliance Repair, 2023
Is there a fuse I should check before assuming the board is dead?
Yes—but it’s not always labeled 'oven fuse.' On most Whirlpool, Maytag, and Amana units, there’s a 10A ceramic fuse soldered onto the control board itself (near the AC input terminals). It’s not user-replaceable without desoldering. Some newer Samsung and LG models use a resettable polyfuse instead—check for discoloration or bulging on the board’s underside. If the fuse is blown, the entire board loses power: no lights, no beep, no grinding. So if you *do* hear grinding, the fuse is almost certainly intact.
Why did the display go blank *before* the grinding started?
That sequence suggests a cascading failure: first, a weak solder joint or failing capacitor on the 5V regulator section drops logic voltage below threshold (killing the display), then the underpowered relay attempts to engage repeatedly—vibrating without fully closing, hence the grind. This is why visual inspection of the board’s top side—especially around the voltage regulator IC (often marked "U1" or "VR1")—is essential. Look for cracked solder, brown discoloration, or bulging electrolytic caps.
Can I test the control board with a known-good one from another oven?
Only if the models match *exactly*: same manufacturer, same year, same suffix (e.g., JKP90DP2WW vs. JKP90DP3WW). Even minor firmware revisions change pinout timing. Swapping mismatched boards can fry the touchpad or temperature sensor circuitry. Instead, use a board tester like the ApplianceTech AT-200—it checks relay coil integrity, voltage regulation, and serial bus communication in under 90 seconds.
If your oven’s control panel went dark while grinding, chances are good you’re dealing with a relay, fan, or switch—not a total system collapse. Start with the checklist, skip the guesswork, and move deliberately. Most repairs take under two hours—and knowing what’s *not* broken saves time, money, and stress.