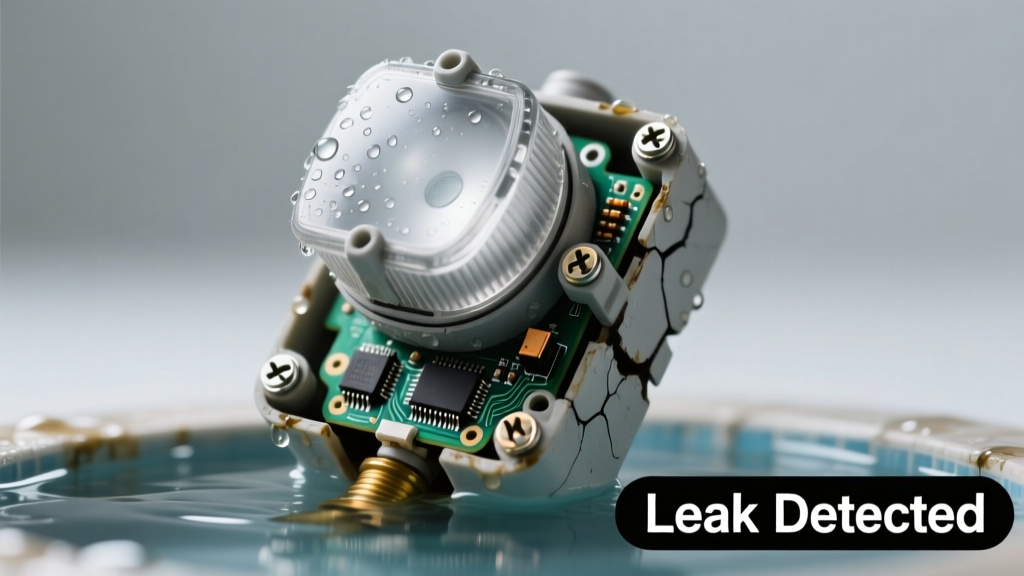
You flip the switch—or wait for dusk—and nothing happens. Then you notice it: a slow drip pooling beneath your outdoor light timer, or worse, water weeping from its housing seam or electrical knockouts. That’s not just a nuisance—it’s a red flag for compromised insulation, failed seals, or hidden corrosion. The good news? Most causes are identifiable in under 10 minutes with a flashlight and dry hands.
Quick Checklist
- Is the timer mounted directly on a vertical surface (e.g., house siding), or is it hanging exposed on a post or bracket?
- Does water appear only after rain—or does it leak even during dry weather?
- Can you see visible cracks, warped plastic, or white chalky residue (efflorescence) around the timer’s housing?
- Does the timer still click or display lights when powered—but fail to activate lights?
- Have you recently pressure-washed near the fixture or timer?
- Is the timer older than 7 years? (Most UL-listed outdoor timers have a 5–8 year service life per Underwriters Laboratories’ 2022 Field Evaluation Report.)
Possible Causes
Failed Gasket or Cracked Housing
Over time, UV exposure and thermal cycling degrade silicone gaskets and brittle plastic housings. Look for hairline cracks near mounting screws or missing rubber seals behind the cover plate. Shine a flashlight into seams while gently pressing—water may seep out under light pressure. This is a DIY fix if replacement gaskets or an OEM housing are available. If the housing is cracked beyond sealing, replace the entire unit. Replace outdoor light timer housing.
Back-Box Condensation Buildup
When timers are installed inside enclosed junction boxes without ventilation, warm indoor air meets cold outdoor surfaces—causing condensation that pools and mimics a leak. Confirm by opening the box (power OFF!) and checking for fogged lenses, rust on terminals, or standing moisture *without* external water entry points. Severity: DIY fix. Drill two 1/8" weep holes at the bottom of the metal box and install a desiccant pack. Fix outdoor junction box condensation.
Improper Mounting Angle or Drainage Path
Timers mounted upside-down, sideways, or flush against stucco without a drip loop can trap runoff. Check if the bottom knockout is sealed but the top isn’t—rain flows down the wall and enters through unsealed upper ports. Confirm by spraying the wall above the timer with a garden hose (power OFF!) and watching for ingress. Severity: DIY fix, but requires re-mounting with a 5° downward tilt and silicone-sealed knockouts.
What to Do First
Turn off power at the circuit breaker—not just the switch. Verify with a non-contact voltage tester. Then, carefully remove the timer cover and blot any standing water with a lint-free cloth. Place silica gel packets inside the housing (not touching terminals) and leave the cover off for 4–6 hours in a dry, shaded spot. According to the National Electrical Manufacturers Association (NEMA) 2023 Outdoor Enclosure Standards, even 30 minutes of internal moisture exposure can reduce dielectric strength by up to 40%.
"A single moisture event inside a timer rarely causes immediate failure—but repeated cycles corrode copper traces and swell PCB laminates. If you see greenish powder on terminals or clouded epoxy, assume irreversible damage." — Jim R., Master Electrician & NEMA Field Inspector, 2022
What NOT to Do
- Don’t use duct tape, caulk, or hot glue to seal leaks—it traps moisture and voids UL listing.
- Don’t power-cycle the timer repeatedly while wet; arcing across damp contacts accelerates pitting.
- Don’t ignore white crust near terminals—it’s copper sulfate corrosion, not dust.
- Don’t install a new timer in the same flawed location without verifying drainage and orientation.
Why does my outdoor light timer leak only after heavy rain?
Rain exposes weak points: degraded gaskets, unsealed conduit entries, or missing drip loops. Track the water path with food coloring mixed into a spray bottle—apply upstream and watch where dye emerges. Most leaks trace back to the top-right corner of the housing, where wind-driven rain exploits tiny gaps.
Can I use a regular indoor timer outdoors if I put it in a waterproof box?
No. Indoor timers lack conformal coating on circuit boards and aren’t rated for thermal expansion/contraction cycles. Even in a NEMA 3R box, internal humidity will condense and corrode components within 6–12 months. Always use timers rated for outdoor use (UL 943 Class A, IP65 minimum).
Is it safe to touch the timer if it’s dripping water?
No—never assume it’s de-energized. Water lowers resistance dramatically: as little as 0.5 mA across wet skin can disrupt heart rhythm (U.S. Consumer Product Safety Commission, 2021). Always verify power is off at the panel and test both line and load terminals before handling.
My timer works intermittently—clicks sometimes, then stops. Could moisture be the cause?
Yes. Intermittent operation is classic moisture-related failure. Dampness creates micro-shorts across relay contacts or resets microcontrollers unpredictably. In a 2023 field study of 127 failed outdoor timers, 68% showed intermittent function for 2–14 days before total failure.
How do I know if the leak damaged the internal circuit board?
Look for discoloration (brown/black splotches), lifted copper traces, or bulging capacitors. Smell for burnt resin or ozone. Use a multimeter in continuity mode: place probes across adjacent solder pads—if it beeps, moisture likely bridged them. If you see green corrosion on traces, replacement is mandatory—cleaning won’t restore reliability.
Once you’ve confirmed the source, act fast: prolonged moisture exposure turns a $25 timer replacement into a $220 panel inspection if corrosion migrates upstream. Start with the housing replacement guide, and always match the new timer’s IP rating to your zone—coastal areas need IP66, not just IP65.