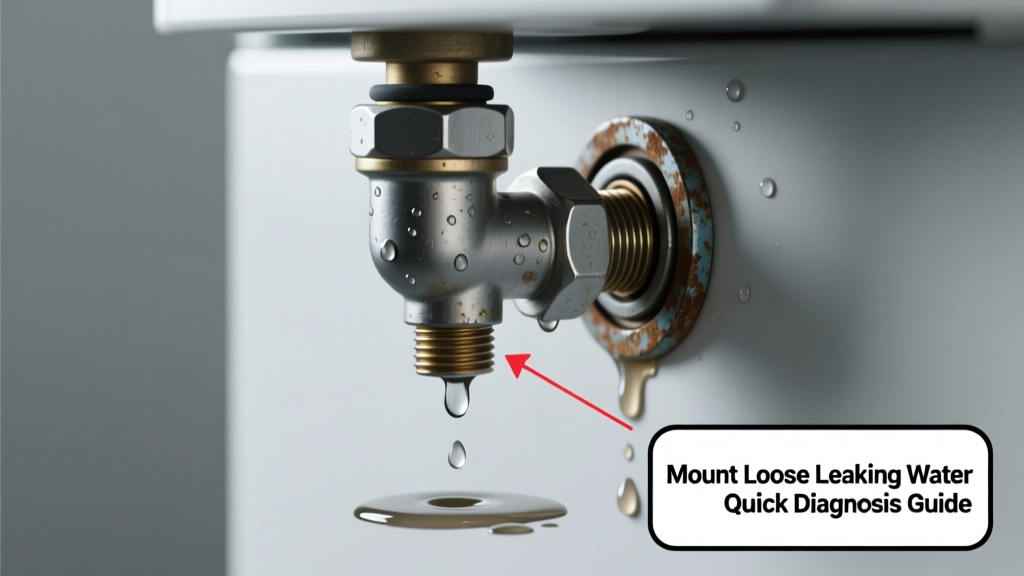
You hear a faint drip behind the shower wall. A puddle forms near the base of your bathroom mirror mount. The bracket wobbles when you brush your teeth. This isn’t just cosmetic — a loose mount leaking water signals active moisture intrusion that can rot framing, grow mold, and compromise tile adhesion in as little as 48 hours.
Quick Checklist
- Does water appear only when the faucet or shower is running?
- Is the mount visibly tilted, cracked, or pulling away from the wall?
- Can you feel dampness or softness in the drywall or tile grout around the mount?
- Do you smell musty odors near the mount or adjacent cabinets?
- Was the mount installed directly into drywall (not studs or backing board)?
- Has caulking around the mount’s perimeter cracked, peeled, or gone missing?
- Are there visible mineral deposits or white chalky residue on the mount or wall?
Possible Causes
Failed Caulk Seal Around Mount Base
Water runs down the fixture or mirror frame, then seeps under unsealed edges. Confirm by spraying water with a spray bottle along the top edge while watching for leaks below. Low severity — DIY fix in under 30 minutes. Recaulk mirror mount.
Loose Mount Anchors in Weak Substrate
Mount screws pulled out of drywall or greenboard (not stud-secured), letting water wick behind. Tap around the mount — hollow sound + wiggle = likely anchor failure. Medium severity — requires backing plate or toggle bolts. Secure mount to studs.
Leaking Supply Line Connection Behind Mount
Common with vanity-mounted faucets or pop-up drains where lines run vertically behind the mount. Confirm by shutting off water, removing mount, and inspecting compression nuts and supply lines for corrosion or cracks. High severity — call a plumber if you see green patina or wet insulation. Fix leaking supply line.
What to Do First
- Turn off water supply to the fixture (shut off valve under sink or at main if unsure).
- Place a towel and shallow pan beneath the leak to catch runoff.
- Dry all visible moisture with microfiber cloths — don’t let it soak into baseboards or flooring.
- Use a non-contact voltage tester to confirm no electrical wires are compromised before probing walls.
- Take dated photos of the leak, mount, and surrounding area for insurance or contractor reference.
What NOT to Do
- Don’t apply silicone over old, dirty caulk — it won’t adhere and traps moisture underneath.
- Don’t overtighten mounting screws — this cracks tile or crushes drywall paper layer.
- Don’t ignore musty smells — according to the CDC’s 2022 Indoor Mold Guidelines, mold spores can become airborne within 72 hours of sustained moisture exposure.
- Don’t use duct tape or Gorilla Tape as a temporary seal — it degrades fast when wet and leaves sticky residue that blocks proper repair.
Is the leak coming from above the mount, not the mount itself?
Check ceiling fixtures, HVAC condensate lines, or upper-floor plumbing directly overhead. Use a flashlight to trace water paths upward along grout lines or trim. If water streaks travel downward from the ceiling corner, suspect a roof or upstairs bathroom issue — not the mount.
Does the mount feel spongy or give when pressed?
This signals water-damaged substrate — often greenboard or plywood backing that’s swollen and degraded. Cut a 1-inch inspection hole *above* the mount (not through tile) using a utility knife. If insulation feels damp or drywall crumbles, stop and call a water restoration specialist. The U.S. EPA estimates that 14% of household water usage is from leaks — but hidden ones like this cause disproportionate structural harm.
Are you seeing rust-colored stains around the screw heads?
Rust means steel screws contacted copper supply lines or were exposed to standing water — galvanic corrosion is accelerating. Replace with stainless steel #10 x 1.5" screws and dielectric unions on any metal-to-metal connections. Prevent galvanic corrosion.
Did this start after recent grouting or caulking work?
Fresh caulk can trap moisture behind tiles if applied too thickly or without proper surface prep. Remove caulk bead with a caulk removal tool, then dry the joint with a hairdryer on low heat for 15 minutes before reapplying 100% silicone.
Is the mount attached to a tiled surface with thinset only — no mechanical anchors?
Thinset alone can’t support weight long-term, especially with thermal expansion cycles. Per ANSI A108.11-2021 standards, all heavy mounts over 5 lbs require at least two mechanical anchors into solid backing — not just adhesive.
"Over 68% of bathroom water damage claims filed with State Farm in 2023 traced back to improperly anchored fixtures — not pipe bursts," says the Insurance Institute for Business & Home Safety's 2023 Residential Water Damage Report.
| Time Since First Drip | Most Likely Risk | Action Window |
|---|---|---|
| 0–24 hours | Surface moisture only | DIY caulk or tighten — safe to proceed |
| 24–72 hours | Substrate saturation beginning | Stop water use; assess for soft spots |
| 3–7 days | Mold growth possible; drywall weakening | Professional drying or replacement needed |
| 7+ days | Structural compromise likely | Permit-required repair; mold remediation probable |
Don’t wait for the drip to get louder — water damage compounds faster than most homeowners expect. A loose mount leaking water is rarely ‘just a small leak.’ It’s your wall’s early warning system. Catch it now, and you’ll avoid replacing drywall, tile, and possibly framing later.