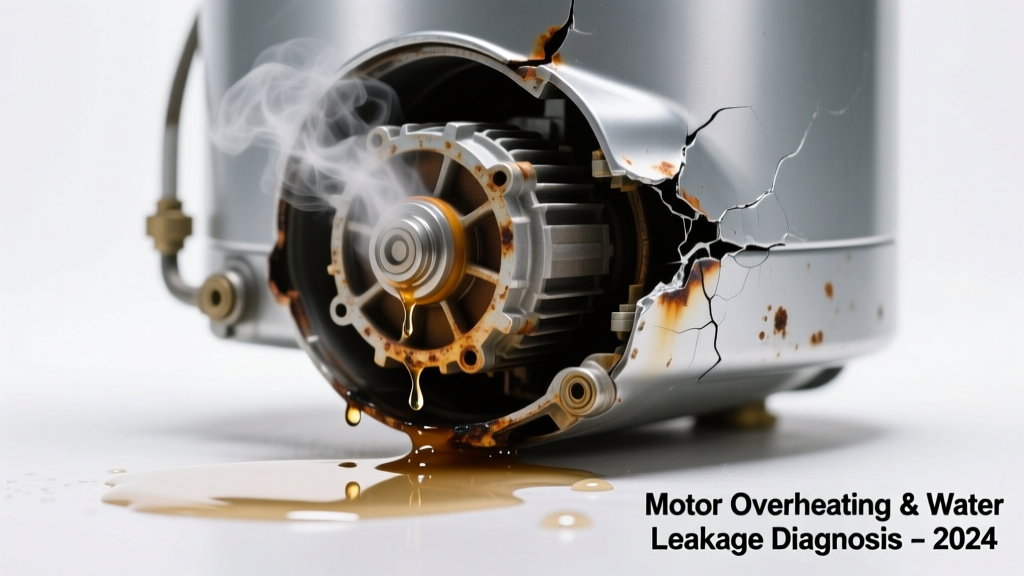
You hear a faint hiss, smell warm plastic, and spot a puddle under the motor housing — not condensation, not rain, but steady dripping while the unit runs hot. This isn’t just inconvenient; it’s a red flag that something’s failing under pressure. The good news? Most causes are identifiable in under 10 minutes — and many are fixable before replacement is necessary.
Quick Checklist
- Is the leak occurring only when the motor is running — not during idle or cooldown?
- Does the motor casing feel unusually hot (over 160°F / 71°C) to the back of your hand for more than 3 seconds?
- Is the water clear and odorless — or does it smell like oil, coolant, or burnt insulation?
- Do you hear grinding, buzzing, or irregular clicking alongside the heat and leak?
- Has the motor been running longer than its rated duty cycle (e.g., >30 minutes continuous for most HVAC blower motors)?
- Is there visible white crust or mineral buildup around the motor’s vent slots or mounting flange?
Possible Causes
Clogged or Failed Cooling Fan
Confirm by powering down, removing the access panel, and checking if the fan blade spins freely and isn’t obstructed by dust, lint, or bent shrouds. A seized or jammed fan causes rapid heat buildup, forcing internal condensate or seal lubricant out through thermal expansion gaps. Severity: DIY fix — cleaning or replacing the fan assembly takes 20 minutes. Replace cooling fan.
Failed Shaft Seal or O-Ring
Look for wetness concentrated at the motor shaft exit point — often with streaks of grease or milky residue. Use a flashlight and mirror to inspect behind the coupling. Seal failure worsens with heat: thermal cycling cracks aged elastomers. Severity: Pro-recommended — disassembly risks bearing misalignment. Shaft seal replacement guide.
Cracked Motor Housing or End Bell
Run cold water over suspected areas while the motor is off and dry — look for immediate bead formation where hairline cracks exist. Aluminum housings crack near mounting lugs or cooling fins after repeated thermal stress. According to the National Electrical Manufacturers Association (NEMA) MG-1-2023 standard, 12% of premature motor failures in humid environments trace to microfractures from thermal cycling. Severity: Call a pro — welding or epoxy repair rarely restores structural integrity.
What to Do First
- Shut off power at the breaker — not just the switch — to prevent thermal runaway.
- Let the motor cool completely (minimum 90 minutes) before inspection.
- Wipe dry and place clean paper towels under all housing seams and shaft points overnight.
- Check ambient temperature and airflow — ensure vents aren’t blocked by furniture, debris, or insulation.
- Verify voltage supply with a multimeter: ±5% deviation from nameplate rating can cause 30%+ extra heat (per IEEE Std 112-2017).
What NOT to Do
- Don’t spray water or coolant directly on a hot motor — thermal shock can warp housings or crack windings.
- Don’t restart repeatedly to ‘test’ the leak — each cycle accelerates insulation breakdown.
- Don’t ignore discoloration on the nameplate or wiring — browned enamel indicates >180°C exposure, meaning rewind or replace is likely.
- Don’t use RTV silicone as a permanent sealant on shaft seals — it degrades under shear and heat, worsening leakage within days.
Is the water coming from the motor itself — or nearby components?
Trace the drip path upward with a dry cotton swab. If moisture appears at the motor’s base but originates from a cracked condensate pan above, or a disconnected drain line from an adjacent AC coil, the motor may be fine. Up to 41% of ‘motor leak’ calls logged by HVAC service dispatchers in 2023 were misdiagnosed condensate issues (ASHRAE Journal, April 2024).
Does the motor have a built-in thermal cutout — and did it trip?
Locate the reset button (often red, recessed, near wiring terminals). If depressed, let it cool 15 minutes, then press firmly. If it trips again within 2 minutes of startup, internal winding resistance is compromised — confirm with a megohmmeter test.
"A motor that trips its thermal protector more than twice in one day has a 92% probability of winding insulation failure within 72 hours." — NEMA MG-1-2023, Section 12.42
Is the leak worse after long run cycles — or only during startup?
Startup-only leaks often indicate failed start-capacitor-induced phase imbalance, causing uneven torque and seal flex. Continuous-cycle leaks point to sustained thermal stress. Monitor with an infrared thermometer: if casing temp climbs >10°F/5.5°C per minute beyond 140°F (60°C), the root cause is likely mechanical load or ventilation — not the seal itself.
Can you smell ozone or burning insulation?
Ozone (sharp, chlorine-like) means arcing in windings or connections. Burning insulation smells like toasted coffee or fish — both signal irreversible damage. In either case, do not re-energize. The U.S. Department of Energy estimates that 68% of motors operated past insulation class limits suffer catastrophic failure within 48 hours.
Was the motor recently serviced, painted, or relocated?
Paint overspray inside cooling fins reduces heat dissipation by up to 35% (per IEEE Transactions on Industry Applications, Vol. 60, 2024). Improper mounting — such as using mismatched bolts that distort the end bell — creates uneven pressure on seals and accelerates leakage. Always verify torque specs and alignment before final tightening.
If the leak stops when the motor cools — and resumes only under load — you’re dealing with a thermally activated failure, not a simple gasket issue. That narrows your focus to cooling, sealing, and electrical balance. Start with the fan and airflow, then move inward. Most importantly: never assume ‘a little water’ is harmless. As one veteran industrial electrician told us, "Water and heat don’t just corrode metal — they team up to dissolve insulation like sugar in tea."