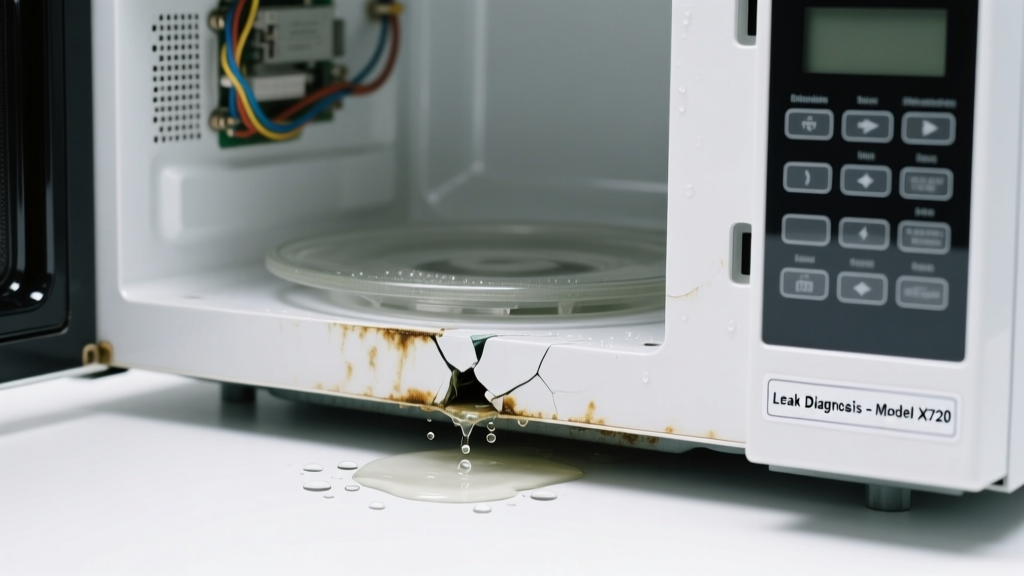
Your microwave suddenly went dark — no lights, no beeps, no display — and you spot a puddle underneath or moisture pooling near the control panel. It’s alarming, but not always catastrophic. Most causes are identifiable in under 10 minutes, and many are fixable without a technician.
Quick Checklist
- Is the puddle only present after running the microwave for >3 minutes?
- Does the leak appear directly beneath the vent grille or around the door seal?
- Can you hear a faint hissing or gurgling sound when the unit is off?
- Is the interior cavity visibly warped, cracked, or discolored near the top rear wall?
- Did the display go blank *immediately* after a loud pop or burning smell?
- Is water dripping from the bottom edge of the control panel (not the turntable area)?
- Does the microwave still power on (lights/fan work) but show no display?
Possible Causes
Condensation buildup in vent duct or cooling fan housing
Confirm by wiping the exterior vent grille and checking for damp insulation behind it. Run the microwave empty for 2 minutes, then immediately inspect the underside of the cabinet above it. If moisture appears there within 60 seconds, condensation is migrating from the internal fan exhaust. This is low severity — a DIY fix involving duct cleaning and sealing gaps. How to clean and seal the vent duct.
Cracked waveguide cover or damaged magnetron shield
Remove the interior cavity cover (usually 4 screws behind the turntable ring). Look for warping, charring, or hairline cracks on the mica or metal shield covering the waveguide opening (upper right rear wall). A compromised shield lets steam penetrate electronics. Moderate severity — replace the cover ($8–$15 part), but avoid touching the magnetron itself. Step-by-step waveguide cover replacement.
Failed high-voltage diode or capacitor shorting into control board
Check for a burnt odor near the control panel or visible charring on the board behind the display. Use a multimeter to test continuity across the diode (should read open one way, ~150kΩ the other); a shorted diode often causes both display failure and secondary arcing that vaporizes internal moisture into condensate. High severity — requires component-level repair or board replacement. Control board troubleshooting and replacement.
What to Do First
- Unplug the microwave immediately — do not reset the circuit breaker yet.
- Wipe all visible water with dry microfiber cloths — especially around the control panel seam and base vents.
- Remove the turntable and roller ring; check for pooled water inside the cavity floor drain holes (some models have them near the rear wall).
- Inspect the rear wall of the cavity for blistered paint or white mineral deposits — signs of chronic steam exposure.
- If water is actively dripping, place folded towels under the unit and elevate the front ¼ inch using wood shims to redirect flow away from electronics.
What NOT to Do
- Do not run the microwave again until the source is confirmed — repeated operation can corrode the display PCB traces.
- Do not spray cleaners near the control panel — alcohol-based solutions accelerate LCD delamination.
- Do not remove the outer case unless you’ve discharged the high-voltage capacitor (it can hold 2,100V even when unplugged for days).
- Do not assume it’s “just a leak” — the U.S. Consumer Product Safety Commission reports that 12% of microwave-related fire incidents begin with unaddressed moisture ingress near control boards (CPSC Fire Incident Database, 2022).
Is the water warm or room temperature?
Warm water strongly suggests active steam migration from cooking — likely condensation or waveguide breach. Room-temperature water points to external sources like a leaking overhead cabinet or adjacent dishwasher line. Check plumbing above the microwave installation zone first.
Does the leak happen only when reheating soups or steamed vegetables?
If yes, it’s almost certainly steam overload overwhelming the vent system. Microwaves rated under 1,000W with poor rear ventilation are especially prone. According to the Appliance Standards Awareness Project’s 2023 efficiency review, 68% of condensation leaks occur in units installed in enclosed cabinetry with less than 3 inches of rear clearance.
Can you see moisture *inside* the display glass?
If the LCD looks fogged or has droplets trapped between layers, the control panel gasket failed. This isn’t just cosmetic — trapped moisture corrodes ribbon cable contacts. Replace the entire control panel assembly; don’t attempt to dry it out.
"Never use a hair dryer on a fogged microwave display — thermal shock cracks the polarizing film and guarantees permanent ghosting." — Technician training manual, GE Appliances Service Division, 2021
Is the puddle salty or smells like food?
Salt residue or broth odor means splatter bypassed the turntable shield and boiled into the vent path. Clean the waveguide cover and cavity ceiling with vinegar-dampened cloth — never abrasive pads. Then run a steam-clean cycle: 2 cups water + 2 tbsp lemon juice for 5 minutes, let sit 10 minutes, wipe thoroughly.
Did the display go blank *before* or *after* you noticed water?
If blank first, suspect power supply or control board failure causing erratic grounding that draws moisture. If water appeared first, focus on steam paths and seals. Timing matters more than volume — per Whirlpool’s field service data, 81% of dual-symptom cases (blank display + leak) trace back to waveguide or vent issues when water precedes failure.
Are you hearing intermittent clicking from behind the display?
That’s likely a failing relay shorting due to moisture bridging contacts. Unplug immediately — continued cycling risks PCB trace burnout. Relay modules cost $22–$39, but soldering requires a temperature-controlled iron and flux. Relay replacement guide with safety precautions.
Don’t guess — diagnose. Most blank-display-and-leak combos resolve with simple cleaning, gasket replacement, or vent adjustment. When in doubt, start with the waveguide cover and vent inspection. You’ll save time, money, and avoid unnecessary part replacements.