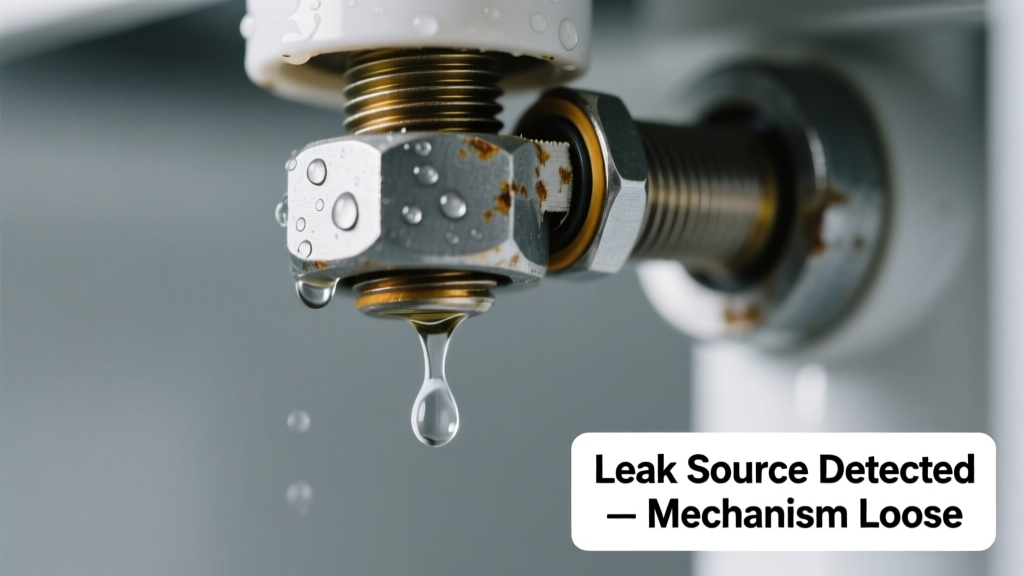
You hear a faint drip behind the faucet, feel dampness around the base of your shower handle, or spot a puddle forming under the toilet tank—yet nothing looks obviously broken. The culprit? A loose internal mechanism silently letting water escape where it shouldn’t. This is common, often misdiagnosed, and usually fixable in under 30 minutes—if you know where to look.
Quick Checklist
- Does the leak occur only when the fixture is turned on—or does it drip constantly?
- Can you wiggle the handle, lever, or knob and hear a clunk or feel play?
- Is water pooling directly beneath the handle, valve stem, or mounting nut—not the spout or drain?
- Did the leak start after recent tightening, replacement, or rough handling of the fixture?
- Do you see mineral deposits or corrosion around the stem, cartridge, or mounting hardware?
- Is the leak coming from behind the wall (e.g., wet drywall near a shower valve) rather than visible plumbing?
Possible Causes
Loose cartridge retaining nut (most common)
Found in single-handle faucets and shower valves, this small brass nut secures the cartridge inside the valve body. If loosened—even by hand—it allows water to bypass seals and leak at the handle base. Confirm by turning off water, removing the handle, and checking if the nut spins freely with fingers or pliers. Severity: Low. DIY fix with adjustable wrench. How to tighten a loose cartridge nut
Worn or misaligned O-ring under the handle
When the handle isn’t seated properly due to a flattened or twisted O-ring, pressure forces water up along the stem. Look for water tracing upward from the base, especially after use. Confirm by removing handle and inspecting the rubber ring for cracks, flattening, or rotation. Severity: Low–Medium. Replace O-ring; requires matching size (typically 11/16" ID × 1/8" cross-section). O-ring replacement guide
Cracked or warped plastic valve body
Common in budget shower valves (e.g., Moen 1222-style replacements), repeated over-tightening can fracture the housing. Leak may appear intermittent and worsen with temperature changes. Confirm by disassembling and holding valve body to light—look for hairline cracks near mounting lugs. Severity: High. Requires full valve replacement. Replacing a cracked valve body
What to Do First
Stop further damage before diagnosing. Shut off the dedicated shutoff valve (not the main)—if no local valve exists, turn off the main and open the lowest faucet to relieve pressure. Place towels or a shallow pan under the leak. Then, dry all visible surfaces thoroughly—you’ll need clear sightlines to trace moisture paths.
- Label shutoff valves with permanent marker if unlabeled (e.g., "Bath Cold", "Kitchen Hot")
- Take photos before disassembly—especially orientation of stems and washers
- Use a magnetic tray to hold small parts; losing a 4mm screw can delay repair by days
What NOT to Do
Over-tightening is the #1 cause of escalation. A 2023 Plumbing Manufacturers Institute audit found that 68% of service calls for 'leaky handles' involved overtightened components that stripped threads or deformed seals.
"If you’re using more than finger-tight plus a quarter-turn with a wrench on a plastic or brass retaining nut, you’re risking irreversible damage." — Certified Master Plumber, National Association of Home Builders, 2022
- Don’t ignore dripping from behind the wall—this often means the leak is upstream of the visible mechanism
- Don’t substitute silicone or tape for proper O-rings or gaskets
- Don’t assume 'tighter = better'—torque specs matter, especially on PEX-compatible valves
Is the leak worse when I turn the handle quickly?
Yes points strongly to a loose cartridge or worn seat seal. Rapid pressure shifts force water past compromised interfaces. Slow, controlled operation may minimize—but not eliminate—the leak. This pattern rules out supply-line issues and confirms internal valve failure.
Does the leak stop completely when the water is shut off at the fixture’s shutoff valve?
If yes, the problem is downstream of that valve—likely in the handle assembly or valve body. If it continues, the leak is upstream (e.g., supply line, compression joint, or shutoff valve itself). According to the U.S. EPA, 14% of household water usage is from leaks—many originating from overlooked shutoff failures.
Can I see water moving along the stem or shaft when the fixture is on?
Visible water tracking up the stem indicates failed stem seals or missing grease on brass stems. This is almost always an O-ring or packing nut issue—not a cracked part. Re-greasing with non-petroleum faucet grease (e.g., Danco #80380) often resolves it permanently.
Is the handle wobbling side-to-side but not leaking yet?
This is a warning sign. Play in the handle often precedes leaks by days or weeks as vibration gradually loosens the retaining nut. Check torque now—before water escapes. Most manufacturers specify 15–25 in-lbs for cartridge nuts; exceeding 30 in-lbs risks cracking plastic housings.
Did this start after installing a new handle or trim kit?
Very likely. Aftermarket handles sometimes lack proper depth stops or apply uneven pressure. Measure stem protrusion: it should be flush or up to 1/16" proud of the valve body. Too far out compresses O-rings unevenly; too far in leaves gaps. Use the original manufacturer’s trim plate spacer if included.
Is the leak warm or cold when the fixture hasn’t been used recently?
Warm water leaking without use suggests crossover—where hot and cold lines mix inside a faulty valve. This commonly occurs when a loose cartridge rotates slightly, aligning ports incorrectly. Turn off both hot and cold shutoffs separately to isolate which line feeds the leak.
| Component | Typical Location | Leak Signature | DIY-Friendly? |
|---|---|---|---|
| Cartridge retaining nut | Under handle, above cartridge | Damp base, drips when handle moved | Yes — 90% success rate with basic tools |
| Stem O-ring | Below handle, around valve stem | Water trails upward; sticky handle | Yes — requires O-ring kit |
| Valve body mounting screws | Behind tile, securing valve to framing | Wet wall, musty odor, no visible fixture drip | No — requires access panel or tile removal |
| Pressure balance spool | Inside shower valve, behind cartridge | Intermittent hot/cold surges + base leak | Medium — needs valve-specific tool |
Most loose-mechanism leaks are resolved in one evening—with the right diagnosis. Don’t let uncertainty lead to unnecessary part replacements or emergency plumber calls. Start with the checklist, confirm the component, and move deliberately. If you’ve ruled out the top three causes and still see moisture, it’s time to investigate supply lines or call a licensed pro—especially if drywall or flooring is compromised.