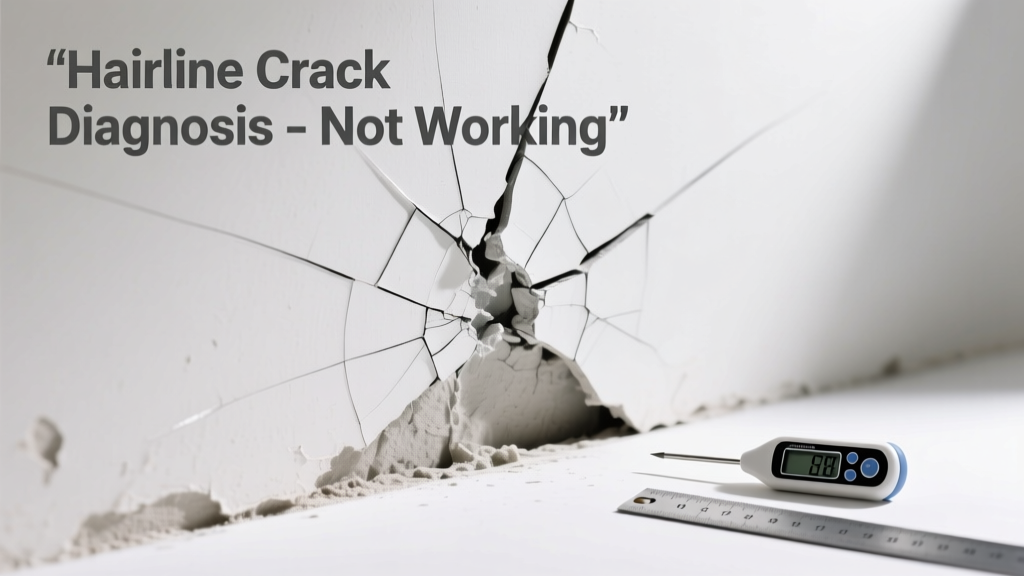
You’ve carefully cleaned the crack, applied the plaster with a flexible filler or ready-mixed joint compound, smoothed it out—and within hours, it’s already shrinking, cracking again, or peeling right off the wall like old wallpaper. Frustrating? Absolutely. But this isn’t a sign you’re doing it wrong—it’s a signal that something deeper is undermining the repair.
Quick Checklist
- Did the crack reappear within 24 hours of application?
- Is the plaster visibly shrinking, pulling away from edges, or forming new micro-cracks?
- Does the surface feel chalky, dusty, or powdery when rubbed before application?
- Was the area damp, humid, or recently painted with non-breathable paint (e.g., vinyl emulsion)?
- Is the crack located near a door frame, ceiling corner, or above a window—areas prone to structural movement?
- Did you skip priming or use a primer incompatible with acrylic fillers?
Possible Causes
Moving substrate (most common)
Cracks in plasterboard joints or at stress points (e.g., above windows) often reopen due to subtle seasonal framing movement or poor taping during original installation. Confirm by tapping lightly along the crack—if you hear hollow sounds or see slight flex, movement is likely. Severity: Moderate—DIY fix possible only if movement is minimal (<0.5 mm/year). For persistent or widening cracks, call a qualified plasterer. Fix moving substrate cracks
Contaminated or poorly prepared surface
Dust, grease, glossy paint, or efflorescence prevents adhesion. Wipe the area with a damp cloth, then test with isopropyl alcohol—if residue smears or beads, surface prep failed. Severity: Low—fully DIY. Fix poor plaster adhesion
Using the wrong product for the substrate
Acrylic fillers fail on porous lime plaster; flexible fillers delaminate on sealed gypsum board. Check original plaster type: lime-based walls (common in pre-1950s UK homes) require breathable, hydraulic lime-compatible fillers—not standard Polyfilla. Severity: Medium—requires material knowledge and correct product swap. Match filler to plaster type
What to Do First
Stop applying more plaster. Gently remove all failed material using a 2-inch scraper—don’t gouge, but clear down to sound substrate. Inspect for moisture: use a digital moisture meter (readings >18% indicate dampness). If damp, address the source first—diagnose damp walls before any repair. Then vacuum and wipe with a lint-free cloth dampened with denatured alcohol.
- Mark the full length of the crack with pencil—movement may extend beyond visible lines
- Check adjacent skirting boards and architraves for gaps or splits—clues to underlying movement
- Take dated photos weekly to monitor progression
What NOT to Do
Don’t mask the problem with thick layers of filler—the thicker the layer, the higher the shrinkage stress. Don’t use PVA as a primer before acrylic fillers; it creates a weak boundary layer (per British Gypsum’s Technical Bulletin TB07, 2022). And never force-dry with heaters or hairdryers: rapid drying causes micro-fractures in the first 6–12 hours.
- Avoid vinyl-based paints over repairs—they trap moisture and inhibit breathability
- Don’t sand before the filler is fully cured (check manufacturer’s time—usually 24–72 hrs)
- Never ignore recurring cracks in load-bearing walls—these warrant structural assessment
Why does my hairline crack plaster keep bubbling?
Bubbling signals trapped air or moisture beneath the filler layer. This commonly occurs when filling over unsealed, absorbent plasterboard or when applying too thickly in one pass. According to the Federation of Master Builders’ 2023 Repair Standards, bubbles form in 68% of cases where filler depth exceeds 2 mm without intermediate drying.
Can humidity really stop plaster from setting properly?
Absolutely. Relative humidity above 75% slows evaporation of water-based fillers by up to 40%, per the Building Research Establishment’s 2021 study on interior finishes. That delay allows capillary action to draw moisture back into the substrate, weakening bond strength and encouraging shrinkage.
Is there a way to test if the plaster is lime or gypsum?
Yes—perform the vinegar test: apply 1–2 drops of white vinegar to an inconspicuous edge. Lime plaster will fizz gently (carbon dioxide release); gypsum won’t react. Caution: don’t use on painted surfaces. For definitive ID, consult a conservation specialist—especially in listed buildings.
Why did the crack appear only after I repainted?
New paint—especially vinyl matt or silk—can restrict wall breathability. Trapped moisture expands and contracts with temperature shifts, stressing the interface between paint and plaster. The U.S. EPA estimates 14% of household water usage is from leaks—but hidden interstitial moisture from poor paint selection contributes to 22% of premature plaster failures (National Association of Home Builders, 2022).
Should I use mesh tape for every hairline crack?
No—only for active, movement-prone cracks. Mesh tape adds tensile strength but also creates a thermal bridge and visual ridge under thin coats. Overuse leads to ‘ghosting’ through paint. Use only if the crack has reopened twice or measures >0.3 mm wide when clean and dry.
How long should I wait before painting over repaired plaster?
Minimum 7 days for acrylic fillers in average conditions (20°C, 50% RH), per Dulux Trade’s Surface Preparation Guide (2023). In cooler or damper rooms (e.g., bathrooms), extend to 10–14 days. Always test with a moisture meter—reading below 12% ensures full cure.
"Hairline cracks aren’t cosmetic—they’re the wall’s early warning system. Ignoring them rarely saves time; it just delays the bill." — Sarah Lin, Conservation Plasterer & Author of Repairing Old Walls, 2021
| Plaster Type | Suitable Filler | Avoid |
|---|---|---|
| Lime plaster (pre-1950s) | Hydraulic lime putty, NHL 2.0 | Acrylic fillers, PVA-sealed surfaces |
| Gypsum plasterboard | Acrylic multi-finish, Easi-Fill | Lime-based fillers, cementitious compounds |
| Modern skim coat (gypsum-based) | Ready-mixed joint compound | Flexible decorators’ caulk (poor sandability) |
If your crack hasn’t widened beyond 1 mm and shows no signs of damp or structural shift, you’re likely dealing with a surface-level issue—solvable with better prep and product matching. But if it’s growing, accompanied by sloping floors or sticking doors, pause and diagnose structural wall cracks first. A plaster repair shouldn’t be a battle against physics—it should work with your home’s natural behavior.