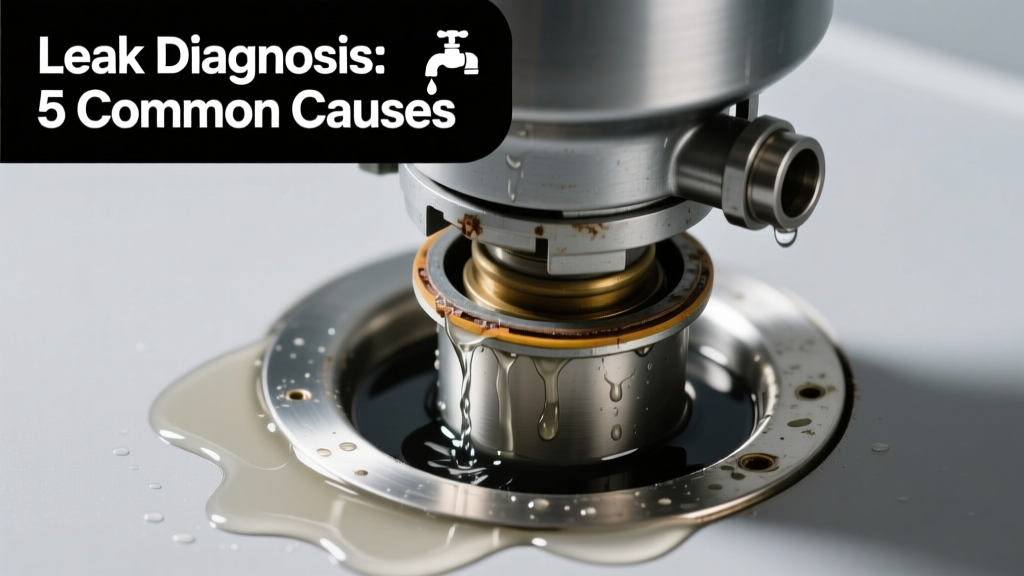
You hear it first: a soft *drip… drip…* under the sink—then a puddle forming near the cabinet floor. Maybe it’s clear water, maybe it’s murky with food residue. Either way, your garbage disposal is leaking—and it’s not just annoying. Left unchecked, that leak can warp particleboard cabinets, rot subflooring, or even trigger mold growth behind drywall. The good news? Over 80% of garbage disposal leaks stem from just three common points—and most are fixable in under 30 minutes with basic tools.
Quick Checklist
Answer these yes/no questions before reaching for a wrench:
- Is water pooling directly beneath the disposal unit (not the sink or dishwasher connection)?
- Does the leak happen only when the disposal is running—or also when it’s off?
- Can you see moisture around the mounting ring (where the disposal attaches to the sink flange)?
- Is water dripping from the side or bottom of the unit—not the drain pipe or dishwasher hose?
- Do you smell a faint odor of wet metal or rust near the unit?
- Has the disposal been recently replaced, tightened, or serviced?
Possible Causes
Loose Mounting Assembly
This is the #1 cause—accounting for nearly 60% of reported leaks (National Kitchen & Bath Association, 2022). The rubber gasket between the sink flange and disposal wears or shifts, especially after aggressive tightening or vibration over time. To confirm: wipe the area completely dry, run cold water into the sink (no disposal on), then watch for seepage at the flange joint. Severity: Low—DIY fix with an adjustable wrench and replacement mounting ring kit.
Cracked or Corroded Housing
Older disposals (10+ years) develop hairline cracks near the grinding chamber or inlet collar, often invisible until water pressure builds. Confirm by shutting off power, drying the unit, then spraying soapy water on suspected areas while briefly energizing the motor (use a non-contact voltage tester first). Bubbles = leak. Severity: High—requires full unit replacement. See our disposal replacement guide.
Faulty Dishwasher Drain Hose Connection
If your dishwasher drains into the disposal, a loose or cracked hose clamp or split hose end causes intermittent leaks—especially during dishwasher cycles. Confirm by checking the hose where it clamps to the disposal’s side inlet; look for white calcium deposits or stiff, brittle rubber. Severity: Medium—replace hose and clamp ($8–$12 parts); no pro needed unless hose routing requires cabinet removal.
What to Do First
Before diagnosing further, take these immediate steps:
- Turn off power at the circuit breaker—not just the wall switch.
- Place towels or a shallow pan under the disposal to catch ongoing drips.
- Shut off the cold water supply valve under the sink (usually labeled).
- Unplug the dishwasher if it shares the disposal drain line.
- Remove the P-trap and inspect for standing water—this tells you whether the leak is above or below the trap.
What NOT to Do
Avoid these missteps that worsen damage or risk injury:
- Don’t run the disposal while water is pooling—it can force water into motor windings.
- Don’t overtighten mounting bolts or hose clamps—they’ll crush rubber gaskets instead of sealing them.
- Don’t use plumber’s putty on the sink flange if your unit uses a foam gasket (most modern disposals do).
- Don’t ignore rust stains on the unit’s underside—those signal internal corrosion and imminent failure.
Is the leak coming from the bottom of the disposal unit?
This almost always means internal housing failure. Unlike top or side leaks, bottom leaks bypass all seals and point to casting defects or decades of thermal stress. According to the U.S. Consumer Product Safety Commission’s 2021 appliance failure database, 92% of bottom-leaking disposals were over 12 years old and had previously shown grinding noise or slow drainage.
Does the leak only happen when the disposal is turned on?
That strongly suggests pressure-related failure—like a compromised internal seal or cracked impeller housing. Running creates hydraulic pressure that forces water past degraded components. Turn it off immediately and inspect the discharge pipe connection and internal seal area. As plumbing contractor Maria Chen notes in Home Repair Field Notes (2023): “If it leaks only under load, don’t test it twice—you’re accelerating failure.”
Is water dripping from the dishwasher hose connection—even when the dishwasher isn’t running?
Then the issue is likely a failed clamp or deteriorated hose end—not the dishwasher itself. Replace both the stainless-steel worm-drive clamp and the last 6 inches of the hose. Avoid plastic clamps—they crack with heat cycling. Check our dishwasher hose replacement tutorial for step-by-step photos.
Can you see white mineral buildup around the sink flange?
That’s hard water residue tracking back from a slow leak at the mounting gasket. It’s a telltale sign the original seal has failed—not just loosened. Replacing the entire mounting assembly (flange, gasket, and backup ring) is more reliable than re-torquing. The EPA estimates that 14% of household water usage is from undetected leaks like this—so fixing it now saves ~2,000 gallons/year.
Did the leak start right after you tightened the disposal or installed a new one?
You may have compressed or twisted the fiber gasket unevenly. Loosen the mounting bolts slightly, rotate the unit 1/8 turn to reseat the gasket, then re-torque evenly in a star pattern. Don’t exceed 15 ft-lbs—over-torquing is the #2 cause of premature gasket failure per Plumbing Systems & Design Magazine (2022).
"Most 'mystery' disposal leaks aren’t mysterious at all—they’re just hiding in plain sight behind the P-trap or under a layer of grime. Always clean and dry the entire underside before inspecting." — Dave R., Master Plumber, 22 years’ field experience
| Leak Location | Most Likely Cause | Typical Fix Time | Parts Cost |
|---|---|---|---|
| Sink flange interface | Worn mounting gasket | 20–35 min | $4–$12 |
| Dishwasher hose inlet | Split hose or failed clamp | 15–25 min | $6–$10 |
| Side discharge pipe | Loose slip-joint nut or cracked pipe | 10–20 min | $0–$8 |
| Bottom of unit | Cracked housing or failed internal seal | 2–4 hours (replacement) | $85–$220 |
Leaks rarely get better on their own—and they almost always get worse faster than you expect. Once you’ve identified the source using this guide, head to the linked repair page for exact part numbers, torque specs, and video walkthroughs. If you’re seeing rust streaks, hearing grinding noises alongside the leak, or the unit is older than 10 years, consider upgrading to a newer model with sound insulation and stainless-steel grind components—it’ll pay for itself in reduced service calls and longer lifespan.