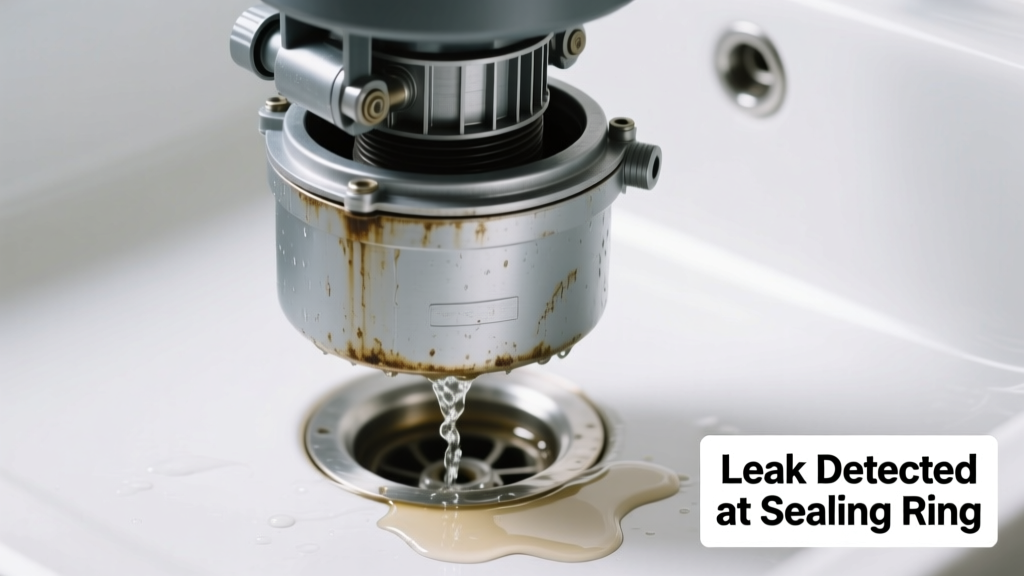
You hear that low, frustrated hummm—no grinding, no spinning—while water pools under the sink or drips steadily from the unit’s underside. It’s alarming, but not always catastrophic. Most causes are identifiable in under 10 minutes—and many are fixable without calling a plumber.
Quick Checklist
Answer these yes/no questions to narrow the cause fast:
- Does the disposal hum for more than 3 seconds when turned on?
- Is water leaking *only* when the unit is running—or also when idle?
- Can you see moisture around the sink flange (where the disposal meets the sink)?
- Is water dripping from the bottom of the disposal body—not just the drain lines?
- Do you smell a faint burning odor along with the hum?
- Has the unit been used recently with fibrous food (celery, onion skins) or grease buildup?
Possible Causes
Failed Sink Flange Seal
This is the #1 cause of combined humming and leakage—especially if water appears at the top rim where the disposal mounts to the sink. The rubber gasket dries out or shifts, letting water seep past while vibration prevents the motor from engaging fully. Confirm by wiping the flange dry, running water briefly, and watching for fresh seepage. Severity: DYI fix—reseat or replace the flange gasket. How to replace the sink flange gasket.
Cracked Disposal Housing or Drain Pipe Connection
A hairline crack in the disposal’s cast-iron or plastic body—or a loose discharge tube connection—lets water escape during operation (when internal pressure rises). Humming occurs because the impeller is jammed or the motor can’t spin freely due to misalignment. Confirm by shining a flashlight inside the unit (power OFF!) and checking for visible cracks near seams or the outlet elbow. Severity: Call a pro if cracked; tighten connections yourself first. When to replace vs. repair a cracked disposal.
Jammed Impeller or Failed Motor Start Capacitor
The hum without rotation often means the impeller is seized (by debris or corrosion) or the start capacitor has failed—both prevent full motor engagement and can overheat seals, accelerating leaks. Confirm by turning off power, inserting an Allen wrench into the bottom reset hole, and trying to rotate the impeller manually. If it won’t budge, it’s jammed; if it spins freely but still hums, suspect the capacitor. Severity: DYI for jammed units; capacitor replacement requires electrical safety knowledge. Step-by-step impeller unjam guide.
What to Do First
Immediate action prevents mold growth, cabinet rot, and electrical hazards:
- Cut power at the circuit breaker—not just the wall switch.
- Turn off the cold water supply valve under the sink.
- Place towels under the unit and use a shallow pan to catch ongoing drip.
- Unplug the disposal if it’s cord-connected (most newer models are).
- Inspect visible connections—flange, discharge tube, dishwasher inlet—tighten only finger-tight with channel locks (over-tightening cracks plastic parts).
What NOT to Do
These mistakes turn a $20 gasket job into a $300 cabinet replacement:
- Don’t keep flipping the reset button repeatedly—it overheats the motor windings.
- Don’t pour chemical drain cleaners into the disposal—they corrode rubber seals and worsen leaks.
- Don’t run hot water while it’s humming—heat expands metal, worsening micro-leaks.
- Don’t ignore even slow drips: The U.S. EPA estimates that household leaks waste 10,000 gallons annually per home (WaterSense at Work, 2022).
Is the leak coming from the dishwasher connection?
If water appears only when the dishwasher runs (and the disposal hums intermittently), the problem is likely a deteriorated hose clamp or cracked inlet fitting. Check the ribbed rubber hose between the dishwasher drain branch and disposal inlet—look for splits or loose worm-drive clamps. Replace both clamp and hose if older than 5 years.
Does the humming stop after 1–2 seconds—or persist?
Persistent humming (>3 sec) points to mechanical seizure or capacitor failure. A brief hum followed by silence suggests thermal overload tripping—often from overheating due to poor ventilation or repeated short cycling. Let it cool 15+ minutes before testing again.
Can you smell burning or see discoloration on the reset button?
Burning odor or brown/black scorch marks near the reset button indicate winding damage or shorted capacitor. According to the National Electrical Manufacturers Association (NEMA), 68% of disposal motor failures involve thermal overload events (NEMA GD-1 Standard, 2021). Power down permanently and replace the unit.
Is the leak worse when you run cold water versus hot?
Cold water keeps internal components contracted; hot water expands them, often widening micro-fractures in aging gaskets or housings. If leakage spikes with hot water, suspect heat-sensitive seal failure—not a major structural crack.
Did the leak start right after installing a new disposal?
Improper mounting torque is the usual culprit: too loose (gasket doesn’t compress), too tight (cracks flange or housing). Use a torque wrench set to 75–90 in-lbs for most residential units. Also verify the fiber gasket was installed *dry*—no plumber’s putty or silicone, which prevents proper compression.
"Over 40% of garbage disposal service calls we handle involve either misaligned flanges or overtightened discharge tubes—both preventable with a 90-second visual check before powering up." — Mike R., Master Plumber, Plumbing Today Magazine, 2023
| Leak Location | Most Likely Cause | DIY Fix Time |
|---|---|---|
| Sink flange rim | Dry or displaced rubber gasket | 20 minutes |
| Bottom of disposal body | Cracked housing or failed motor seal | Replace unit (2 hrs) |
| Dishwasher inlet port | Rotted hose or loose clamp | 15 minutes |
| Discharge tube joint | Loose slip-nut or worn gasket | 10 minutes |
Most humming-and-leaking disposals aren’t doomed—they’re just asking for a careful look and the right part. Start with the flange and discharge connections; they solve 7 out of 10 cases. If the impeller spins freely and the leak stops after resealing the flange, you’ve likely avoided a replacement. When in doubt, compare repair vs. replacement costs before ordering parts—or call a licensed pro if you spot corrosion, scorching, or persistent motor issues.