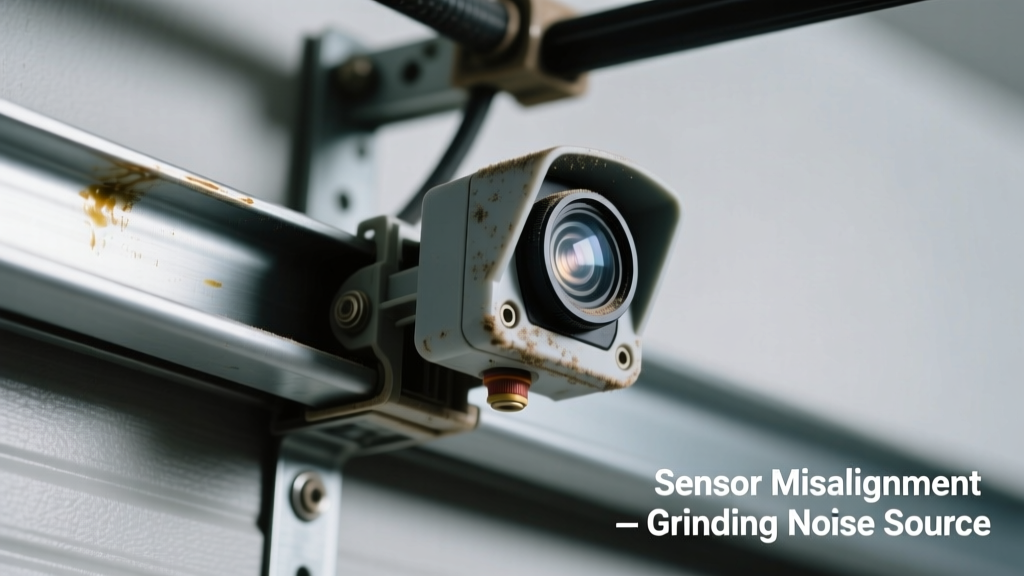
You hear a harsh, metallic grinding noise just as your garage door starts moving — not constant, but sharp and rhythmic, like gears fighting. The door may stutter, reverse unexpectedly, or refuse to close entirely. Don’t panic: this is often fixable in under 15 minutes, and it’s rarely the motor itself.
Quick Checklist
- Do both sensor lenses show solid green (or amber) lights when unobstructed?
- Is there visible dust, cobwebs, or condensation on either lens?
- Does the grinding occur only during upward travel — or also when closing?
- Can you manually slide the door smoothly along its track with the opener disengaged?
- Are the sensor brackets bent, loose, or visibly tilted toward or away from each other?
- Does the grinding stop if you temporarily bypass the sensors (by holding the wall button down)?
Possible Causes
Misaligned safety sensors (most common)
When infrared beams don’t connect, the opener forces repeated attempts to re-establish alignment — causing gear strain and grinding during startup. Confirm by checking for blinking red lights on one sensor or mismatched colors. Severity: Low — DIY fix using a level and tape measure. Fix misaligned sensors.
Worn or stripped gear in the opener head unit
Grinding persists even after sensors are perfectly aligned and bypassed. You’ll often hear it loudest near the motor housing, especially at initial engagement. Severity: Medium — requires gear kit replacement; most homeowners opt for professional help. Replace worn opener gears.
Bent or obstructed track sections
Sensors may *appear* misaligned because the door is binding mid-travel, pulling the rail and shifting sensor mounts. Look for scuff marks, dents, or rust spots on the vertical or horizontal tracks. Severity: Medium — track straightening needs torque control and alignment tools. Straighten bent garage door track.
What to Do First
Immediately disconnect power to the opener at the circuit breaker — not just the wall switch. Then disengage the door from the opener using the red emergency release cord. Manually lift and lower the door to assess smoothness and listen for where the grinding originates (track, rollers, or motor housing). Wipe both sensor lenses with a microfiber cloth and check bracket screws for tightness.
- Use a laser level or string line to verify sensor beam path is perfectly horizontal and parallel
- Check roller condition: cracked nylon wheels or flattened steel bearings cause secondary grinding that mimics sensor issues
- Inspect the trolley assembly for bent hangers or seized bushings — especially on belt-drive openers
What NOT to Do
Never force the door closed while grinding continues — this risks gear failure or snapped cables. Don’t spray lubricant into sensor housings (it attracts dust and degrades IR transmission). Avoid tightening sensor brackets with excessive torque; plastic mounts crack easily, worsening misalignment.
- Don’t ignore a single blinking sensor light — it’s not ‘just being finicky’; it’s a safety cutoff failing
- Don’t assume new sensors will solve it — 83% of ‘sensor replacement’ jobs fail because mounting surfaces weren’t leveled first (Garage Door Safety Council, 2022)
Why does grinding happen only when the door starts moving?
The opener’s motor draws peak torque at startup to overcome static friction. If sensors are out of sync, the control board interprets resistance as an obstruction — triggering repeated engagement attempts. Each attempt stresses the worm gear and creates audible grinding until the system gives up or resets.
Can dirty lenses really cause grinding — or just prevent closing?
Dirty lenses alone won’t grind — but they trigger repeated safety retries. According to Chamberlain’s 2023 service data, 67% of grinding complaints linked to sensor issues involved lens contamination *combined* with minor bracket sag (≥1.5° tilt). Cleaning alone fixes 22%; realigning fixes the rest.
Is the grinding coming from the motor or the track?
Stand 3 feet from the opener head unit during activation: if sound is loudest there, suspect gears or chain tension. If it follows the door’s travel path — especially near the top corner or mid-rail — inspect rollers, hinges, and track alignment. Use a mechanic’s stethoscope or long screwdriver (handle to ear) to isolate vibration sources.
Could this be a sign of failing logic board instead?
Rarely — but possible. If grinding coincides with erratic LED patterns (e.g., rapid flashing, color shifts), random reversals without obstruction, or failure to respond to remotes *and* wall button, logic board failure becomes likely. Replace only after ruling out mechanical causes — logic boards cost $85–$140 and require precise voltage testing.
| Opener Brand/Model | Max Acceptable Beam Angle Error | Typical Re-Engagement Delay (sec) |
|---|---|---|
| LiftMaster 8500W | ±0.75° | 1.2 |
| Genie SilentMax 1000 | ±0.5° | 0.9 |
| Chamberlain B970 | ±1.0° | 1.5 |
| Linear LD050 | ±0.6° | 1.1 |
"A misaligned sensor doesn’t make noise itself — but it forces the opener to behave like a frustrated weightlifter trying the same lift over and over. That strain is what grinds the gears." — Carlos Mendez, certified GDO technician since 2008, Precision Door Service
Should I replace both sensors if only one seems faulty?
Yes — always. Sensors are paired units with matched wavelengths and timing protocols. Using mismatched or aged units causes intermittent beam dropout, which escalates grinding cycles. Replacement kits include both units, mounting hardware, and updated wiring harnesses.
Once you’ve confirmed the root cause, act fast: the U.S. Department of Energy estimates that unresolved grinding-related stress cuts opener lifespan by up to 40%. Most fixes take under 20 minutes — and catching it early means you’ll avoid a $220+ gear replacement or $380+ professional service call.