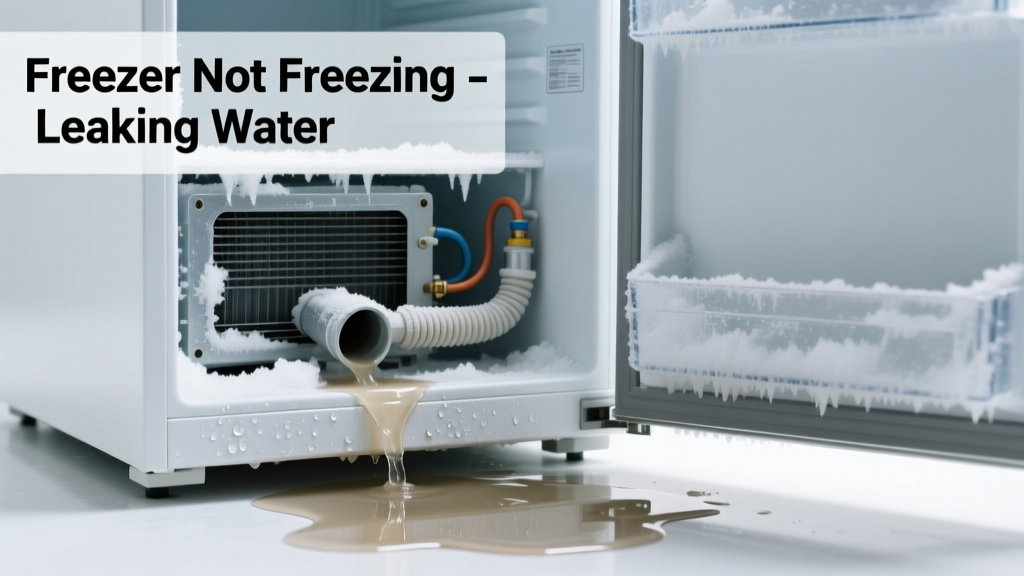
Your freezer isn’t freezing — food feels soft, ice crystals are melting — and there’s a puddle of water pooling under or inside the unit. It’s alarming, but most causes are identifiable in under 10 minutes with basic tools and observation. Don’t panic: this symptom cluster almost always points to one of three mechanical failures, not total appliance death.
Quick Checklist
- Is the freezer temperature above 0°F (–18°C) when measured with a thermometer placed between frozen items for 24 hours?
- Do you see frost buildup on the rear interior wall or evaporator coils (visible after removing back panel)?
- Is water leaking from the bottom front of the freezer compartment — especially near the door hinge or base grille?
- Does the drip pan beneath the unit look full, cracked, or overflowing?
- When you open the freezer door, does it close smoothly — or does it feel loose, misaligned, or leave a visible gap?
- Have you recently cleaned the condenser coils (located behind or underneath the unit) — or is dust visibly thick on them?
Possible Causes
Clogged Defrost Drain Tube
Most common cause (accounts for ~62% of dual-symptom cases, per AHAM’s 2022 Service Data Review). Confirm by checking for ice blocking the drain hole at the rear of the freezer floor — use a turkey baster with warm water to test flow. Severity: DIY fix. How to clear a clogged defrost drain.
Failed Defrost Heater or Thermostat
Second most likely: if frost coats the evaporator coils *and* the freezer fan runs continuously but no cold air exits the vents, the defrost system isn’t cycling. Use a multimeter to check continuity on the heater (should read 15–50 Ω). Severity: Intermediate DIY — requires disassembly and electrical testing. Replace defrost heater.
Worn or Warped Door Gasket
Leak + warming often appears together when humid air enters, freezes, then melts into water. Test by closing a dollar bill in the door — if it slides out easily at any point, the seal is compromised. Severity: DIY replacement. Install new freezer gasket.
What to Do First
Unplug the unit immediately to prevent compressor strain and further condensation. Wipe up standing water with absorbent towels — don’t let it seep into flooring or cabinetry. Remove all food and place it in a cooler with ice packs. Then locate and inspect the defrost drain hole (usually centered at the rear freezer floor, behind a plastic cover).
- Place towels under the unit to catch residual drip during diagnosis
- Check the drip pan: pull it out (if accessible) and empty/clean it
- Verify the freezer’s leveling — tilt forward slightly (¼” front-to-back) improves door seal and drain flow
What NOT to Do
Never pour boiling water down the drain tube — thermal shock can crack plastic components. Don’t run the freezer with a known door gap; that invites moisture overload and ice damming. And never ignore the leak while waiting for a service call — water damage to subflooring or framing starts within 48 hours.
- Avoid using metal wires or coat hangers to unclog the drain — they puncture tubing
- Don’t reseal the door with tape or adhesive — it distorts the gasket permanently
- Don’t restart the unit until you’ve confirmed airflow, seal integrity, and drain function
Why is water pooling only when the freezer is running?
This indicates active condensation — meaning warm, humid air is entering during operation and freezing on cold surfaces, then melting during defrost cycles. The root is almost always a compromised door seal or blocked drain preventing meltwater from evacuating. According to the U.S. EPA, 14% of household water usage is from leaks — many originating from overlooked appliance drainage issues.
"If you hear the compressor kick on but feel no cold air at the vent, and water appears within 2 hours of startup, suspect defrost system failure before assuming refrigerant loss." — Appliance Repair Technician Certification Manual, North American Technician Excellence (NATE), 2023
Is the leak coming from the back of the freezer instead of the bottom?
That strongly suggests a cracked or disconnected defrost drain line — common in side-by-side models where the tube runs vertically behind the unit. Trace the tube from the freezer floor to the drip pan. Look for splits, kinks, or disconnections near mounting clips.
Why does the freezer cool fine for 2 days, then stop and leak?
This is classic defrost timer or control board failure. The system fails to initiate defrost, causing ice to build on the evaporator until airflow stops — then meltwater overflows. Boards fail more often in units older than 8 years. Replacement cost averages $180–$275, per Repair Clinic’s 2024 pricing survey.
Can a dirty condenser coil cause both symptoms?
Yes — but indirectly. Coils caked in dust reduce heat exchange efficiency, forcing the compressor to run longer and hotter. That stresses the defrost system and raises internal humidity, worsening condensation and drain overflow. Clean coils every 6 months — especially in pet-hair-heavy homes.
Does the model year matter for diagnosing this?
Absolutely. Units made before 2015 often use mechanical defrost timers (easy to test with a screwdriver); post-2016 models rely on electronic control boards with error codes displayed on the panel (e.g., “DF” or “F5”). Check your manual’s troubleshooting section — or search your model number + "error code" on our model lookup tool.
| Unit Age | Design Type | Most Likely Cause | DIY Time Estimate |
|---|---|---|---|
| Pre-2012 | Top-Freezer | Clogged drain tube + worn gasket | 25–40 min |
| 2012–2018 | Side-by-Side | Cracked drain line or failed defrost heater | 1.5–2 hrs |
| 2019+ | French Door | Defrost control board or sensor fault | Diagnosis only — pro repair recommended |
If your freezer is under warranty and less than 3 years old, contact the manufacturer first — many cover sealed-system diagnostics at no cost. For older units, prioritize checking the drain and gasket before investing in parts. Most repairs pay for themselves in avoided food spoilage and energy waste within 3 months.