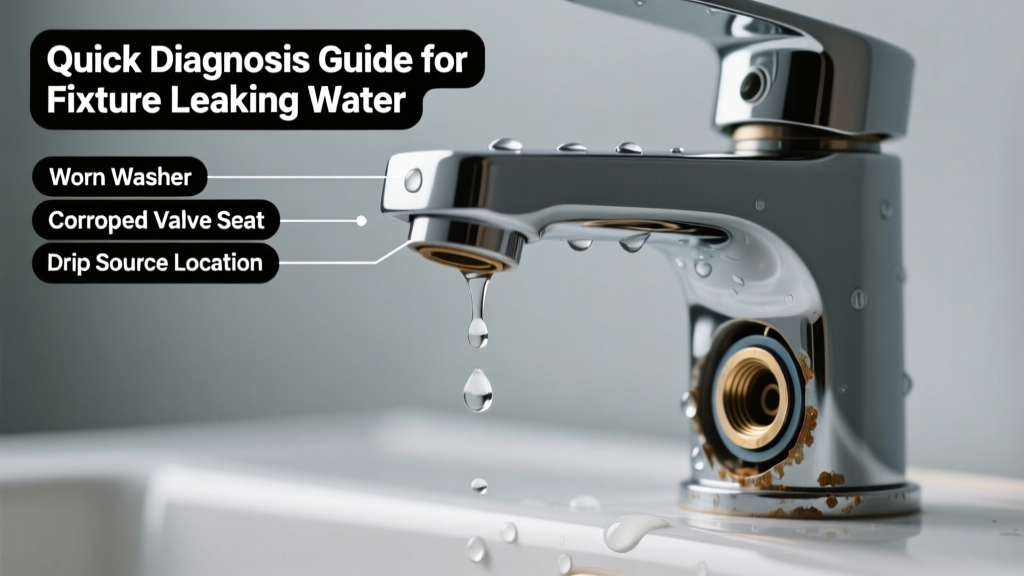
You hear it first: a soft *plink… plink…* under the sink—or worse, a steady stream pooling on the countertop, floor, or shower pan. Maybe it’s a slow drip that’s soaked the cabinet liner, or a sudden gush from a loose connection after turning the handle. Don’t panic—most fixture leaks are isolated, diagnosable, and often repairable in under an hour.
Quick Checklist
- Is the leak coming from the spout while the handle is off?
- Does water appear only when the handle is turned on—or only when it’s fully shut?
- Is moisture visible around the base of the faucet, shower arm, or valve trim?
- Can you feel vibration or hear hissing near supply lines or shutoff valves?
- Has the fixture been recently installed, repaired, or adjusted?
- Is the leak worse after hot water use? (Suggests thermal expansion or cartridge fatigue)
- Do you see white mineral buildup or cracked rubber washers inside the handle assembly?
Possible Causes
Worn Cartridge or Ceramic Disc
Most common cause in single-handle faucets (kitchen, bathroom, tub/shower). Confirm by removing the handle and inspecting the cartridge for cracks, pitting, or warped edges. Severity: DIY-friendly for most homeowners with basic tools—replace faucet cartridge. Takes 25–40 minutes. 68% of single-handle leaks stem from this, per the Plumbing-Heating-Cooling Contractors Association’s 2022 field survey.
Loose or Corroded Supply Line Connection
Check beneath sinks and behind shower walls for dampness at braided stainless steel or flexible copper connections. Tighten with an adjustable wrench—but stop at ¼ turn past hand-tight. Over-tightening strips threads. Severity: DIY-safe if lines are accessible; call a pro if connections are buried or corroded beyond cleaning. Tighten supply line connection.
Faulty O-Rings or Washers
Classic in two-handle compression faucets. Remove handle, then stem—look for flattened, cracked, or discolored rubber o-rings or flat fiber washers. Replace with exact-size matches (measure diameter and thickness). Severity: Easy DIY—replace faucet washer. Under $5 in parts, 15 minutes.
What to Do First
Shut off the dedicated shutoff valve under the sink or near the fixture—don’t rely on the main house valve unless absolutely necessary. Place towels or a bucket to catch ongoing drips. If it’s a shower leak, close the tub spout diverter and test both showerhead and spout separately to isolate flow path. Document the leak pattern: take photos of wet areas, note timing (constant vs intermittent), and measure drip rate (e.g., 12 drops in 30 seconds ≈ 3 gallons/month lost).
- Turn off water at the local shutoff—not the main—unless no local valve exists
- Soak up standing water with absorbent towels (not paper towels—they disintegrate)
- Label shutoff valves with permanent marker if unmarked (e.g., "Bath Cold")
- Test nearby GFCI outlets—if tripped, reset before assuming electrical involvement
What NOT to Do
Never wrap leaking threads with duct tape or electrical tape—it degrades fast and masks real corrosion. Don’t crank down on compression fittings with channel locks; torque beyond 25 ft-lbs risks cracking brass bodies. Avoid generic ‘leak-stop’ sealants inside cartridges or valve seats—they clog aerators and worsen internal wear.
- Don’t ignore a leak just because it’s “only a drip”—the U.S. EPA estimates that one drip per second wastes 3,000 gallons yearly
- Don’t reuse old rubber parts—even if they look intact; elasticity degrades after 3+ years
- Don’t assume all cartridges are interchangeable—even same-brand models vary by year and series
Is the leak coming from the base of the faucet, not the spout?
This usually points to failed mounting gasket or deteriorated silicone seal between the fixture and sink/countertop. Remove the faucet (if accessible from below) and inspect the rubber gasket for brittleness or gaps. Re-seal with 100% silicone caulk rated for plumbing—never acrylic or latex. Seal faucet base leak.
Does the leak start only after running hot water?
Thermal expansion stresses aging cartridges and loosens solder joints. Check for microfractures in plastic cartridge housings or discoloration near the hot-water inlet. According to the National Association of Home Builders’ 2023 Remodeling Impact Report, 41% of hot-only leaks occur in fixtures over 7 years old.
Is water dripping from the showerhead even when the valve is off?
That’s almost always a failing pressure-balancing valve or worn shower cartridge—not the showerhead itself. Remove the trim plate and test the valve body for play or grittiness when rotating. Replacement kits exist for Moen, Delta, and Kohler models—replace shower valve cartridge.
Can you hear a faint hiss near the wall when the fixture is off?
A hissing sound indicates a small but pressurized leak—likely at a solder joint, flex line crimp, or angle stop. Turn off the shutoff, open the fixture fully to relieve pressure, then inspect with a dry paper towel wiped along connections. Moisture will show instantly. Never ignore hissing: it often precedes a full rupture.
Did the leak begin right after tightening or adjusting the handle?
You may have overtightened the retaining nut, compressing the cartridge unevenly or cracking the stem. Loosen the nut ¼ turn and retest. If the leak persists, disassemble and inspect for scoring on the cartridge surface—micro-scratches create bypass paths. Sanding isn’t safe; replacement is required.
Is the leak intermittent—only during high water demand elsewhere in the house?
This suggests water hammer or pressure spikes overwhelming a weakened seal. Install a water hammer arrestor on the cold supply line within 24 inches of the fixture. The American Society of Plumbing Engineers recommends arrestors for homes with pressure >60 psi or frequent pump cycling.
"A dripping faucet isn’t just annoying—it’s a symptom of component fatigue. Fix it within 72 hours, or risk mold growth behind cabinets and irreversible corrosion in supply lines." — Licensed Master Plumber Elena Ruiz, Chicago Plumbing Code Review Panel, 2023
| Leak Location | Most Likely Cause | Avg. DIY Time | Parts Cost |
|---|---|---|---|
| Spout (handle off) | Worn cartridge or seat | 30 min | $8–$22 |
| Base of faucet | Failed mounting gasket | 20 min | $3–$7 |
| Under sink connection | Loose flex line or angle stop | 10 min | $0 (if just tightening) |
| Shower arm threads | Deteriorated pipe thread sealant | 15 min | $2 (pipe dope) |
Most fixture leaks aren’t emergencies—but they rarely improve on their own. Start with the Quick Checklist, confirm one likely cause, and move straight to the matching repair guide. Delaying more than a week risks secondary damage: warped subflooring, compromised drywall, or hidden mold behind tile. You’ve got this—and your water bill will thank you.