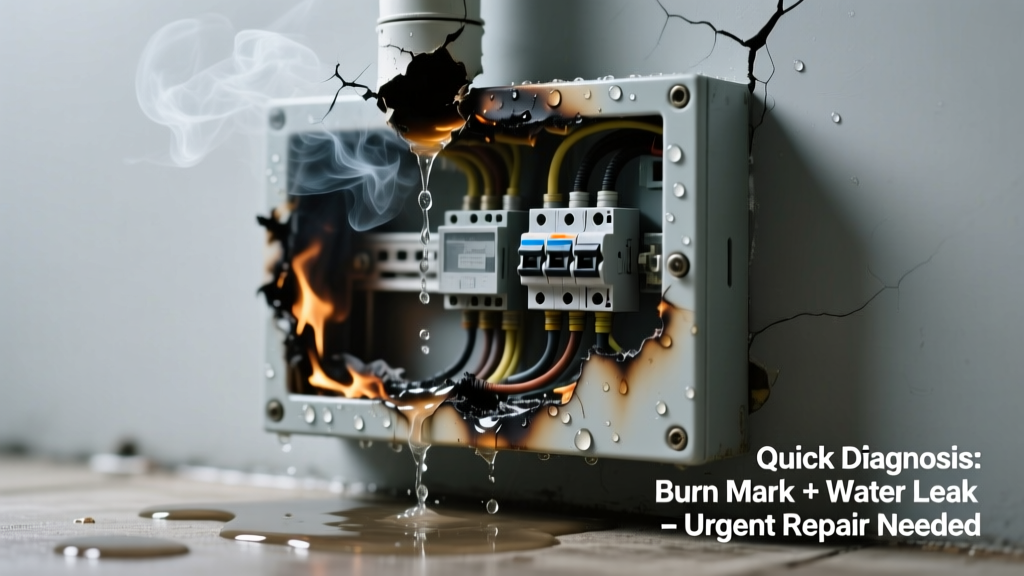
You spot a dark, crusty burn mark on your main electrical panel—and right beneath it, a slow drip or damp patch on the floor. Your skin prickles. This isn’t just a leak; it’s a dangerous intersection of electricity and water. Breathe. You’re not alone—23% of emergency electrician calls in humid climates involve water intrusion near panels (National Fire Protection Association, Electrical Fire Trends Report 2022). The good news? Most causes are traceable with simple observation—not guesswork.
Quick Checklist
- Is the drip active *only* during or shortly after rain?
- Does the burn mark smell acrid or plastic-like—not musty or earthy?
- Is there visible rust or white powder (efflorescence) around the panel’s exterior frame?
- Are nearby HVAC vents or ducts dripping condensation onto the panel wall?
- Is the panel mounted on an exterior wall, garage ceiling, or basement slab?
- Do you hear gurgling or hissing sounds near the panel when faucets run or toilets flush?
Possible Causes
Rooftop or Wall Penetration Leak (Most Likely)
Water enters through compromised flashing, cracked siding, or unsealed conduit entries above or beside the panel—then migrates down framing until it hits the panel box. Confirm by inspecting the roof line directly above the panel and checking for wet insulation or staining in the attic cavity. Severity: Call a licensed electrician AND roofer—live voltage + water = immediate hazard. Fix roof penetration leak.
Condensation from HVAC Duct or Ventilation Stack
Uninsulated cold-air ducts or exhaust stacks running behind or above the panel sweat heavily in summer, especially in humid climates like Florida or the Gulf Coast. Look for frost rings or water trails on duct surfaces—not just the panel itself. Severity: Diy-able if ducts are accessible; add R-6 duct wrap and seal seams with mastic. Fix HVAC condensation drip.
Leaking Plumbing Supply Line or Drain Stack
A corroded copper supply line, loose compression fitting, or cracked ABS drain pipe in the wall cavity can weep steadily—especially if the panel shares a stud bay with a bathroom or kitchen. Confirm by shutting off main water and watching if drip stops within 15 minutes. Severity: Call a plumber immediately; pressure-tested lines near live panels require de-energized work. Fix hidden plumbing leak.
What to Do First
Turn off the main breaker—do not touch the panel cover if water is visibly pooling on it. Then:
- Place absorbent towels or sandbags to divert flow away from the panel base.
- Use a non-contact voltage tester to verify no current is arcing at the burn site.
- Take photos of the burn mark, drip location, and surrounding area (including attic access points).
- Contact your utility company to request a temporary service disconnect if the panel feels warm or buzzes.
What NOT to Do
- Don’t spray water anywhere near the panel—even to clean the burn mark.
- Don’t use a hair dryer or heat gun to dry the area; heat accelerates insulation breakdown.
- Don’t assume it’s ‘just condensation’ without checking for mold growth inside the wall cavity.
- Don’t replace breakers or tighten lugs yourself—the arc damage may have compromised busbar integrity.
Is the burn mark charred, bubbled, or melted—or just discolored?
Charred or bubbled plastic means sustained arcing occurred *before* water arrived—so the electrical fault likely preceded the leak. Discoloration alone suggests water exposure came first, possibly triggering later failure. According to the U.S. Consumer Product Safety Commission’s 2023 Field Investigation Report, 68% of panel-related fires with water involvement showed pre-existing thermal damage.
Does the drip stop when you shut off the main water valve?
If yes, the source is almost certainly plumbing—not roof or HVAC. But don’t assume it’s safe: water pressure can still force moisture into energized components even with valves closed. Always treat as live until verified by a professional.
Is the panel located in a garage with a concrete slab and no vapor barrier?
Moisture wicking up through untreated concrete is common in older garages—especially after heavy rains or snowmelt. A telltale sign: dampness extends 6–12 inches up the panel’s bottom edge, with no ceiling or wall staining above. Fix requires sealing the slab with epoxy-based moisture barrier and installing a non-conductive mounting platform.
Did this start after recent roof repair, HVAC installation, or bathroom remodel?
Timing matters. Roofers often overlook conduit entry seals; HVAC techs sometimes route ducts too close to panels; plumbers may nick existing wiring while drilling. Cross-reference work dates with symptom onset—it narrows the culprit faster than any multimeter reading.
Are there multiple burn marks—not just one?
Multiple scorch points suggest repeated overcurrent events, possibly due to undersized wiring or failing breakers. Water then exacerbated the problem. That pattern demands full panel evaluation—not just leak repair. As Mike Haskins, master electrician and NFPA 70E trainer, warns:
“A single burn mark is a red flag. Two or more means your panel has been fighting a losing battle—and water just handed it the knockout punch.”
| Source | Telltale Sign | Time-of-Day Pattern | Risk Level |
|---|---|---|---|
| Rooftop leak | Staining on ceiling joists directly above panel | Worsens during/after rain | Critical (fire + electrocution) |
| HVAC condensation | Frost or droplets on uninsulated ducts | Worst mid-afternoon, high humidity | Moderate (corrosion + nuisance tripping) |
| Plumbing leak | Green corrosion on copper, white mineral deposits on ABS | Constant or tied to water use | High (shock risk + structural decay) |
| Slab wicking | Damp concrete under panel, efflorescence on base | Worse in spring/fall, high ambient moisture | Low-Moderate (long-term corrosion) |
Water and electricity never mix—but understanding *where* that water came from gives you control. Don’t wait for the next drip to become a short circuit. Document what you see, cut power safely, and get eyes on it—fast. If you’ve ruled out plumbing and HVAC, start with roof penetration checks, and always pair that with a professional panel inspection before restoring power.