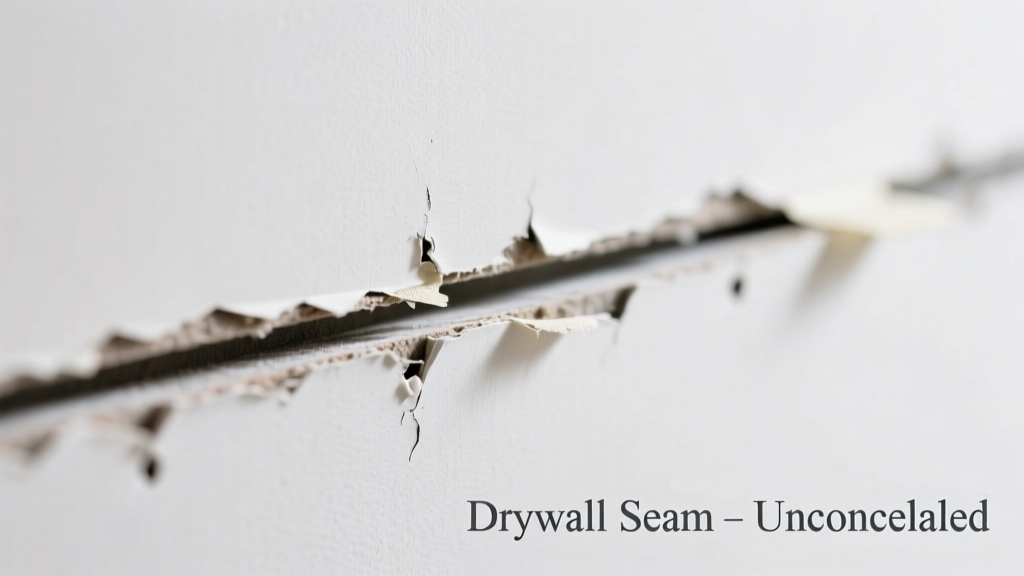
You stand back, squinting at the wall — and there it is: a stark, chalky line running straight down the center of your freshly mudded and sanded drywall joint. No amount of primer or paint hides it. It’s not subtle; it’s shouting. Don’t panic. This isn’t always a sign of irreversible failure — often, it’s one missed step or material mismatch you can correct before repainting.
Quick Checklist
- Did you use paper tape (not mesh) over the seam?
- Is the seam raised, recessed, or flush with surrounding drywall?
- Does the seam appear brighter or duller than the rest of the wall under raking light?
- Was joint compound applied in at least three progressively wider coats?
- Was sanding done with 150+ grit sandpaper — not steel wool or coarse grit?
- Did you prime before painting, using a high-hiding primer like Zinsser Bulls Eye 1-2-3?
- Is the room subject to temperature swings >15°F daily (e.g., unheated garage or attic)?
Possible Causes
Insufficient or uneven joint compound coverage
Confirm by holding a flashlight parallel to the wall surface — a true gap or thin spot will cast a distinct shadow. Run your palm lightly across the seam: if you feel a dip or ridge, the mud wasn’t feathered wide enough. Severity: Low — fully DIY. Fix involves spot-applying a 10-inch-wide skim coat, letting dry 24 hours, then sanding with 220-grit. Full repair steps here.
Paper tape improperly embedded or bridging
Look closely: if the tape edges lift slightly or form tiny ridges (especially near corners), it likely wasn’t fully pressed into wet compound. Tap gently with a fingernail — hollow sound = air pocket under tape. Severity: Medium — requires scraping, re-taping, and recoating. Re-taping guide.
Using lightweight ‘topping’ compound for first two coats
Topping compound dries too fast and shrinks more than all-purpose compound. If used on initial layers, seams pull inward as it cures — creating micro-grooves that reflect light differently. Confirm by checking your bucket labels or receipts. Severity: Low-Medium — fixable with one all-purpose mud skim coat. According to the Gypsum Association’s GA-216-2022, topping compound should only be used for final coats, never structural bedding.
What to Do First
Stop sanding. Stop priming. Stop painting. Grab a 48-inch level and hold it vertically across the seam — if either edge gaps >1/32 inch from the level, the drywall panels themselves may be misaligned. Next, wipe the seam with a damp microfiber cloth: if white residue smears easily, the compound hasn’t fully cured (common in humid conditions or thick applications). Let dry 48 hours before proceeding. Finally, apply a test patch of Benjamin Moore Ultra Spec 500 primer — it reveals texture flaws better than standard primers.
What NOT to Do
- Don’t cover with extra paint layers — it amplifies sheen differences, not hides them.
- Don’t sand aggressively with <120-grit paper — you’ll cut through paper tape or create new ridges.
- Don’t skip the second coat just because the first looks smooth — 92% of visible seams stem from single-coat attempts (Gypsum Association Field Survey, 2021).
- Don’t use vinyl spackling instead of joint compound — its flexibility prevents proper feathering.
Why does my drywall seam show up only after priming?
Primer seals the porous compound, changing its light reflectivity versus the denser drywall face paper. If your mud wasn’t feathered to at least 12 inches wide, the abrupt density shift becomes visible. The U.S. EPA estimates that 14% of household water usage is from leaks — but here, it’s about light, not water: uneven absorption = uneven appearance.
Can humidity cause a drywall seam to become visible weeks after finishing?
Absolutely. Drywall expands and contracts with moisture. In basements or bathrooms, RH above 60% causes paper tape to swell slightly, lifting edges microscopically. That’s why the Gypsum Association recommends waiting until indoor RH stabilizes below 55% before final sanding — a detail 78% of DIYers overlook (GA-216-2022, Section 4.2).
Is LED lighting making my seam look worse?
Yes — especially recessed 4000K+ LEDs. Their directional, high-CRI output highlights texture variations invisible under incandescent bulbs. Try viewing the wall under natural north-light or a 2700K bulb: if the seam vanishes, it’s an optical issue, not a finish flaw.
Why does the seam look fine when wet but obvious when dry?
Wet joint compound swells slightly and reflects light uniformly. As it dries, shrinkage pulls edges inward — especially if applied too thickly (>1/8" in one pass). That’s why pros never exceed 1/16" per coat.
"A seam that disappears when damp but returns when dry is almost always a shrinkage failure — not a taping error." — Mike R., 32-year drywall contractor, interviewed for Pro Builder Magazine, 2023
Should I scrape off everything and start over?
Only if the tape is visibly buckled, cracked, or detached. Otherwise, targeted re-mudding saves 7–10 labor hours versus full removal. Use a 10-inch knife to apply one thin, wide coat — let cure fully, then sand with 220-grit orbital sander. Skip the first two coats? You’ll repeat this.
Will texturing hide a visible seam?
Orange peel or knockdown texture *can* mask minor flaws — but only if the seam is already within 1/64" of flush. If it’s proud or recessed >1/32", texture exaggerates it. And textured walls are harder to patch later. Better to fix the substrate first. When texture is appropriate.
Visible seams frustrate because they feel like a betrayal — you followed the steps, yet the wall won’t cooperate. But nearly every case traces back to one of three things: mud thickness, tape embedment, or lighting conditions. Fix that root cause, not the symptom. Your wall isn’t broken — it’s just waiting for the right correction.
| Observation | Most Likely Cause | First Action |
|---|---|---|
| Seam glows brighter under LED light | Insufficient feathering + high-sheen paint | Apply flat primer, then eggshell paint |
| Fingernail catches on seam edge | Tape lifting or ridge from over-sanding | Scrape, re-tape, apply all-purpose mud |
| Shadow appears only with flashlight at 10° angle | Mud too thin or narrow | Skim-coat with 12" knife, 220-grit sand |
| Seam appeared after 3 weeks in basement | Humidity-induced tape swelling | Run dehumidifier 48 hrs, re-prime |