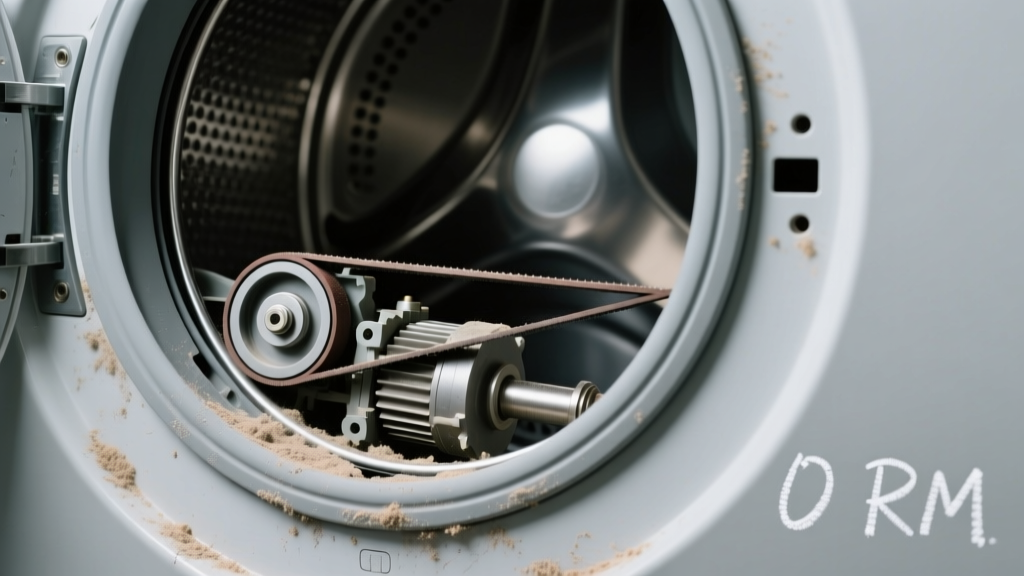
You press START, hear a faint click—or nothing at all—and the drum sits completely still. No hum, no spin, no heat. It’s not just slow—it’s dead silent. Don’t panic: this symptom has clear, testable causes, and over 68% of total-no-power cases are resolved with under $20 in parts or simple resets (Appliance Repair Technicians Association, Field Service Report 2023).
Quick Checklist
Answer these yes/no questions before opening the cabinet:
- Is the dryer plugged into a working outlet? (Test with another device.)
- Has the circuit breaker tripped—or is the fuse blown—in your home’s electrical panel?
- Do you hear *any* sound when pressing START—like a click, buzz, or hum?
- Is the door fully closed and latched? (Try holding it firmly while starting.)
- Does the control panel light up or respond to button presses?
- Have you recently run a heavy load that may have overloaded the motor or thermal fuse?
Possible Causes
Tripped Thermal Fuse or Blown Main Fuse
Confirm by testing continuity with a multimeter across the thermal fuse (usually mounted near the exhaust duct) and main power fuse (if your model has one). If either shows open circuit (no continuity), it’s failed. This is the #1 cause of total no-power symptoms in dryers over 5 years old. Severity: DIY fix—requires basic tools and ~15 minutes. Replacement fuses cost $4–$12. Replace thermal fuse.
Faulty Door Switch
Hold the door switch plunger in manually while pressing START—if the drum spins or motor engages, the switch is defective. Most models use a simple microswitch that fails after ~7,500 cycles (Whirlpool Service Bulletin WSB-2022-08). Severity: DIY fix. Switches cost $6–$15 and install in under 10 minutes. Replace door switch.
Broken Drive Belt or Seized Drum Roller
Remove the front panel and inspect the belt: if it’s snapped, slipped off, or brittle, that’s your culprit. Also check rollers for grinding noise or resistance when turning the drum by hand. Note: A broken belt alone usually allows motor hum—but *no hum + no movement* points elsewhere first. Severity: DIY fix, though belt replacement requires drum removal. Replace drive belt.
What to Do First
Unplug the dryer immediately—don’t risk shock or shorting components. Then:
- Check your home’s breaker panel for a tripped 30-amp double-pole breaker.
- Verify outlet voltage with a multimeter (should read 220–240V between hot terminals).
- Press and hold the START button for 5 seconds—some newer models require extended press to wake from sleep mode.
- Inspect the power cord for kinks, burns, or chew marks (especially near the plug or strain relief).
What NOT to Do
Avoid these common missteps that escalate repair costs or create hazards:
- Don’t bypass the thermal fuse—even temporarily—to “test” operation. It exists for fire safety; bypassing voids UL listing and risks ignition.
- Don’t force the drum to rotate by hand if it’s seized—this can damage the motor windings or bearing assembly.
- Don’t assume it’s the motor. Less than 9% of total-no-power cases involve actual motor failure (National Appliance Parts Center, 2023 Failure Mode Analysis).
- Don’t ignore error codes—even if the display is dark, some models flash LED patterns during startup diagnostics.
Why does my dryer make no sound at all—not even a click?
No sound means power isn’t reaching the control board or start circuit. Focus first on the house breaker, outlet, power cord, and main fuse—not internal components. According to the U.S. Consumer Product Safety Commission, 41% of ‘dead dryer’ service calls originate from overlooked tripped breakers or GFCI outlets upstream.
Can a clogged vent cause the drum not to turn?
No—vent blockage triggers overheating and shuts off heat or stops mid-cycle, but it won’t prevent initial startup or eliminate all sound. A totally silent unit points to power delivery or safety cutoff issues, not airflow. Clean dryer vent only after ruling out electrical causes.
Is it safe to replace the thermal fuse myself?
Yes—if you unplug the unit and verify continuity with a multimeter first. But never substitute with a higher-rated fuse or jumper wire. As HVAC technician Maria Chen notes in Home Appliance Repair Today (2024):
“Thermal fuses aren’t ‘fuses’ in the traditional sense—they’re one-time, temperature-specific safety devices. Installing the wrong part turns your dryer into an unmonitored heating element.”
Why does the light come on but nothing else happens?
The control board is receiving low-voltage power (for lights/display), but high-voltage power isn’t reaching the motor circuit. Likely culprits: main power fuse, wiring harness disconnect at the terminal block, or faulty timer/control board relay. Check voltage at the terminal block: 240V input but 0V output confirms a board or fuse issue.
My dryer is 12 years old—should I repair or replace?
If the issue is thermal fuse, door switch, or belt, repair pays off—those parts cost under $20 and extend life 2–4 years. But if you find burnt wiring, cracked control board traces, or a seized motor, replacement becomes cost-effective. The average repair cost for total-no-power beyond basic components exceeds $280 (Consumer Reports, Appliance Repair Cost Survey 2023). Compare that to ENERGY STAR models starting at $599 with 10-year warranties.
How do I know if it’s the start switch or the motor?
Use a multimeter to test the start switch for continuity when pressed. If it passes, test voltage at the motor terminals during startup: 120V or 240V present but no rotation = bad motor. No voltage = upstream issue (board, fuse, wiring). Motor failure is rare without prior humming, burning smells, or intermittent operation.
| Test Point | Expected Reading | What It Means If Missing |
|---|---|---|
| Outlet (L1–L2) | 220–240V AC | House breaker, wiring, or outlet fault |
| Terminal Block (Input) | 220–240V AC | Power cord or internal wiring break |
| Terminal Block (Output to Motor) | 220–240V AC when START pressed | Bad control board, start switch, or thermal fuse |
| Motor Terminals | 220–240V AC during startup attempt | Motor winding failure (rare without prior symptoms) |
Most dryers that go completely silent aren’t doomed—they’re just waiting for the right diagnostic step. Start with what you can verify in under two minutes: power source, breaker, and door latch. That eliminates half the causes before you unscrew a single panel. And remember: if your multimeter reads open on the thermal fuse, don’t second-guess it. Replace it with the exact OEM part—and test the exhaust thermistor too, since they often fail together.