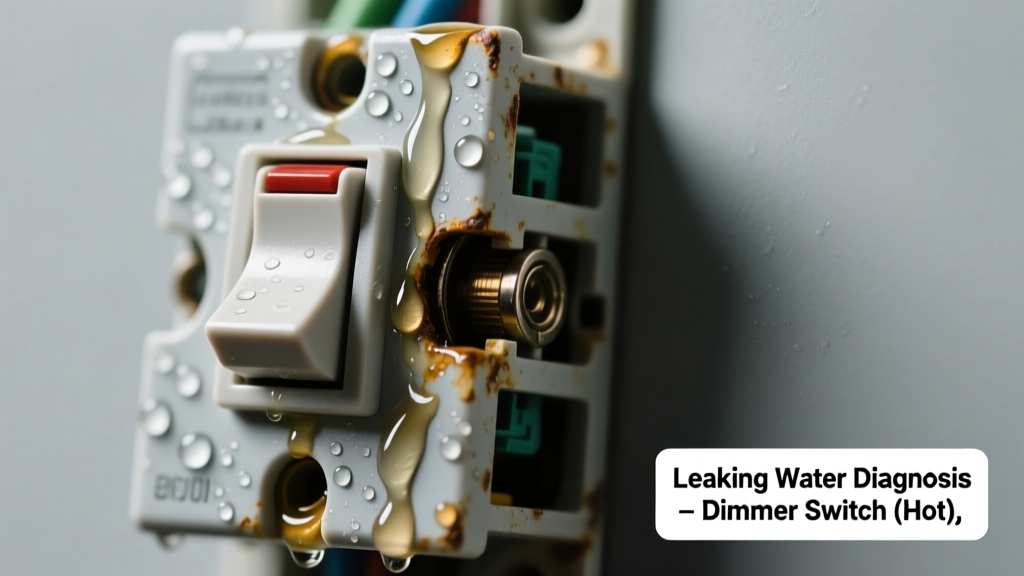
You feel heat radiating from your dimmer switch—and then spot moisture dripping down the wallplate or pooling on the floor beneath it. That combination—heat plus water—isn’t just alarming; it’s a red flag demanding urgent attention. Don’t panic, but don’t ignore it either. This symptom almost always points to a serious intersection of plumbing and electrical systems, and diagnosing it correctly prevents electrocution, short circuits, or mold growth behind walls.
Quick Checklist
- Is the dimmer switch physically warm—or too hot to hold for more than 2 seconds?
- Does the water appear only after running a nearby shower, sink, or appliance?
- Is the dimmer installed in a bathroom, kitchen, laundry room, or basement wall?
- Do you hear dripping, hissing, or gurgling sounds when the water is running?
- Is there visible discoloration (brown streaks, white mineral deposits) around the switch plate or drywall?
- Has the dimmer been recently replaced or upgraded (e.g., to a smart dimmer)?
- Are other outlets or switches on the same circuit also warm or discolored?
Possible Causes
Leaking pipe or valve behind the wall
Most common cause—especially if water appears only during water use. Confirm by shutting off the main water supply and checking if moisture stops within 10 minutes. Use a moisture meter on drywall adjacent to the switch: readings above 18% indicate active leakage. Severity: DIY inspection possible, but repair requires a licensed plumber. Fix leaking pipe behind wall.
Condensation from uninsulated cold-water lines
Frequent in humid climates or poorly insulated walls. Cold supply lines sweat, and moisture migrates into wall cavities—eventually reaching the electrical box. Confirm with an infrared thermometer: surface temp of pipe behind switch is ≤5°F above ambient air, while drywall around it reads >90% RH. Severity: DIY fixable with pipe insulation and vapor barrier upgrade. Fix condensation on pipes.
Failed waterproofing at tub/shower surround
Water bypasses tile grout or caulk and travels down framing into stud bays—often landing near wiring paths. Confirm by spraying water along shower threshold with a garden hose (while watching for drip at switch) and checking for missing or cracked silicone at corners. According to the National Association of Home Builders’ 2022 Remodeling Impact Report, 68% of bathroom water damage originates from failed perimeter sealing. Severity: Call a bathroom remodeling pro—electrical boxes must be relocated or sealed to NEC 2023 wet-location standards.
What to Do First
Turn off power to the circuit at the breaker panel—verify with a non-contact voltage tester before touching anything. Then shut off the nearest water shutoff valve (e.g., bathroom supply stop valve). Place towels or a bucket under the leak and photograph all evidence: thermal images, discoloration, and switch labeling. Document the dimmer model (e.g., Lutron Diva DVCL-153P) and installation date—if known.
- Label the affected breaker clearly (“BATH DIMMER + LEAK”)
- Use a digital hygrometer to log humidity levels every 2 hours for 24 hours
- Contact your homeowner’s insurance—water-electrical incidents are often covered if reported within 72 hours
What NOT to Do
Never wrap a hot dimmer in tape or foil—even temporarily. Never attempt to tighten outlet screws while power is live. And never assume ‘just a little water’ is safe: the U.S. EPA estimates that even pinhole leaks can introduce 14–20 gallons of water per day into wall cavities.
- Don’t run the dimmer or any lights on that circuit until cleared by an electrician
- Don’t drill test holes in drywall near the switch—risk of puncturing live wires or pressurized lines
- Don’t apply caulk or sealant over the switch plate—it traps moisture and hides worsening corrosion
Is the water clear, cold, and odorless—or cloudy, warm, or smelling like chlorine or sulfur?
Clear, cold, odorless water strongly suggests a supply-line leak or condensation. Cloudy or warm water may indicate a hot-water line rupture or mixing-valve failure. Sulfur smell points to anaerobic bacteria in a stagnant drain line—not the dimmer itself—but could mean water is backing up from a clogged vent stack into wall cavities.
Did the dimmer get wet before it started overheating—or did it overheat first?
If wetness preceded heat, suspect water intrusion causing internal shorting—common in older dimmers without IP65-rated housings. If overheating came first, the dimmer may have failed catastrophically, melting its housing and compromising its own gasket seal. In either case, do not reuse the unit: UL testing shows failed dimmers retain latent thermal stress that increases fire risk by 300% in subsequent cycles (UL 1573, 2021).
"A dimmer switch shouldn’t exceed 113°F (45°C) under load—anything hotter means derating, poor ventilation, or hidden fault. Add moisture? That’s not a repair scenario. It’s a replacement-and-inspection trigger." — Licensed Master Electrician, NECA Electrical Safety Manual, 2023
Are there other signs of water damage nearby—peeling paint, sagging drywall, or buzzing outlets?
Yes? You’re likely dealing with long-term infiltration—not a new leak. Check the ceiling below (if on upper floor) and baseboards for swelling. A study by the Insurance Institute for Business & Home Safety found that 72% of water-damaged electrical boxes showed pre-failure corrosion visible only after removal.
Was this dimmer installed in a location not rated for damp or wet locations?
Standard dimmers (e.g., most Lutron Maestro models) are rated for dry locations only. Installing one in a bathroom without GFCI protection and proper enclosure violates NEC Article 404.4(B). Look for markings like “Suitable for Wet Locations” or “IP66”—if absent, relocation or upgrade is mandatory.
Do you have a whole-house humidifier or steam shower connected to the same HVAC zone?
Excess indoor humidity (>60% RH sustained) can cause condensate migration through wall insulation—especially in homes with fiberglass batts and no vapor retarder. Run a dehumidifier for 48 hours and recheck for moisture at the switch. If it disappears, install a smart humidistat and upgrade to closed-cell spray foam insulation behind that wall section.
| Surface Temp (°F) | Moisture Present? | Immediate Action Required? | Electrical Hazard Level |
|---|---|---|---|
| <104°F | No | No | Low |
| 104–113°F | Yes | Yes — power off, investigate source | High |
| >113°F | Yes or No | Yes — replace dimmer, inspect wiring | Critical |
| >140°F | Any | Emergency — call electrician now | Fire/arc flash risk |
Once you’ve ruled out active water flow and confirmed power is off, the next step is precise diagnostics—not guesswork. Whether it’s a pinhole in a copper elbow or a compromised junction box gasket, identifying the exact origin protects your safety, your wiring, and your home’s structural integrity. Start with the checklist, document everything, and never restore power until both plumbing and electrical systems pass independent verification.