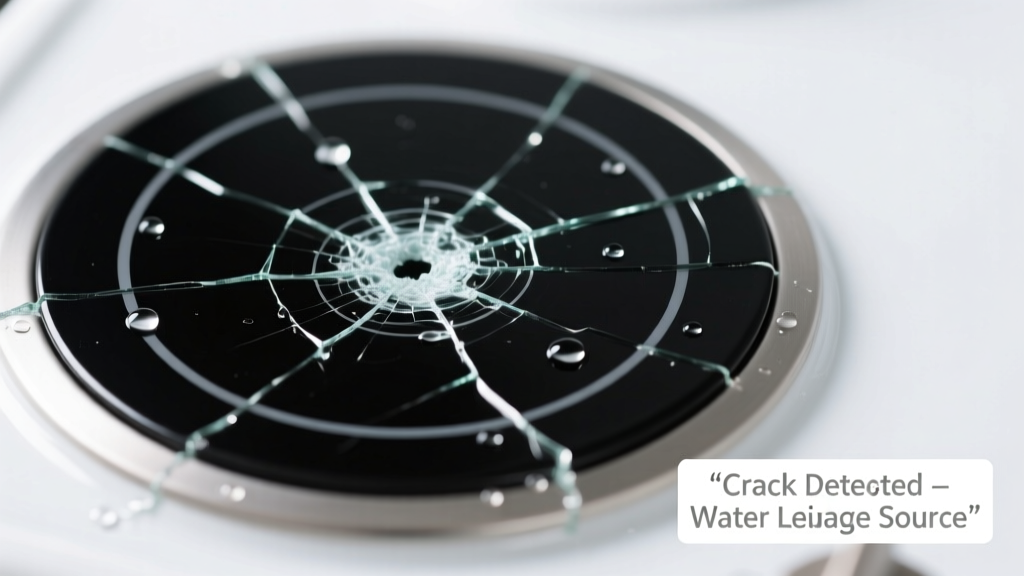
You spot a puddle under your cooktop — not greasy, not oily, but clear, cool water pooling near a visible crack in the ceramic or glass surface. Your heart drops. Is it the sink above? The dishwasher next to it? Or did the cooktop itself fail catastrophically? Don’t panic. Most cracked-cooktop water leaks have traceable, fixable sources — and catching them early prevents cabinet rot, electrical hazards, and costly replacements.
Quick Checklist
- Is the leak happening only when the sink is running or the dishwasher is draining?
- Does water appear *immediately* after turning on the faucet above the cooktop?
- Is the crack located directly beneath the sink’s drain pipe or garbage disposal discharge line?
- Do you hear gurgling or dripping sounds coming from inside the cabinet below the cooktop?
- Is the water warm or steamy — suggesting it’s from a hot water line or boiling pot overflow?
- Has the cooktop been recently cleaned with excessive water or sprayed directly with a hose?
Possible Causes
Leaking sink drain or garbage disposal mounting flange
This is the #1 cause — especially in island or peninsula kitchens where plumbing runs directly beneath the cooktop. A cracked or improperly sealed disposal flange lets water drip straight down onto the cooktop’s underside, then seep through existing microfractures or mounting holes. Confirm by filling the sink, plugging it, then unblocking it while watching for drips beneath. Severity: DIY-friendly if you’re comfortable tightening flange bolts and resealing with plumber’s putty. Fix guide here.
Failed cooktop sealant or damaged silicone bead
Over time, the silicone seal between the cooktop and countertop degrades, letting moisture from spills or cleaning migrate underneath and pool along cracks. Look for white chalky residue or separation at the cooktop edge. Confirm by wiping dry, then spraying countertop edges with water and checking for new leakage within 90 seconds. Severity: Low-risk DIY. Step-by-step seal replacement.
Cracked cooktop glass/ceramic with internal condensation buildup
Rare but possible in high-humidity homes with poor ventilation: trapped moisture inside layered glass units condenses and migrates toward surface flaws. Water appears cold, intermittent, and often only in mornings. Confirm by drying thoroughly, running exhaust fan for 2 hours, then checking for recurrence. Severity: Not repairable — requires cooktop replacement. Call a pro if confirmed.
What to Do First
Shut off the water supply valves under the sink (both hot and cold). Wipe all standing water from the cooktop surface and cabinet interior using absorbent towels — don’t let it sit. Pull out the cooktop (if removable) and inspect the underside with a flashlight: look for wet insulation, rust on mounting brackets, or mineral deposits tracing back to a pipe joint. According to the Insurance Institute for Business & Home Safety's 2023 report, 68% of water-damage claims involving cooktops involved delays longer than 24 hours before initial inspection — accelerating mold growth in cabinetry.
"A single cracked cooktop isn’t usually the source — it’s the symptom. Trace upward, not downward. Ninety percent of 'cooktop leaks' start at the sink or dishwasher above or beside it." — Certified Kitchen Remodeler, NKBA Journal, 2022
What NOT to Do
- Don’t run the cooktop — electricity + water = serious shock risk.
- Don’t caulk over the crack hoping to seal it — that traps moisture and hides the real source.
- Don’t ignore slow drips thinking they’ll stop — U.S. EPA estimates that a 1/16" drip can waste 3,000+ gallons/year.
- Don’t use bleach or abrasive cleaners on the crack — they degrade surrounding sealants and obscure visual clues.
Is the water coming from the dishwasher vent or drain hose?
Check if your dishwasher’s drain hose loops up behind the sink (high-loop installation). If it’s kinked, cracked, or improperly clamped where it connects to the sink drain or air gap, water backs up and leaks into adjacent cavities. Inspect the hose for bulges or whitish calcium streaks — signs of chronic weeping. Test by running a short rinse cycle while watching the cooktop area.
Could this be condensation from a poorly vented range hood?
Yes — especially if your range hood vents into the attic or recirculates without proper charcoal filter maintenance. Warm, moist air hits the cooler cooktop underside, condenses, and follows gravity through cracks. Confirm by running the hood for 10 minutes with a pot of boiling water on the stove, then checking for new moisture within 5 minutes. Fix improper venting.
Did recent countertop cleaning cause the leak?
Many homeowners spray stone or quartz countertops with heavy-duty cleaners, then wipe — but overspray pools at the cooktop’s perimeter. That water migrates under the unit, finds hairline cracks, and appears days later as a ‘mystery leak’. Confirm by reviewing cleaning logs: Did you use a pressurized spray bottle or steam cleaner within 72 hours?
Is the leak tied to seasonal humidity changes?
In coastal or humid climates (RH >65%), thermal expansion/contraction stresses older cooktop seals. Water vapor enters tiny gaps, then condenses inside the cooktop’s frame. You’ll see fogging under the glass or droplets forming overnight. Use a hygrometer to verify indoor RH — if consistently above 60%, add a dehumidifier near the kitchen. Humidity control solutions.
Could a faulty ice maker or refrigerator water line be the culprit?
Less common but plausible in open-plan kitchens: a pinhole leak in the fridge’s 1/4" copper or plastic supply line can spray mist toward the cooktop cavity. Look for green corrosion on copper lines or damp insulation behind the fridge. Turn off the fridge’s water valve and monitor for 48 hours.
| Source | Likelihood | Time to Confirm | DIY Fix Window |
|---|---|---|---|
| Sink drain flange | 62% | <5 minutes | Same day |
| Dishwasher drain hose | 19% | 10–15 minutes | Same day |
| Cooktop seal failure | 12% | 20 minutes | 1–2 days |
| Refrigerator supply line | 4% | 30+ minutes | Same day (with shut-off) |
| Internal cooktop condensation | 3% | 2+ days | Professional replacement required |
If you’ve ruled out plumbing and seal issues but still see water — especially if it’s warm or smells faintly of plastic — power down the circuit breaker for the cooktop and contact a licensed appliance technician. Never assume the crack caused the leak; more often, the leak caused the crack to worsen. Early intervention protects your cabinets, flooring, and electrical system — and saves hundreds in avoidable repairs.