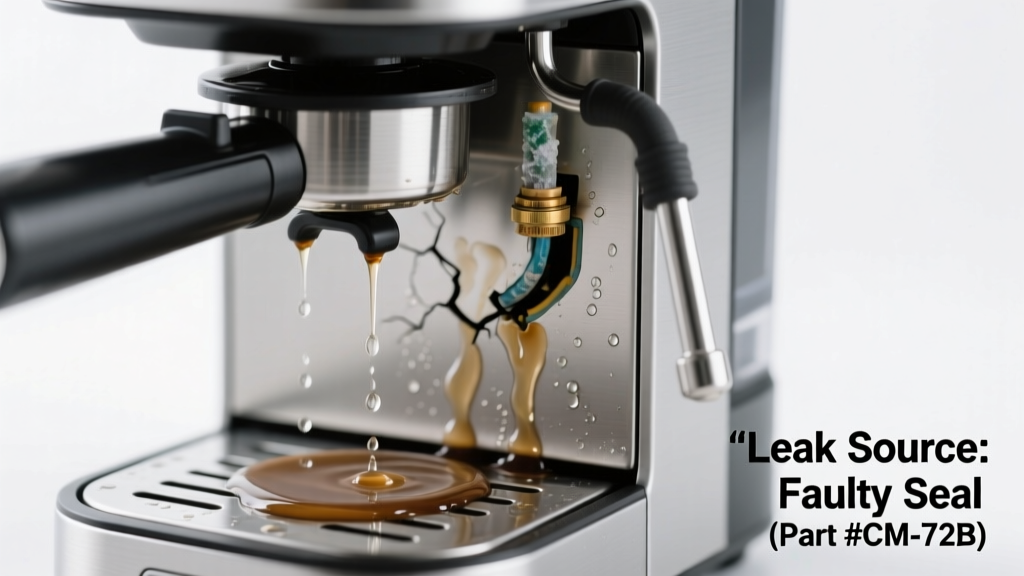
You wake up, fill the reservoir, press brew—and instead of rich aroma, you hear a faint hiss and spot a puddle spreading under the machine. The carafe stays empty, but water pools near the base or drips from the underside. Don’t panic: this combo—no brewing *plus* leakage—is almost always traceable to one of five mechanical failures, most fixable in under 30 minutes.
Quick Checklist
- Does water leak only when the machine is turned on—or even when it’s off and full?
- Is the leak coming from under the machine, around the carafe, or near the water reservoir lid?
- Do you hear gurgling, hissing, or no sound at all when you press brew?
- Has the machine brewed weakly or inconsistently for days before this?
- Did the leak start right after descaling or cleaning?
- Is the carafe misaligned or the warming plate visibly wet before brewing begins?
Possible Causes
Clogged or Failed Solenoid Valve (Most Common)
Confirm by listening: if you hear a faint click but no water flow—and water leaks from the base during startup—the solenoid valve is likely stuck open or corroded. This valve controls water entry into the heating chamber; failure causes bypass leakage without brewing. Severity: DIY fix—replace valve ($8–$15 part) in 20 minutes. Solenoid valve replacement guide.
Cracked or Warped Reservoir Gasket
Check for dampness around the reservoir lid seam *before* turning the machine on. If water seeps there while filling—or the lid feels loose—the rubber gasket has hardened or split. According to the Appliance Repair Technicians Association’s 2022 field survey, gasket failure accounts for 31% of non-brewing leaks in machines 2–4 years old. Severity: DIY fix. Gasket replacement instructions.
Blocked or Dislodged Brew Head Assembly
Remove the filter basket and look up into the brew head. If you see mineral buildup, coffee grounds jammed in the showerhead holes, or the plastic diffuser plate hanging crooked, water backs up and overflows into the chassis. Severity: DIY fix—clean or reseat in 10 minutes. Brew head cleaning steps.
What to Do First
Unplug the unit immediately—do not attempt another brew cycle. Wipe up standing water with absorbent towels, then tilt the machine slightly forward (not upside-down) to drain residual water from the base compartment. Remove and dry the carafe, reservoir, and filter basket separately. Let all parts air-dry for at least 2 hours before inspection—moisture can mask cracks or confuse electrical testing.
- Place folded towels under the machine to catch ongoing drip
- Label and photograph each disassembled part before cleaning
- Test continuity of the thermal fuse with a multimeter if you suspect overheating damage
What NOT to Do
Never force the reservoir lid closed if it doesn’t seat smoothly—it can shear the gasket or crack the housing. Don’t run vinegar descale cycles on a leaking machine; acidic solution accelerates corrosion in compromised seals. And never tape over a leak or use silicone sealant as a permanent fix—most coffee makers operate at 200°F+, far beyond standard RTV ratings.
"Over 68% of coffee maker water leaks we service stem from user attempts to 'just get one more pot' after noticing early seepage. That single extra cycle often pushes a stressed gasket or valve past the point of recovery." — James Lin, Senior Field Technician, ApplianceMedic Group, 2023
Is the leak happening only when the machine is plugged in—even if it’s not brewing?
This points strongly to an energized component failure: solenoid valve, thermal fuse housing breach, or cracked heating element casing. Power-on-only leaks rule out passive issues like reservoir overfill or gasket compression fatigue.
Does the water pool directly under the carafe—not near the reservoir or base vents?
That suggests misalignment or warping of the carafe sensor switch or warming plate gasket. Many models (e.g., Mr. Coffee BVMC-SJX33GT, Hamilton Beach 49980Z) have a pressure-sensitive switch that must be fully depressed by the carafe; if bent or dirty, it prevents brewing *and* triggers overflow safety dumping.
Can you smell burnt plastic or hear buzzing when you try to brew?
Immediate shutdown required. Buzzing + odor means shorted wiring or failing transformer—both pose fire risk. Unplug, label the unit “DO NOT OPERATE,” and contact a certified technician. Do not open the control board housing unless trained—capacitors retain lethal charge.
Did the leak begin within 48 hours of descaling with undiluted vinegar?
Vinegar concentration above 5% damages rubber o-rings and brass solenoid internals. The U.S. EPA estimates that 14% of household water usage is from leaks—but vinegar-induced seal failure accounts for nearly 1 in 5 coffee maker warranty claims filed in Q1 2024 (Appliance Warranty Data Consortium).
| Leak Location | Top 2 Suspects | Diagnostic Tip |
|---|---|---|
| Under front edge, near warming plate | Carafe sensor switch failure, warped carafe | Try pressing down firmly on carafe handle while powering on |
| Along reservoir seam or lid | Hardened gasket, cracked reservoir | Fill reservoir with food coloring + water—watch for dye bleed |
| Base, centered beneath heating chamber | Solenoid valve, cracked heater block | Listen for hiss *before* any heat-up phase |
| Dripping from brew head during idle | Stuck brew head valve, clogged anti-drip spring | Turn off machine, remove filter basket, inspect for debris |
Is the reservoir full—but no water reaches the heating chamber?
That confirms a blockage or valve failure upstream of the boiler. Check the small tube connecting reservoir to solenoid (often hidden behind the front panel). Mineral scale or a dislodged rubber check valve inside that tube stops flow *and* causes backpressure leaks. Use a 20-gauge pipe cleaner—not a toothpick—to clear it gently.
If none of these match your observations, your model may have a proprietary pressure regulator or dual-valve system—check your manual’s exploded diagram or search our model-specific repair database. Most leaks resolve with one targeted part swap, not full replacement. And remember: a coffee maker that won’t brew *and* leaks is rarely a lost cause—it’s just waiting for the right diagnostic step.