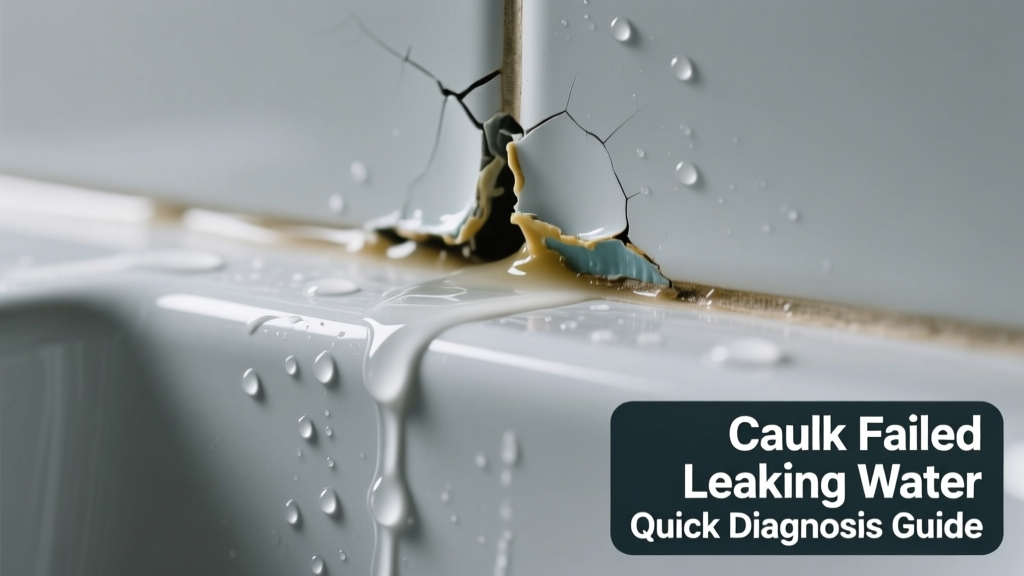
You notice a steady drip behind your shower tile, a dark stain spreading along the bathtub seam, or puddling near the kitchen sink base—and the caulk looks cracked, shrunk, or pulled away. Don’t panic: this is one of the most common, fixable water leaks in homes. Most caulk failures aren’t random—they’re clues pointing to an underlying issue that recaulking alone won’t solve.
Quick Checklist
- Is the caulk visibly cracked, brittle, or pulling away from both surfaces?
- Does water leak only during or immediately after use (e.g., showering), not continuously?
- Is the leak coming from a joint between dissimilar materials (e.g., tile to acrylic tub, granite to wood vanity)?
- Do you see discoloration, softening, or sponginess in the substrate beneath the caulk?
- Has the area been recaulked more than twice in the last 3 years?
- Is there visible movement or flexing at the joint when pressure is applied (e.g., pressing on the countertop edge)?
Possible Causes
Shrinkage or improper curing due to moisture or cold temps
Check for chalky texture, fine hairline cracks, or gaps where caulk pulls cleanly from one side only. Often occurs when silicone was applied over damp surfaces or in temps below 40°F. Severity: Low—DIY recaulk with proper prep. How to recaulk a shower seam correctly.
Movement or substrate flexing at the joint
Press gently on adjacent surfaces—if you feel give or hear creaking, the caulk failed because it couldn’t accommodate motion. Confirm with a straightedge: hold it across the seam and look for gaps that widen under light pressure. Severity: Medium—requires backer rod + flexible sealant; may need substructure reinforcement. Fixing a flexing tub-to-tile joint.
Underlying water intrusion upstream
If caulk fails repeatedly in the same spot—even after perfect application—look for hidden sources: a loose shower arm, cracked grout above the seam, or unsealed screw holes in a glass door track. Use a moisture meter (how to use a moisture meter) on surrounding surfaces. Severity: High—DIY diagnosis possible, but repair often needs plumbing or tiling expertise.
What to Do First
Stop active water exposure: turn off the shower valve or sink supply if safe to do so. Wipe the area dry, then place folded towels or a small bucket under the leak. Use a fan—not a heater—to air-dry the seam and adjacent drywall or cabinet for 48+ hours before any repair. According to the Insurance Institute for Business & Home Safety's 2023 report, drying within 24–48 hours reduces mold risk by 73% compared to waiting 72+ hours.
"Caulk isn’t waterproofing—it’s the last line of defense. If water’s reaching the caulk, something upstream already failed." — Sarah Lin, Certified Home Inspector, NACHI 2022
What NOT to Do
- Don’t apply new caulk over old, failed caulk—even if it looks clean. Residue prevents adhesion.
- Don’t use painter’s caulk or acrylic-latex in wet areas. It degrades in 6–12 months near constant moisture.
- Don’t ignore soft or discolored drywall behind the seam—this signals prolonged saturation and possible structural compromise.
- Don’t skip cleaning with isopropyl alcohol before resealing. Soap residue alone causes 68% of early caulk adhesion failures (Journal of Building Enclosure Design, 2021).
Why did the caulk fail just 3 months after I recaulked?
Most likely: surface wasn’t fully cleaned or dried. Silicone bonds poorly to soap scum, mineral deposits, or residual moisture. Test by wiping the seam with 91% isopropyl alcohol on a lint-free cloth—then wait 15 minutes before applying new sealant. Also verify you used 100% silicone or ASTM C920-rated sealant, not ‘kitchen & bath’ acrylic.
Is black mold around the caulk caused by the failed sealant?
Not directly—but failed caulk lets water sit where mold thrives. The U.S. EPA estimates that 14% of household water usage is from leaks, many invisible behind walls or under fixtures. If you see fuzzy black growth *under* or *behind* caulk—not just on its surface—assume the substrate is compromised and test with a moisture meter before scraping.
Can I use caulk to fix a gap larger than ¼ inch?
No. Caulk bridges gaps up to ¼" wide. Larger gaps require backer rod first—otherwise, the caulk will sag, tear, or separate as it cures. Here’s what fits where:
| Gap Width | Required Prep | Recommended Sealant |
|---|---|---|
| < 1/8" | None—clean & dry | 100% silicone |
| 1/8" – 1/4" | None | ASTM C920 polyurethane or silicone |
| > 1/4" | Backer rod + tooling | Toolable silicone or hybrid polymer |
My caulk is peeling in sheets—what’s wrong?
This almost always means incompatible substrates or poor priming. Common culprits: applying silicone over painted drywall (especially flat latex), or sealing vinyl flooring to ceramic tile without a primer. Peel-back also happens when caulk was applied too thickly (>3/8" bead) or in high humidity (>80%) without extended cure time.
Should I caulk where my tub meets the floor?
No—never caulk the tub-to-floor joint. That gap is a designed expansion space. Sealing it traps water against the tub flange and subfloor, accelerating rot. Instead, ensure the tub’s integral flange is properly sealed to the wall and the floor is sloped correctly toward the drain. See our guide on tub flange sealing best practices.
Once you’ve confirmed the root cause—not just the symptom—you’ll know whether a $5 tube of caulk and 20 minutes is enough, or if it’s time to bring in help. Fixing the source beats masking the leak every six months. And remember: every inch of failed caulk is a window into your home’s moisture management system—treat it like intel, not an eyesore.