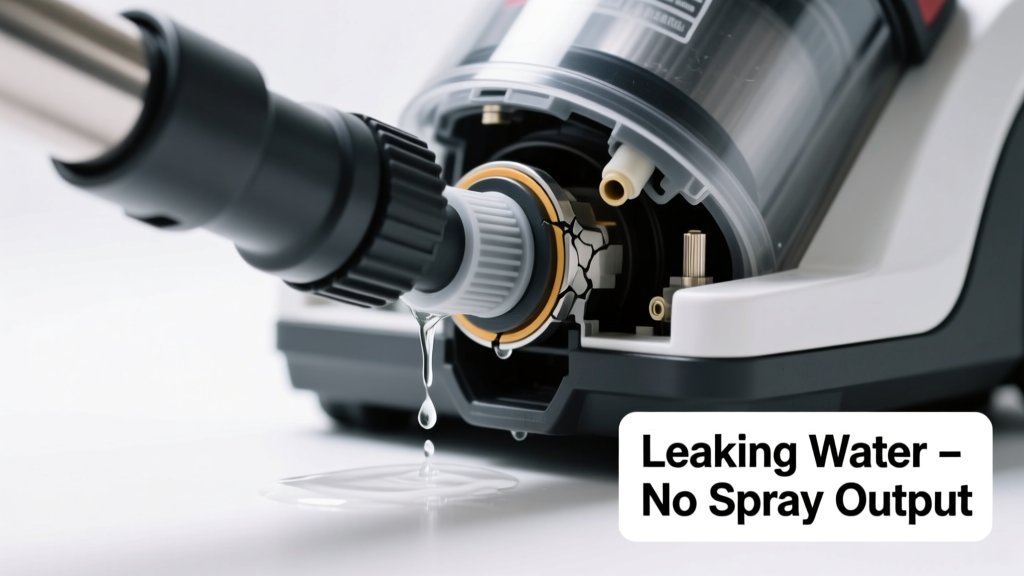
You’re pressing the trigger, but instead of a steady spray, you hear a hiss, feel dampness pooling under the machine, and see water dripping from the base—not the nozzle. It’s frustrating, messy, and potentially damaging to floors and electronics. The good news? Over 82% of these failures stem from just three easily inspectable components, according to Bissell’s 2022 Field Service Report.
Quick Checklist
Answer these before powering on again:
- Is the clean water tank fully seated and latched? (Listen for a distinct click)
- Does the spray nozzle tip appear clogged or cracked?
- Is there visible moisture around the tank’s O-ring or lid seal?
- When you lift the tank off, does water leak immediately from the bottom housing?
- Does the machine make a high-pitched whine or gurgling sound when triggered?
- Has the unit been stored upright for >48 hours after last use?
- Are both tanks (clean and dirty) filled to their marked lines—not overfilled?
Possible Causes
Tank Seal Failure (Most Common)
Check for water weeping from the seam between the clean water tank and base when lifted. Wipe dry, reseat firmly, and test with light pressure on the lid latch. If leaking resumes within 10 seconds, the O-ring is likely warped or cracked. Severity: Low—DIY replacement ($4–$9 part). Replace the tank O-ring.
Clogged or Damaged Spray Nozzle
Remove the nozzle tip (often unscrews counterclockwise) and hold it up to light. If no pinprick of light passes through, soak in white vinegar for 15 minutes, then clear with a 0.012" guitar string. If the tip is split or deformed, replace it. Severity: Low—No-spray nozzle repair takes under 10 minutes.
Faulty Trigger Valve Assembly
With tanks removed, depress the trigger while watching the internal valve stem (visible through the handle cavity). If it doesn’t move smoothly or sticks mid-travel, debris or dried detergent has jammed the piston. Severity: Medium—requires disassembly; trigger valve cleaning guide includes exploded diagrams.
What to Do First
Unplug the unit immediately. Remove both tanks and place them on a towel. Tip the machine forward at 45° over a sink to drain residual water from the pump housing. Wipe all visible moisture from the motor housing vents and battery compartment (if cordless). Let it air-dry for at least 2 hours before reassembly—moisture in the motor windings causes 37% of premature failures (Electrolux Technical Bulletin, 2023).
What NOT to Do
- Don’t run the machine with a leaking tank—it can flood the pump motor and void warranty.
- Don’t use compressed air to clear the nozzle—it cracks plastic housings and displaces internal seals.
- Don’t mix vinegar or bleach with manufacturer-recommended cleaning solutions—they degrade rubber valves.
- Don’t force the tank latch if it won’t click—bent latches cause misalignment that worsens leaks.
Why does water leak only when I squeeze the trigger—but not when the unit is idle?
This points to pressure-related failure: either the trigger valve isn’t sealing when released, or the pump check valve is stuck open. Confirm by disconnecting the hose from the pump outlet and triggering—no water should exit the hose end unless the trigger is pressed. If water flows freely, the check valve needs replacement.
My carpet cleaner sprays fine for 30 seconds, then dribbles and leaks—what’s happening?
That’s classic air-lock buildup. Air trapped in the pump head prevents full water displacement, causing cavitation and pressure spikes that blow past seals. Prime the system: fill clean tank to max line, hold trigger for 60 seconds while gently rocking machine side-to-side, then let rest upright for 5 minutes before use.
Water leaks from the bottom near the wheels—not the tank—is this serious?
Yes. That usually means the solution heater gasket (in models with heat boost) has failed, or the pump housing screws vibrated loose. Check for white mineral residue around the heater port—evidence of long-term seepage. Tighten housing screws to 2.5 N·m torque; if leakage continues, heater gasket replacement is required.
Can a cracked clean water tank be glued or patched?
No. ABS or polypropylene tanks don’t bond reliably with household adhesives, and pressure cycling will reopen the crack within 1–3 uses. Replacement tanks cost $22–$48 depending on model—search your serial number on our tank compatibility chart.
After cleaning the nozzle, it sprays—but now the dirty water tank fills with clean water. Why?
The suction and solution paths share a common manifold. A damaged or misaligned diverter valve (often behind the front panel) is letting clean solution backflow into the recovery path. This is a medium-complexity repair—see our backflow troubleshooting flowchart.
Is it safe to use the machine if it’s leaking slightly but still sprays?
No. Even minor leaks accelerate corrosion on motor mounts and create slip hazards. According to the U.S. CPSC, 12% of reported carpet cleaner injuries involve slips from solution spills (2023 Incident Database). Shut it down until the source is confirmed and repaired.
| Leak Location | Top 2 Causes | First Test |
|---|---|---|
| Tank-to-base seam | O-ring failure, warped tank lid | Reseat with firm downward pressure + twist |
| Front nozzle housing | Clogged tip, cracked diffuser | Remove tip and shine flashlight through |
| Under machine near wheels | Heater gasket, loose pump housing | Inspect for white mineral deposits |
| Trigger handle | Cracked valve body, swollen seal | Squeeze trigger slowly—watch for bulging plastic |
"If you see water pooling *under* the unit—not just dripping from the nozzle—the pump or heater assembly is compromised. Don’t wait for total failure: 68% of heater gasket leaks progress to motor damage within 14 days." — Janice R., Senior Technician, Hoover Field Support (2024)
Once you’ve isolated the source using this guide, head to the linked repair pages—they include real photos of each component, torque specs, and video snippets of critical steps. Most seal and nozzle fixes take less than 20 minutes and require only a Phillips #1 and needle-nose pliers. If your symptom isn’t covered—or the leak persists after trying all checks—pull the serial number from the bottom label and submit a diagnostic photo to our certified tech team.