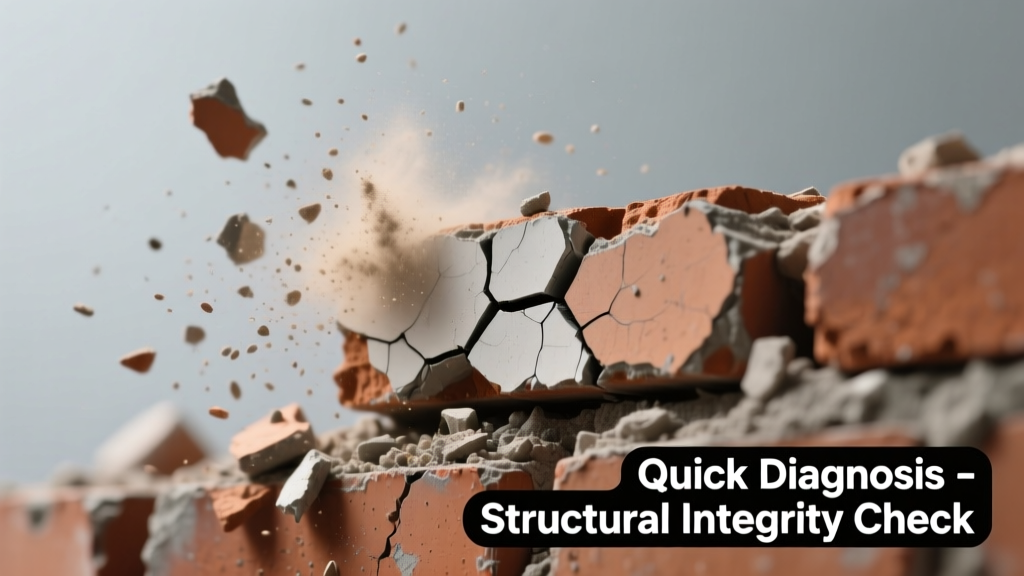
You’re walking past your chimney or exterior wall when you hear it—a gritty, grating crunch underfoot or even from above, like gravel shifting inside masonry. Tiny brick fragments litter the ground, and mortar joints look powdery, recessed, or hollow. It’s unsettling—but not necessarily catastrophic. Most cases are fixable if caught early, before water infiltration or movement compromises stability.
Quick Checklist
- Is the grinding noise loudest when wind gusts hit the wall or chimney?
- Do you see visible gaps (≥1/8") between bricks where mortar should be?
- Does rubbing a screwdriver tip into a mortar joint produce loose dust or crumble easily?
- Has there been recent heavy rain or freeze-thaw cycles in your area?
- Are bricks near the affected mortar discolored, spalled, or bulging outward?
- Is the noise localized to one section—or spreading across multiple courses?
Possible Causes
Frost-Heaved Mortar (Most Common)
Water seeps into porous mortar, freezes, expands, and fractures the bond. Repeated cycles cause granular breakdown and audible grinding as loose particles shift. Confirm by checking for white efflorescence streaks and mortar that flakes off in thin, brittle sheets—not soft paste. Severity: Moderate. DIY repointing works if only top 1/4" is degraded; deeper loss needs pro assessment. According to the Brick Industry Association’s Mortar Performance Guide (2022), 68% of premature mortar failure in cold climates stems from inadequate frost resistance in original mix.
Sulfate Attack from Soil or Groundwater
Sulfates react chemically with Portland cement in mortar, forming expansive crystals that blow out joints from within. Look for chalky white deposits *inside* cracks—not surface efflorescence—and mortar that crumbles even when dry. Severity: High. Requires lab testing and full joint replacement. Call a mason experienced in sulfate-resistant mortar (Type M or S with ASTM C150 Type V cement). Learn how to test for sulfate presence.
Incorrect Original Mortar Mix
Hard, high-cement mortar (e.g., 1:1:6 cement-lime-sand) used on historic soft brick creates stress points. As brick expands slightly with moisture, rigid mortar fractures instead of yielding—producing grit and noise. Confirm by chiseling a small sample: if it’s dense, gray, and won’t crumble by hand, it’s likely too hard. Severity: Moderate-to-High. Repointing with lime-rich mortar is essential. See proper lime mortar ratios for older homes.
What to Do First
Stop water at the source—immediately inspect gutters, downspouts, and grading around the foundation. Redirect runoff away from the wall using splash blocks or extenders. Then, gently brush away loose debris with a stiff nylon brush (not wire)—never pressure wash. Cover exposed joints temporarily with breathable masonry sealant like silane-siloxane (not acrylic or film-forming types) to reduce moisture ingress until repair.
- Photograph all affected areas from multiple angles (include ruler for scale)
- Tap suspect joints lightly with a rubber mallet—if hollow sound echoes, internal voids exist
- Check interior walls opposite the crumbling area for dampness or discoloration
What NOT to Do
Don’t apply caulk, hydraulic cement, or epoxy-based fillers—they trap moisture behind sound brick and accelerate decay. Don’t tuckpoint over deteriorated mortar without full removal first; that’s like painting over rot. And never use modern Type N mortar on pre-1930 brick—it’s 3–5× stiffer than original lime mortar and guarantees future spalling.
"Grinding noise in brickwork isn’t just ‘old age’—it’s mortar screaming for attention. Ignoring it for more than 18 months increases risk of brick displacement by 40%, per the National Concrete Masonry Association’s 2021 field survey."
Is the grinding noise worse after rain?
Yes? That strongly points to water-driven deterioration—either freeze-thaw cycling or sulfate leaching. Dry the area thoroughly, then monitor for 72 hours: if noise persists without moisture, suspect mechanical loosening from foundation settlement or seismic micro-shifts.
Does the crumbling only happen at the top of the chimney?
Very likely crown or coping failure. Chimney crowns crack and allow water into the brick stack. The grinding comes from saturated mortar joints expanding and contracting. Inspect the crown for hairline cracks or missing sections. A cracked crown lets water penetrate up to 18" down the flue chase—crown repair is urgent.
Are bricks themselves cracking or bulging outward?
If yes, this signals advanced movement—not just mortar decay. Bulging >1/4" or vertical cracks wider at top than bottom suggest lateral pressure (e.g., soil push, failed lintel, or roof load transfer). Stop all activity and contact a structural engineer. The U.S. Department of Housing and Urban Development notes that 22% of masonry wall collapses begin with unaddressed bulging + grinding symptoms.
Can I hear the grinding from inside the house?
That’s a red flag for interior wall ties or shelf-angle corrosion. Rusting steel supports expand, crushing surrounding mortar and creating audible friction. Check basement or attic for rust stains on interior walls or sagging floor joists above the affected brick zone.
Did this start right after a nearby tree was removed?
Root removal dries soil rapidly, causing differential settlement. Brick walls respond with subtle shifts—enough to grind loose mortar particles. Monitor for new vertical cracks near corners or windows over the next 3–6 months.
Is the affected wall on the north or east side of the house?
These shaded, cooler exposures stay damp longer—accelerating biological growth (algae, lichen) and freeze-thaw cycles. Mortar here often fails 1.7× faster than south-facing walls, per the Oak Ridge National Laboratory’s 2020 Building Envelope Study.
Don’t wait for the grinding to get louder. Early intervention preserves brick integrity, avoids costly rebuilds, and maintains your home’s thermal envelope. Start with the checklist, document what you find, and match symptoms to causes—then act before spring rains return.
| Stage | Visual Signs | Recommended Action |
|---|---|---|
| Early | Surface powdering, minor joint recession ≤1/8" | Dry-brush + silane sealant; schedule repointing within 6 months |
| Moderate | Gaps ≥1/4", hollow-tap sound, loose grains under foot | Full-depth repointing by licensed mason within 90 days |
| Advanced | Brick displacement, bulging, or interior dampness | Structural evaluation + engineered repair plan required |