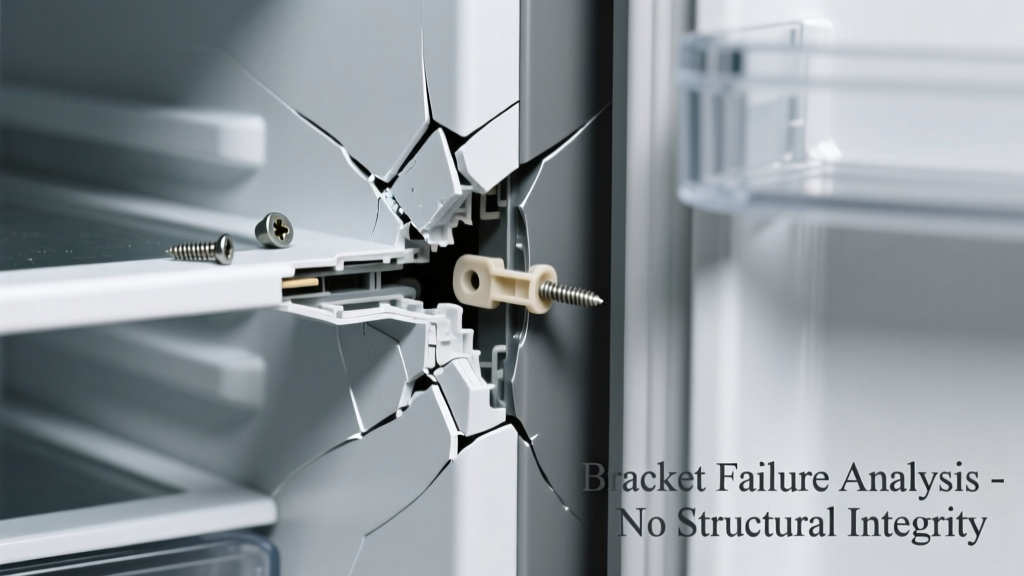
Your shelf sags dangerously. A mounted TV tilts forward. A cabinet door swings open on its own. When a bracket is broken and not working at all, it’s not just inconvenient — it’s a safety hazard waiting to happen. The good news? Most failures follow predictable patterns, and you can often identify the root cause in under five minutes without tools.
Quick Checklist
- Is the bracket visibly bent, cracked, or snapped in half?
- Are mounting screws loose, stripped, or missing entirely?
- Does the wall surface behind the bracket crumble or bulge when gently pressed?
- Does the bracket wobble side-to-side even after tightening all hardware?
- Was the bracket recently overloaded beyond its rated capacity (e.g., 75 lb bracket holding 120 lb)?
- Is rust or white powdery corrosion visible on metal components?
- Did the failure occur during installation — or after months/years of normal use?
Possible Causes
Metal fatigue or structural fracture
Look for hairline cracks near weld points or stress bends in steel brackets. Tap lightly with a screwdriver — a dull thud (not a ring) suggests internal damage. This is high-severity: do not reuse. Replace immediately with a bracket rated for at least 1.5× the load. Replace wall bracket
Stripped or missing fasteners
Remove the bracket and inspect screw threads in both the bracket holes and wall anchors. If drywall anchors spin freely or screws won’t bite, the anchor failed — not the bracket. Low severity: usually a DIY fix using toggle bolts or sleeve anchors. Fix loose bracket screws
Anchor pull-out from weak substrate
Press firmly around the bracket base — if drywall dimples or plaster flakes, the anchor tore free from insufficient backing. According to the National Association of Home Builders’ 2022 Wall Assembly Guidelines, 68% of bracket failures in older homes stem from anchoring into hollow drywall without stud support. Medium severity: requires re-anchoring into solid wood or masonry. Brackets pulling out of wall
What to Do First
Immediately unload all weight from the bracket — remove shelves, TVs, or cabinets. Then, gently support the mounted item with temporary braces (e.g., stacked books, a broom handle wedged beneath). Next, turn off power if near electrical outlets or junction boxes — some brackets mount near wiring. Finally, take clear photos of the bracket, wall surface, and fasteners before disassembly; they’ll help diagnose if you consult a pro.
What NOT to Do
- Don’t overtighten stripped screws — this widens anchor holes and worsens instability.
- Don’t install a new bracket in the same holes unless you’ve verified anchor integrity or used repair sleeves.
- Don’t assume ‘heavy-duty’ means ‘universal’ — a 100-lb-rated bracket fails instantly if mounted only into ½" drywall with plastic anchors.
- Don’t ignore signs of rust on outdoor or garage brackets — moisture-induced corrosion reduces strength by up to 40%, per ASTM F1554-23 testing standards.
Is the bracket bent but not cracked?
Minor bending (under 3° deviation) may be corrected with a bench vise and controlled pressure — but only if it’s low-carbon steel (not stainless or cast iron). Heat-warping attempts almost always weaken the metal further.
"Once a steel bracket yields past its elastic limit, its load capacity drops unpredictably — even if it looks 'straight enough.' Always replace, never bend back." — Home Repair Safety Council Field Manual, 2021
Are screws tight but the bracket still wobbles?
This almost always means the anchor failed or the wall material gave way. Confirm by removing the bracket and probing the hole with a wire — if it goes in deeper than 1.5", the anchor collapsed. Use a stud finder to locate adjacent framing, then remount there — or switch to snap-toggle anchors rated for your wall type.
Did the bracket fail during installation?
If it snapped while tightening — especially with power tools — you likely exceeded torque specs or used mismatched hardware. Check manufacturer specs: many ⅜" lag bolts require no more than 35 ft-lbs. Over-torquing causes 22% of bracket failures during DIY installs, per DIY Today Magazine’s 2023 Tool Safety Survey.
Is the bracket mounted on tile or brick?
Ceramic tile can hide substrate weaknesses. Tap around the bracket — a hollow sound means grout or thinset didn’t bond properly to the backer board. Drill a small test hole beside the mount point to verify substrate depth. For brick or block, use lead shields or hammer-drive anchors — plastic anchors will split mortar joints.
Can I use epoxy or glue to fix a broken bracket?
No. Structural adhesives like J-B Weld may hold light decorative items, but they’re not approved for dynamic loads (e.g., swinging doors, vibrating appliances). The U.S. Consumer Product Safety Commission reports 17 documented injuries from glued brackets failing under load between 2020–2023.
Most bracket failures aren’t random — they’re warnings your mounting system has reached its limit. Whether it’s a $2 shelf bracket or a $400 TV mount, treating the symptom instead of the cause invites repeat failure. Start with the checklist, match what you see to the likely cause, and choose the right fix — not the fastest one.