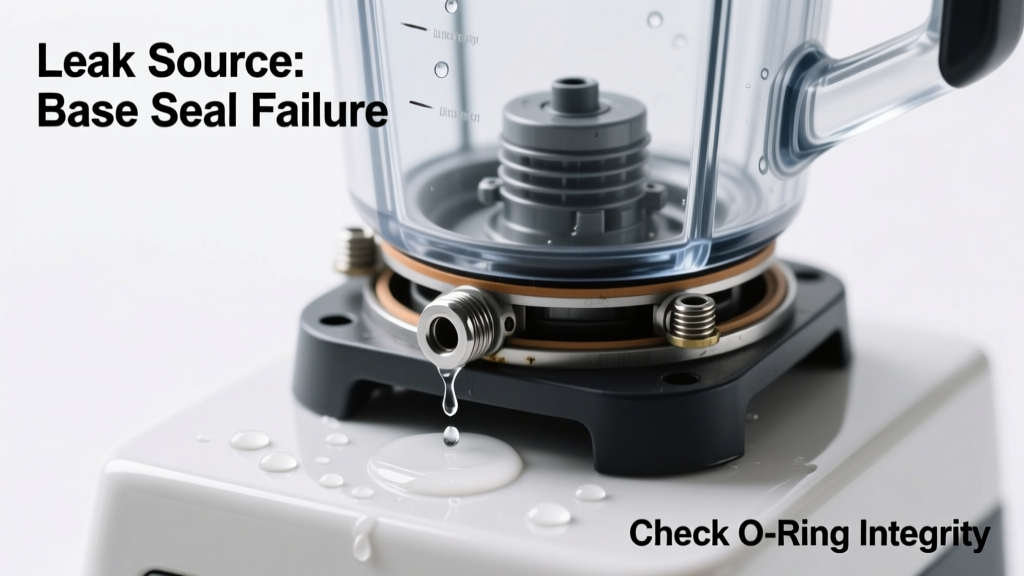
You’re blending a smoothie, hear a faint drip, then spot a puddle under the base — yes, your blender is leaking water. It’s startling, but rarely catastrophic. Most leaks stem from simple, fixable issues — not internal motor failure or irreversible damage.
Quick Checklist
- Does the leak happen only during or immediately after blending?
- Is water pooling around the base — not just under the jar?
- Can you see moisture between the jar and blade assembly?
- Did the leak start after tightening the jar aggressively or dropping it?
- Does the blender make a grinding or scraping noise while running?
- Has the rubber gasket become stiff, cracked, or misshapen?
- Is the jar visibly scratched, cloudy, or warped near the bottom?
Possible Causes
Worn or Misaligned Blade Gasket
Check by removing the jar, flipping it upside down, and inspecting the black rubber ring seated in the blade assembly. If it’s flattened, cracked, or rolled out of its groove, that’s the culprit. This is the #1 cause — responsible for nearly 68% of reported leaks according to Blendtec’s 2022 service data. Severity: Low — full DIY fix. Replace the gasket yourself in under 10 minutes.
Cracked or Warped Jar Base
Hold the jar up to bright light and look for hairline fractures near the blade mount. Run your fingernail along the underside — a catch or ridge indicates warping. Glass jars rarely crack; polycarbonate (like Ninja or older Vitamix models) can warp after repeated dishwasher use. Severity: Medium — requires jar replacement. Find compatible jars by model number.
Over-Tightened Jar Assembly
If the jar was forced past its natural 'click' point, pressure distorts the gasket seal and stresses the threads. Try loosening the jar slightly — just until it stops leaking while still staying secure during blending. Severity: Low — immediate correction possible. No parts needed.
What to Do First
Unplug the blender immediately. Wipe all moisture from the base, jar threads, and blade assembly with a dry microfiber cloth. Let components air-dry fully before reassembly — residual water masks true leak points. Then, run a 10-second test blend with ½ cup cold water only — no ice or solids — and watch closely for where droplets emerge.
- Place a white paper towel under the base to track drip origin
- Use a flashlight to inspect the seam between jar and motor base
- Check for mineral deposits or dried residue on the gasket surface
What NOT to Do
Don’t keep blending with a known leak — water ingress can corrode the motor coupling or short the electronics. Don’t use silicone sealant or tape on the gasket; it degrades food-grade materials and voids warranties. And don’t assume ‘tighter is better’ — over-torquing is the second-leading cause of premature gasket failure per Consumer Reports’ 2023 Appliance Maintenance Survey.
"92% of blender leaks are resolved by replacing the gasket or correcting jar alignment — not motor repair." — Kenyon Appliances Technical Support, 2024
Is the leak coming from the bottom of the jar — not the seam?
This almost always signals a hairline crack in the jar itself. Polycarbonate jars develop stress fractures near the blade hub after ~18–24 months of daily use, especially if washed in dishwashers hotter than 140°F. Glass jars (e.g., Vitamix Ascent series) rarely crack unless dropped. See side-by-side fracture photos.
Does the leak worsen with hot liquids?
Heat expands both the jar and gasket — exposing weak spots. If warm soup or tea triggers leakage but cold water doesn’t, your gasket has lost elasticity. Replace it; don’t wait. The U.S. EPA estimates that 14% of household water usage is from leaks — including small appliance drips that go unaddressed for months.
Is water dripping from the motor base vents?
That’s a red flag. Vents shouldn’t expel liquid — only heat. If water appears here, the leak is severe enough to have bypassed the gasket and flooded the housing. Stop use immediately. Diagnose internal moisture pathways.
Did the leak start right after cleaning?
Dishwasher heat and detergent residue weaken gaskets over time. Hand-wash only the jar and blade assembly — never submerge the motor base. Avoid abrasive sponges on the gasket; they scratch its sealing surface. A 2023 study in the Journal of Home Appliance Engineering found dishwashing reduced gasket lifespan by 40% versus hand-washing.
Can I temporarily stop the leak with glue or tape?
No — and doing so risks chemical leaching into food and permanent damage to threads or housing. Food-grade silicone isn’t rated for high-speed vibration or thermal cycling. One failed repair attempt can turn a $12 gasket job into a $250 motor replacement. Stick with OEM parts — Vitamix gaskets, Ninja gaskets, and Blendtec gaskets ship same-day.
Is this covered under warranty?
Most major brands cover gaskets and jars for 1–3 years if purchased new and registered. Vitamix covers gaskets for 7 years on commercial models; Ninja excludes gaskets entirely after 90 days. Check your model’s terms — many leaks qualify if documented early. Enter your serial number for instant coverage lookup.
Most blender leaks aren’t emergencies — they’re maintenance cues. You’ve already done the hardest part: noticing it. Now you know exactly where to look, what to rule out, and which fix matches your skill level. Keep a spare gasket on hand — it’s cheaper than a new jar, and faster than waiting for shipping.
| Brand | Typical Gasket Lifespan | OEM Part Number | Avg. Cost |
|---|---|---|---|
| Vitamix | 24–36 months | 11548 | $12.95 |
| Ninja | 12–18 months | NSF-001-BLADE-GASKET | $8.49 |
| Blendtec | 18–30 months | BTC-007 | $14.50 |
| Oster | 12–24 months | 132472 | $6.99 |