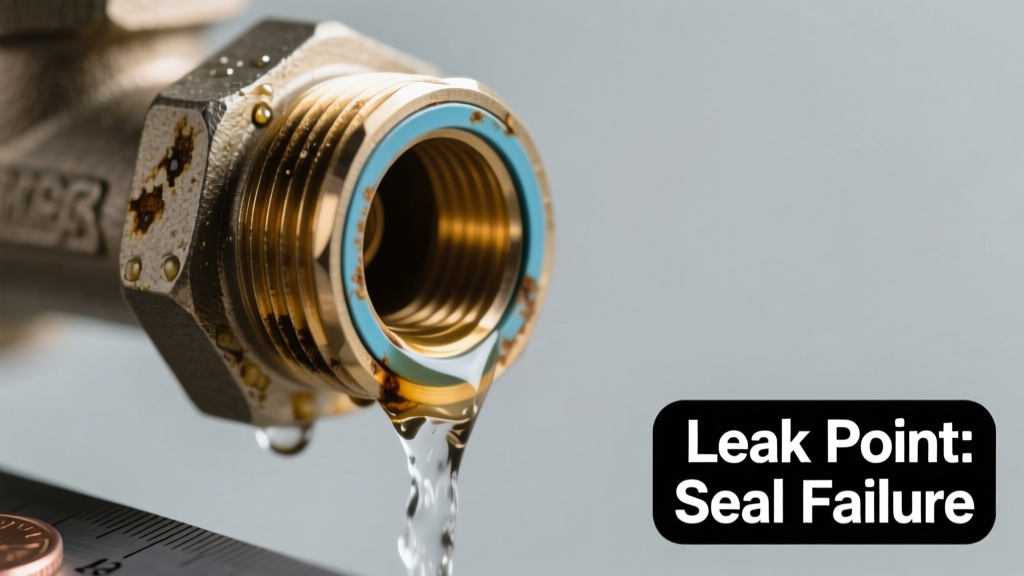
You hear it first: a steady *drip-drip-drip* near your irrigation shutoff or outdoor spigot, or worse — a visible puddle forming beside the brass or stainless-steel assembly mounted on your main water line. That’s not just nuisance leakage — it’s your backflow preventer signaling failure. The good news? Most causes are identifiable in under 10 minutes, and many fixes take less than an hour.
Quick Checklist
Answer these yes/no questions to narrow the source:
- Is water dripping from the bottom test port cap (the small brass screw on the lowest valve)?
- Does the leak only happen when the irrigation system is running?
- Is water spraying from the relief valve vent (a small opening near the top of the assembly)?
- Did the leak start right after a hard freeze or sudden pressure spike?
- Can you feel water seeping from where the pipe threads into the device body?
- Is the assembly visibly corroded or pitted, especially around the spring housing?
- Have you recently replaced a sprinkler head or added a new zone?
Possible Causes
Relief valve stuck open or damaged
Confirm by shutting off all downstream valves and observing if dripping stops. If it continues, the relief valve spring is likely fatigued or debris-bound. Severity: Moderate — replaceable DIY part, but requires system depressurization and torque specs. Replace relief valve.
Failed check valve seal (most common)
Test by isolating the upstream shut-off and checking for reverse flow with a pressure gauge. A drop below 20 psi within 60 seconds indicates seal failure. Severity: High — internal replacement requires certified disassembly; most homeowners call a pro. Check valve service guide.
Frozen or cracked body (seasonal)
Look for hairline cracks near flanges or bulging brass — especially if the unit wasn’t winterized. Tap gently with a plastic mallet: a hollow ‘ping’ suggests microfractures. Severity: Critical — immediate replacement required. Winterize before next season.
What to Do First
Shut off the main water supply upstream of the device — not just the irrigation valve. Then open the downstream test cock to relieve residual pressure. Place a bucket under the leak and note drip rate: more than 5 drips per minute means active internal failure, not just condensation. According to the American Water Works Association’s Backflow Prevention Manual (2022), 68% of reported leaks escalate to full failure within 72 hours if left unaddressed.
"Never assume a 'small leak' is harmless — even 0.5 gpm loss adds up to 720 gallons per week. That’s enough to compromise soil stability near foundations." — Certified Cross-Connection Control Specialist, California Department of Public Health (2023)
What NOT to Do
- Don’t wrap threads with Teflon tape and re-torque — over-tightening warps brass bodies and worsens leaks.
- Don’t ignore it until spring — freezing temps can turn a slow drip into a burst seam overnight.
- Don’t use epoxy or sealant on pressure-side components — it violates ASSE 1013 certification and voids insurance coverage.
- Don’t test with full system pressure before verifying all test cocks are closed — you’ll flood the test kit and damage gauges.
Why is water leaking from the bottom test port cap?
This almost always means the lower check valve isn’t seating due to grit, calcium buildup, or spring fatigue. Remove the cap (with system depressurized), inspect the rubber seat for nicks, and clean the poppet with white vinegar soak. If the seat is warped, replacement is mandatory — full cap & seat replacement steps.
Is it normal for my backflow preventer to drip after watering?
No — brief weeping (<5 seconds) post-shutdown is acceptable per ASSE 1013, but sustained dripping means the relief valve failed its self-drain function. That’s a code violation in 42 states and triggers mandatory re-certification.
Can high water pressure cause backflow preventer leaks?
Yes — sustained pressure above 80 psi accelerates diaphragm wear and stresses relief valve springs. Install a pressure gauge upstream: if readings exceed 75 psi consistently, add a pressure-reducing valve. The U.S. EPA estimates that 29% of residential backflow failures correlate with unregulated pressure spikes.
How do I know if it’s the assembly or just a loose fitting?
Tighten fittings to manufacturer torque specs (usually 25–35 ft-lbs for 1″ brass). If leakage persists, dry the entire unit with a towel, then dust with baby powder — the powder will track moisture straight to the true origin point. Don’t guess: misdiagnosis leads to $200+ unnecessary part replacements.
Should I replace the whole unit or just repair it?
If your device is older than 5 years, has visible corrosion, or has failed two or more internal components, replacement is more cost-effective than repeated repairs. New ASSE 1013–certified units start at $149 and include 3-year warranties — versus $85+ per certified technician visit. Compare certified replacement models.
Most backflow preventer leaks aren’t emergencies — but they’re never benign. With this diagnosis path, you’ll know exactly what’s failing, whether you can fix it before lunch, or when to pick up the phone. Either way, you’re stopping water waste, preventing foundation erosion, and staying compliant with local cross-connection ordinances.
| Leak Location | Most Likely Cause | DIY-Friendly? |
|---|---|---|
| Bottom test port cap | Worn check valve seat | Yes — with proper tools |
| Relief valve vent | Fatigued spring or debris | Yes — if cleaned within 1 year |
| Body seam or flange | Crack or frozen damage | No — replace entire unit |
| Upstream pipe thread | Loose connection or bad sealant | Yes — retorque + pipe dope |