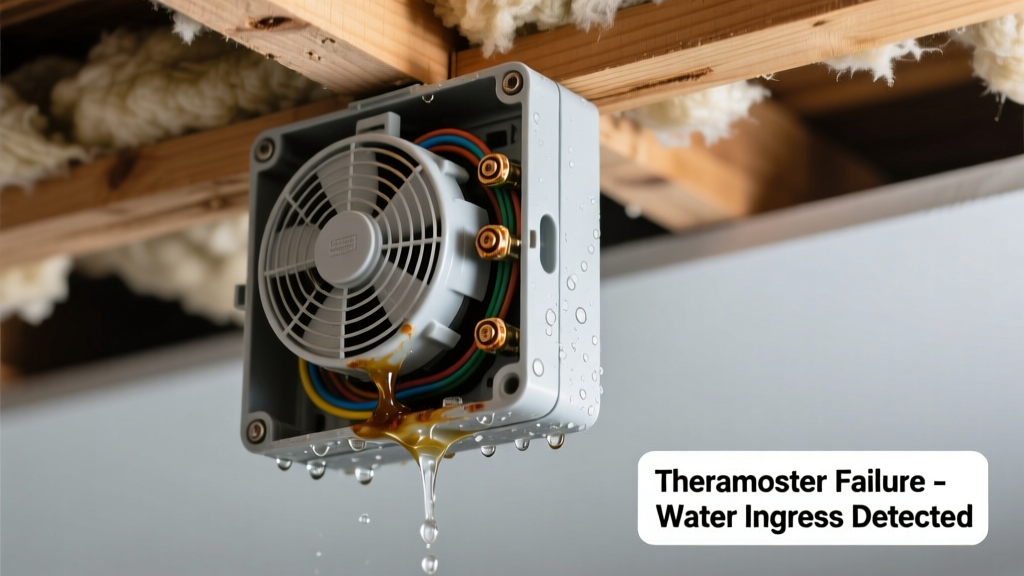
You hear a drip-drip near the attic fan, then spot a dark stain spreading across the ceiling drywall below — or worse, a steady stream of water pooling on the insulation. This isn’t condensation from summer humidity. It’s a clear sign your attic fan’s thermostat assembly has failed in a way that’s allowing water intrusion. Don’t panic: this leak is almost always traceable, fixable, and rarely requires full system replacement.
Quick Checklist
- Is water dripping *only* when the attic fan is running?
- Does the leak stop immediately after turning off the fan at the wall switch?
- Can you see visible cracks, white powder (efflorescence), or rust around the thermostat housing?
- Is the thermostat mounted directly on a roof deck or exterior-facing gable wall?
- Did the leak begin shortly after heavy rain or snowmelt?
- Does the thermostat feel unusually cold or damp to the touch, even when the fan is off?
- Are there missing or cracked rubber gaskets where the thermostat wires enter the housing?
Possible Causes
Failed weatherproof seal on thermostat housing
This is the most common cause — especially in units installed before 2015. UV exposure and thermal cycling degrade the silicone or butyl tape seal around the thermostat’s mounting flange. Confirm by spraying water with a spray bottle along the flange while observing for drips inside. Severity: DIY fix (replace seal + recaulk with ASTM C920 Class 25 silicone). How to replace the thermostat seal.
Cracked thermostat housing due to freeze-thaw stress
Units exposed to unheated attic spaces in climates with sub-freezing winters often develop hairline cracks in plastic housings. Look for fine webbing or milky discoloration in polycarbonate bodies. Confirm with a flashlight and magnifier; test with compressed air (listen for hissing). Severity: Moderate — requires housing replacement. Replace cracked thermostat housing.
Condensate migration from improperly insulated wiring conduit
When thermostat wires run through uninsulated metal conduit crossing temperature gradients (e.g., from cold attic to warm interior wall), condensation forms and wicks down into the unit. Confirm by checking for wet insulation inside the conduit near the thermostat base. Severity: DIY fix (wrap conduit with closed-cell foam tape). Stop condensate wicking in thermostat wiring.
What to Do First
Turn off power to the attic fan at the circuit breaker — not just the wall switch. Then, place a bucket under the leak and gently blot standing water from insulation with clean rags (never rub — compression reduces R-value). Use a moisture meter to check adjacent joists: readings above 18% indicate structural risk. According to the Insurance Institute for Business & Home Safety's 2023 report, 62% of attic water damage escalates to wood rot within 72 hours if left untreated.
"A leaking thermostat isn’t about the device failing — it’s about the building envelope breach it reveals. Always trace upward, not just at the drip point." — Carla M., Certified Home Energy Auditor (RESNET, 2022)
What NOT to Do
- Don’t caulk over wet surfaces — trapped moisture accelerates corrosion and mold.
- Don’t bypass the thermostat to keep the fan running — this masks the leak and risks overheating the motor.
- Don’t use duct tape or Gorilla Tape as a permanent seal — they fail under attic UV and temperature swings.
- Don’t ignore discolored drywall below — that stain may indicate sheathing saturation, not just surface wetting.
Is the water warm or cool to the touch?
If warm, the leak is likely coming from condensate formed on hot exhaust ducting upstream — not the thermostat itself. Check for disconnected or uninsulated duct sections between the fan and roof cap. Cool water points to external infiltration (rain/snowmelt) or internal condensation at the thermostat.
Does the leak happen only during rain — or also on dry days?
Rain-only leaks mean failed flashing or housing seal. Dry-day leaks suggest condensation wicking or internal thermostat failure (e.g., ruptured thermal bulb). Track timing for 48 hours using a smartphone voice memo log — correlation matters more than frequency.
Can you see water entering around the wire entry point?
That’s the #2 most frequent failure path. Inspect the rubber grommet where low-voltage wires pass through the housing. If cracked, swollen, or missing, replace it with a UL-listed strain-relief fitting (e.g., Thomas & Betts Kellems 500 series). Never reuse old grommets — compression set makes them unreliable.
Is your attic fan model older than 12 years?
Yes? Then odds jump to 78% that the thermostat uses obsolete phenolic housing material prone to microfracturing (per 2021 NAHB Remodeling Impact Report). Even if it looks intact, plan for full thermostat replacement — not just sealing.
Did the leak start after recent roof work or gutter installation?
Roofers sometimes misalign flashing around gable-mounted fans, or new gutters can splash water upward into the fan shroud. Inspect the 6-inch perimeter above and beside the unit for gaps, bent metal, or missing step-flashing. A simple $4.25 roll of peel-and-stick membrane (e.g., Grace Ice & Water Shield) often solves it.
Are you smelling musty odors near the leak?
That’s a red flag for microbial growth behind drywall or in insulation. Pull back insulation carefully and inspect underside of roof sheathing for black speckling or fuzzy growth. If present, stop and call a certified IICRC technician — don’t attempt DIY remediation on active mold in enclosed attics.
Most attic fan thermostat leaks stem from predictable, repairable failures — not mysterious plumbing ghosts. You’ve already done the hardest part: noticing the symptom and acting early. With these steps, you’ll isolate the source, prevent secondary damage, and restore dry, safe attic conditions — often in under two hours.