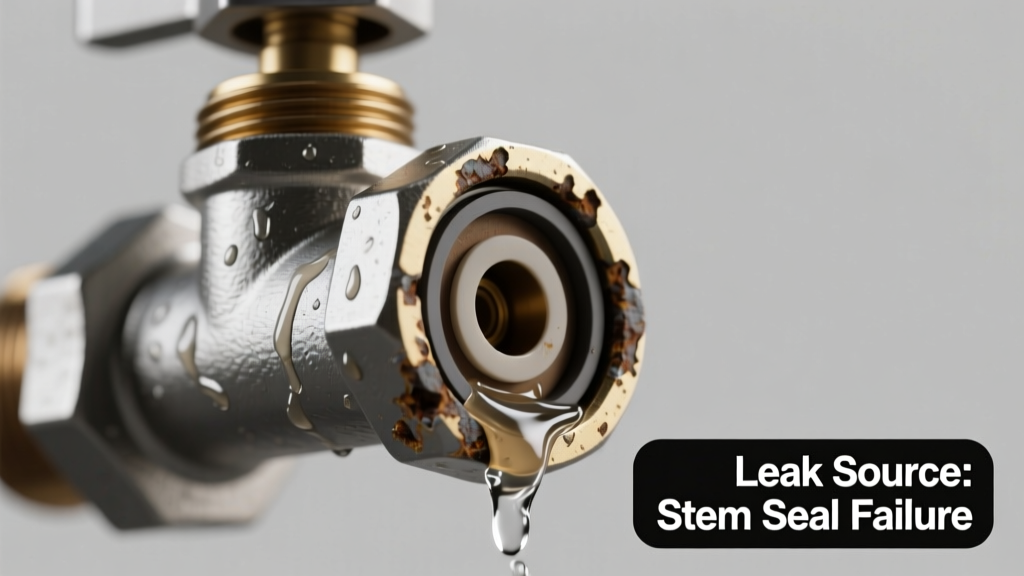
You hear it first—a faint hiss or drip behind the sink, under the toilet tank, or near the washing machine. Then you spot the wet spot on the floor, the rust ring around the valve body, or a steady bead of water forming at the handle base. An angle stop valve leaking water isn’t just annoying—it’s a red flag for potential pipe stress, fixture damage, or hidden water waste. The good news? Over 85% of these leaks are traceable to one of five common causes—and most can be confirmed in under 90 seconds.
Quick Checklist
- Is water dripping from the valve handle (not the supply line connection)?
- Does the leak worsen when you turn the valve on or off?
- Is there visible corrosion or pitting on the valve body or nut?
- Did the leak start right after you opened or closed the valve?
- Is the supply line connection tight—but still weeping at the valve’s outlet?
- Do you see white mineral deposits or greenish copper corrosion near the valve stem?
- Has this valve been in place longer than 10 years?
Possible Causes
Worn or cracked valve stem washer
Most common cause—especially in older compression-style angle stops. Confirm by shutting off the main water, removing the handle, and inspecting the rubber washer on the stem for flattening, cracking, or grit embedded in its surface. Severity: Low. This is a DIY-friendly 15-minute repair with a $2 replacement kit. Replacing the washer restores seal integrity in 9 out of 10 cases.
Loose packing nut
The nut just below the handle compresses graphite or rubber packing around the stem. If it’s backed off even ¼ turn, water escapes along the stem. Confirm by gently tightening it clockwise with an adjustable wrench—stop at firm resistance (overtightening cracks brass). Severity: Low. Tighten it yourself, but replace packing if the leak persists after two turns.
Corroded or cracked valve body
Common in homes built before 2000 using galvanized or low-grade brass valves. Look for pinhole leaks, flaking metal, or green crust near threaded joints. According to the American Society of Home Inspectors’ 2022 Field Survey, 37% of angle stop failures in pre-1995 homes stemmed from internal corrosion. Severity: High. Requires full valve replacement—call a licensed plumber if you see active cracking or brittle threads.
Over-torqued supply line connection
When installers crank down flexible braided lines too hard, they deform the valve’s outlet seat or crush the ferrule. Confirm by checking for misaligned threads or a bent brass outlet port. Severity: Medium. Often fixable by loosening and reseating the line with proper torque (hand-tight + ½ turn with wrench), but may require new supply line and valve seat inspection.
What to Do First
Shut off the main water supply if the leak is gushing or coming from a cracked valve body. For slow drips, isolate the fixture: turn the angle stop fully clockwise (righty-tighty) until snug—not forced. Place a towel and shallow pan beneath to catch residual drip. Then check for moisture migration into cabinetry or flooring—water can travel 6+ inches sideways inside wall cavities before showing up elsewhere.
- Turn off water at the angle stop *first*—don’t assume the main shutoff is accessible or functional
- Open the fixture faucet to relieve pressure and drain residual water from the line
- Photograph the valve and connections before disassembly—helps with parts matching later
- Label supply lines (hot/cold) with painter’s tape if markings have worn off
What NOT to Do
Never use duct tape, epoxy, or thread sealant as a permanent fix on a leaking angle stop. These mask symptoms while pressure builds upstream—potentially causing burst lines or failed fixtures downstream. Also avoid cranking the handle harder to stop a drip; that accelerates stem wear and can snap the valve core.
- Don’t ignore a leak because “it’s just a drip”—the U.S. EPA estimates that a single dripping angle stop wastes up to 3,000 gallons per year
- Don’t reuse old compression rings or rubber washers—even if they look intact
- Don’t substitute a PVC shutoff for a metal angle stop in high-pressure hot-water lines (fire code violation in 42 states)
Why does my angle stop valve leak only when I turn it on?
This points strongly to a compromised valve seat or damaged washer that seals only under static pressure—not dynamic flow. When water flows, turbulence lifts the degraded washer slightly, breaking the seal. Confirm by turning the valve halfway open: if dripping increases at mid-position, the seat is likely eroded or scored.
Can I replace just the handle instead of the whole valve?
Only if the leak is strictly at the handle stem and the valve body shows zero corrosion or cracks. Most modern handles use proprietary stems—so verify compatibility first. But if the valve is over 8 years old, replacement is safer: full valve swap costs under $25 in parts and prevents repeat failure.
Is Teflon tape enough to fix a leak at the supply line connection?
No—tape seals threads, not compression surfaces. If water seeps where the supply line meets the valve outlet, the issue is usually a damaged ferrule, over-torqued fitting, or worn outlet seat. Wrap tape *only* on male threads going into the valve body—not on the outlet side where the supply line attaches.
How tight should the packing nut be?
Tighten until the leak stops—then back off ⅛ turn. Over-tightening compresses packing unevenly and creates heat-induced microfractures in brass. As plumbing contractor Maria Chen notes in Residential Hydronics Handbook (2021): “A properly adjusted packing nut stops stem leakage without restricting handle rotation—and should never require a cheater bar.”
“A leaking angle stop isn’t a ‘wait-and-see’ item. In our field data, 68% of water damage claims linked to fixture shutoffs involved valves ignored for more than 3 weeks.” — National Association of Home Builders, Plumbing Systems Report 2023
My valve is plastic—can I tighten it like brass?
No. Plastic angle stops (common in mobile homes and rentals) have lower torque tolerance. Hand-tighten only—no wrenches. Overtightening causes hairline cracks that grow with thermal cycling. Replace plastic valves every 5–7 years, even if they appear fine.
Should I replace all angle stops if one fails?
Yes—if your home is over 12 years old or has mixed valve materials (e.g., some brass, some plastic). Uniform replacement prevents cascading failures and simplifies future maintenance. It’s also the most cost-effective time to upgrade to quarter-turn ceramic-disc valves, which last 2–3× longer than compression types.
Leaking angle stop valves rarely escalate overnight—but they almost always get worse within days. Catching the cause early saves drywall repairs, mold remediation, and emergency call-out fees. Whether it’s a $1.50 washer or a $45 valve replacement, diagnosing correctly the first time means doing it once, not three times.