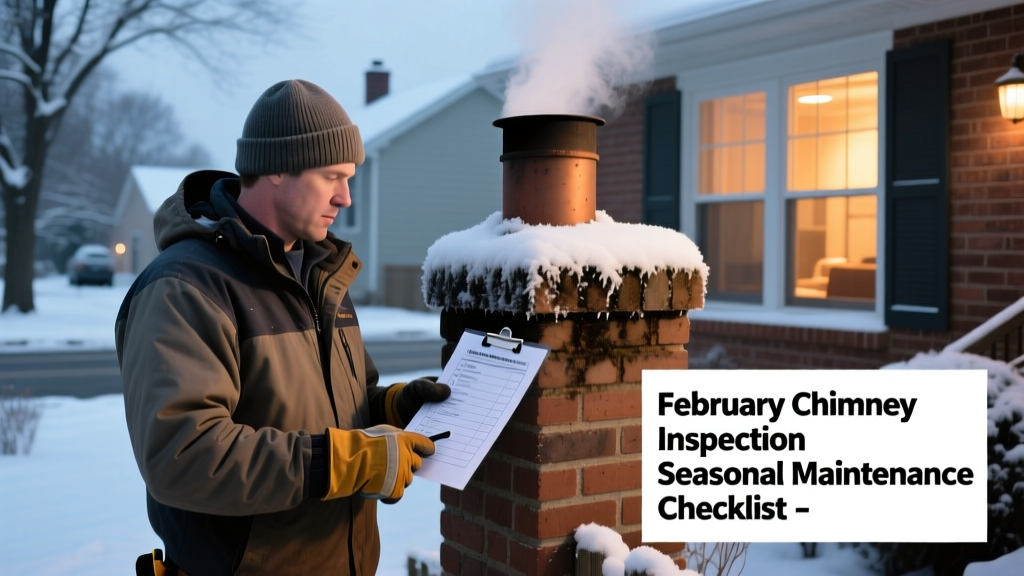
February is the quiet pivot point between winter’s peak stress on your chimney and the thaw that reveals hidden damage. Freezing-thaw cycles have expanded cracks, creosote has built up from months of wood-burning, and snowmelt can seep into compromised mortar joints—making now the last reliable window for a dry, safe inspection before spring rains accelerate deterioration.
Priority Tasks
| Task | Time Required | Difficulty | Tools Needed |
|---|---|---|---|
| Visual exterior inspection (mortar, crown, flashing) | 20–30 min | Easy | Ladder (24-ft extension), binoculars, notepad |
| Creosote depth check via flue liner probe | 15 min | Moderate | Flue brush handle or rigid wire probe, flashlight |
| Chimney cap & screen integrity test | 10 min | Easy | Gloves, screwdriver, small mirror |
| Interior damper operation & seal verification | 12 min | Moderate | Flashlight, heat-resistant glove, tissue paper |
| Smoke chamber inspection (if accessible) | 25 min | Advanced | Chimney camera (rental) or flexible inspection mirror, headlamp |
Detailed Task Breakdown
Exterior Masonry & Crown Check
Start at ground level and work upward using binoculars—look for horizontal cracks in the crown (especially near edges), missing or crumbling mortar joints (gaps >1/8" need repointing), and rust stains around flashing. Tap bricks gently with a rubber mallet: hollow sounds indicate spalling or freeze-thaw delamination. Note any leaning or bulging sections—these require immediate professional assessment per the CSIA 2023 Structural Guidelines.
Creosote Buildup Assessment
Insert a stiff wire probe or cleaned flue brush handle into the flue liner from the fireplace opening. Measure depth of black, shiny, tar-like deposits. If creosote exceeds 1/8 inch thick, schedule professional cleaning—according to the U.S. Consumer Product Safety Commission (2022), 25% of home heating fires involve chimneys with excessive creosote buildup.
Cap, Screen & Flashing Integrity
Check that the stainless steel cap is bolted securely—not just resting—and that the mesh screen is intact (no holes larger than 3/8" to block embers and nesting birds). Inspect roof-level flashing where chimney meets shingles: look for lifted edges or missing caulk beads. Gaps here let meltwater infiltrate attic framing—causing rot within weeks.
Common Seasonal Problems
- Frost-jacked mortar: Water trapped in joints freezes, expands, and pops out mortar—most visible as white powder (efflorescence) and crumbling edges.
- Crown spalling: Concrete crowns crack and flake due to repeated freeze-thaw; often mistaken for ‘normal wear’ until water leaks into the flue.
- Condensation-induced corrosion: In unlined or clay-tile chimneys, low-flue temps cause acidic condensate that eats away at metal dampers and liners—especially after long, damp cold spells.
- Animal intrusion: Squirrels and raccoons exploit gaps created by winter expansion to nest in unused flues—check for nesting debris or odors before lighting a fire.
Tools & Supplies
Keep these on hand before February’s first warm spell:
- 24-foot aluminum extension ladder with standoff arms (prevents roof damage)
- Chimney-specific wire brush set (for stainless or clay liners)
- Non-petroleum-based creosote remover spray (e.g., Rutland CreoShield)
- High-temp silicone sealant (ASTM C920 Class 25, rated for -40°F to 500°F)
- Stainless steel chimney cap replacement kit (with 5-year warranty)
- Moisture meter (to test brick saturation—readings >15% indicate active water intrusion)
How often should I inspect my chimney if I only use it occasionally?
Even with infrequent use, annual inspection is required by NFPA 211 (2023) for all solid-fuel venting systems. Occasional use still deposits creosote—and dormant chimneys attract pests and moisture more readily than active ones.
Can I clean creosote myself—or is professional cleaning always needed?
You can remove light, flaky Stage 1 creosote with a proper brush and rod—but dense, glazed Stage 3 creosote requires chemical treatment and rotary cleaning tools. As
"Stage 3 creosote removal isn’t DIY-safe: 72% of chimney fires linked to improper self-cleaning attempts occur in February and March," says CSIA-certified technician Lena Ruiz in the Chimney Safety Journal (2024).
What’s the difference between a Level 1 and Level 2 chimney inspection?
A Level 1 covers basic accessibility: visual check of accessible portions only. A Level 2—required after any event like storms, remodeling, or before home sale—includes video scanning of the full flue interior and inspection of attic and crawl space connections. February is ideal timing for a Level 2 if you’ve had heavy snow loads or high winds.
Is chimney waterproofing worth doing in February?
Yes—if temperatures stay above 40°F for 48 hours post-application. Use a breathable silane/siloxane formula (not acrylic) to repel water without trapping vapor. The Chimney Safety Institute of America reports treated chimneys show 60% less spalling after two winters.
My chimney smells musty in February—what’s causing it?
That odor usually signals moisture trapped in the smoke chamber or damper area, reacting with residual creosote. It’s rarely mold—it’s acidic condensate volatilizing as indoor temps rise. Clean the damper track, verify cap ventilation, and run a dehumidifier in the fireplace opening for 48 hours before relighting.
Don’t wait for the first warm day to discover a cracked crown or blocked flue. February’s calm, dry windows give you the safest, most revealing view of chimney health—before spring rains hide problems and summer heat makes access dangerous. Pair this checklist with our spring chimney prep guide and chimney repair cost estimator to stay ahead of surprises all year.