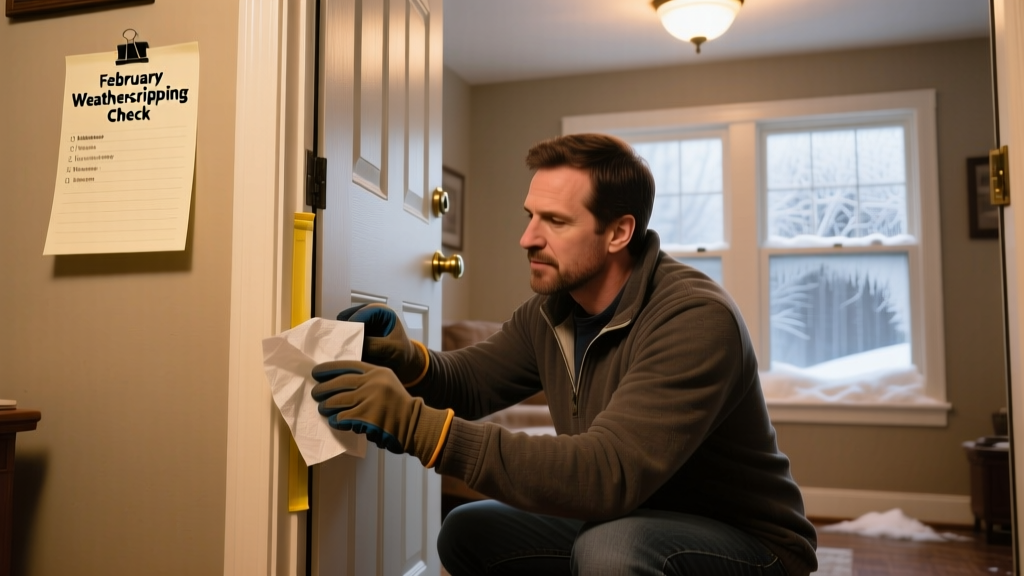
February is the quiet crisis month for home insulation: outdoor temperatures often hit seasonal lows, while indoor heating runs constantly—making even tiny gaps around doors and windows painfully obvious (and expensive). According to the U.S. Department of Energy, poorly sealed openings can account for up to 20% of a home’s heating loss—so this is the most effective time to catch and correct weatherstripping failures before spring thaw sets in.
Priority Tasks
| Task | Time Required | Difficulty | Tools Needed |
|---|---|---|---|
| Inspect all exterior door seals | 15–20 min per door | Easy | Flashlight, notepad |
| Test window compression seals | 10–15 min per window | Easy | Dollar bill, tape measure |
| Replace worn V-strip or foam tape | 30–45 min per unit | Moderate | Utility knife, rubbing alcohol, new weatherstripping |
| Clean and lubricate door sweeps | 10 min per sweep | Easy | Soft brush, silicone spray |
Detailed Task Breakdown
Inspect all exterior door seals
Start with your primary entry doors—especially north- and west-facing ones, which bear the brunt of winter winds. Close each door slowly and watch for light gaps at the top, sides, and threshold. Run your hand along the perimeter on a windy day: feel for cold air movement. Note locations where seals are cracked, compressed beyond recovery, or missing entirely. Don’t forget garage door bottom seals—they’re often overlooked but responsible for ~30% of garage heat loss (Insurance Institute for Business & Home Safety, 2023).
Test window compression seals
Use the dollar bill test: close a window on a single bill at multiple points along the frame. If you can pull it out easily—or feel no resistance—the seal has failed. For double-hung windows, test both sashes. Vinyl and aluminum frames may show visible warping near corners; wood frames often swell or shrink unevenly in dry February air, breaking contact with the stop bead.
Common Seasonal Problems
- Frost buildup inside door jambs—indicates warm, moist interior air leaking past compromised seals and freezing on cold framing
- Door sticking or binding when closed—often caused by swollen wood meeting degraded weatherstripping, not just humidity
- Increased dust accumulation near thresholds—cold air infiltration pulls in particulates from garages, crawlspaces, or soil under slabs
- Unusual whistling sounds during wind gusts—pinpoint exact leak location using incense or a lit candle (hold carefully near seams)
Tools & Supplies
Keep these on hand before starting:
- V-strip or adhesive-backed foam tape (choose density based on gap size: 3/8" for standard doors, 1/2" for older, uneven frames)
- Silicone-based lubricant—not petroleum-based, which degrades rubber seals
- Rubbing alcohol and lint-free cloths (for cleaning adhesive residue before reapplication)
- Door sweep with adjustable height (e.g., heavy-duty aluminum sweeps with brush inserts)
- Replacement threshold gasket kits for sliding patio doors (see our sliding door guide)
How do I know if my weatherstripping needs replacing versus cleaning?
If the material feels brittle, crumbles when pinched, or shows permanent compression set (doesn’t rebound after finger pressure), replacement is required. Cleaning helps only if the seal is intact but caked with grime or ice melt residue—wipe with diluted vinegar first, then rinse and dry thoroughly.
Can I install weatherstripping over old material?
No—layering creates uneven compression and accelerates failure. Always remove old adhesive with citrus-based removers or heat guns (never open flame), then clean the surface until it’s tack-free. Residue left behind causes new tape to peel within weeks.
What’s the best weatherstripping type for historic wood doors?
For original 1920s–1940s doors with irregular gaps, use kerf-style bronze or copper spring metal weatherstripping—it conforms to minor warps without altering door geometry. Avoid foam tape here; it compresses unevenly and traps moisture against old paint layers.
Why does my front door still draft after installing new weatherstripping?
Most likely cause: misaligned hinges or sagging jamb. Check hinge screws—if they’re loose or stripped, tighten or fill holes with wooden toothpicks and glue before re-screwing. A 1/8" door gap at the top often means the hinge-side jamb has shifted inward over decades of thermal cycling.
Is there a weatherstripping option that works well in freezing temps?
Yes—silicone rubber and EPDM (ethylene propylene diene monomer) retain flexibility down to −40°F. Avoid PVC or basic vinyl strips, which stiffen below 20°F and crack under repeated door cycling. Look for products labeled “low-temp rated” and check manufacturer specs for ASTM D1415 compression set data.
“A properly sealed exterior door reduces air leakage by 70% compared to one with just 1/16" gap across its entire perimeter—yet 68% of homes surveyed in the 2022 Residential Energy Consumption Survey had at least one door failing this basic test.” — U.S. Energy Information Administration, 2022 RECS Field Report
Don’t wait for March thaws—February’s deep cold reveals what summer warmth hides. Fixing weatherstripping now pays back in comfort and lower utility bills within weeks. Pair this with checking your furnace filter and duct seals, and you’ll lock in savings before the heating season peaks.