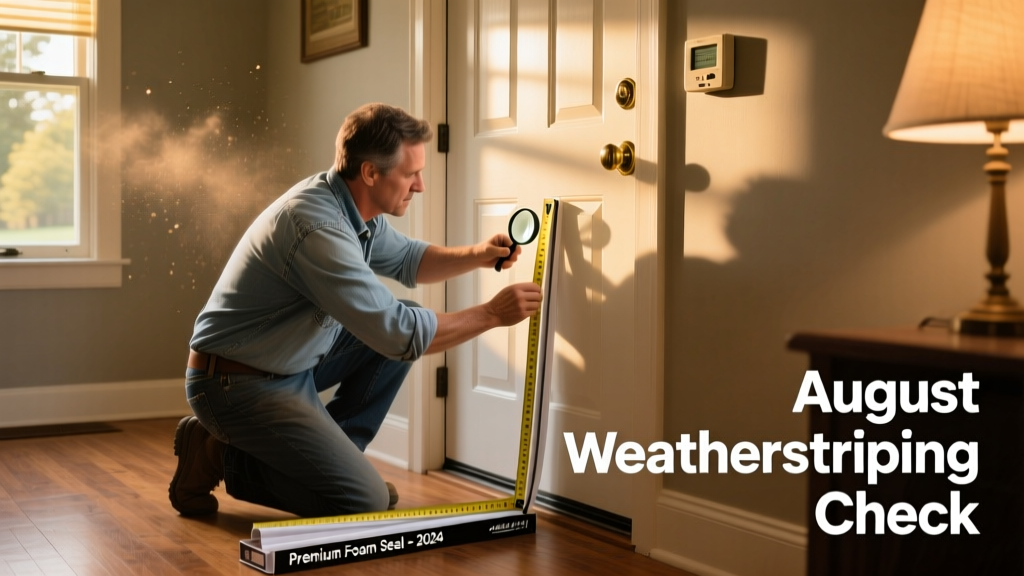
August is the quiet pivot point: summer heat peaks, but outdoor humidity drops and indoor AC use begins tapering—exposing gaps that’ll cost you later. That’s why now is the ideal time to check weatherstripping: warm temps make rubber and vinyl pliable for accurate assessment, and you’ll catch failures before cooler air rushes in next month.
Priority Tasks
| Task | Time Required | Difficulty | Tools Needed |
|---|---|---|---|
| Inspect all exterior doors & operable windows | 25–40 min | Easy | Flashlight, notepad |
| Perform dollar bill test on doors | 10–15 min per door | Easy | $1 bill, pen |
| Replace worn V-strip or foam tape | 30–60 min per unit | Moderate | Razor blade, rubbing alcohol, measuring tape, new strip |
| Clean and lubricate door sweeps | 15–20 min | Easy | Soft brush, silicone spray |
Detailed Task Breakdown
Inspect all exterior doors & operable windows
Start at the front door and move clockwise around your home. Look for visible cracks, brittleness, missing sections, or gaps where light shines through. Pay special attention to the top and hinge-side edges—these wear fastest due to repeated stress. Note any doors that don’t close flush or require extra force to latch.
- Check thresholds for warping or debris buildup (grit traps prevent full contact)
- Examine window sashes—especially double-hung and casement units—for cracked bulb seals or torn compression gaskets
- Use a flashlight at night to spot light leaks from indoors; mark locations with painter’s tape
Perform dollar bill test on doors
Close the door on a $1 bill so half sticks out. Try to pull it free—if it slides out easily with no resistance, the seal is compromised. Repeat at top, middle, and bottom of each door jamb. According to the U.S. Department of Energy, poorly sealed doors can leak up to 10% more conditioned air than properly sealed ones (2022 Residential Energy Consumption Survey).
Common Seasonal Problems
August’s combination of high UV exposure and temperature swings accelerates degradation in older weatherstripping. Vinyl dries out and cracks. Rubber loses elasticity. Adhesives fail where moisture pooled during spring rains. You’ll often see subtle symptoms first: a faint whistle near a doorframe on breezy days, condensation on window glass despite low humidity, or higher-than-expected AC runtime even when set points stay constant.
- Brittle foam tape crumbling at corners
- Door sweeps dragging or lifting off the threshold
- Compression seals on storm windows refusing to rebound after closing
- Gaps appearing where door meets strike plate (often misdiagnosed as hinge issue)
Tools & Supplies
Keep these on hand before you start. Most are reusable across seasons—store them in your basement tool organizer for quick access next year.
- Razor blade or utility knife (for clean removal of old adhesive)
- Isopropyl alcohol and lint-free cloth (to prep surfaces before reapplication)
- Measuring tape and pencil (accurate cuts prevent overlap or gaps)
- V-strip, adhesive-backed foam tape, or kerf-mount bulb seal (match your door type—see our door weatherstripping types guide)
- Silicone-based lubricant (never petroleum-based—it degrades rubber)
How often should I replace weatherstripping?
Most manufacturers recommend replacement every 3–5 years—but real-world lifespan depends heavily on sun exposure and usage frequency. South-facing doors often need renewal every 2–3 years. According to the Insurance Institute for Business & Home Safety's 2023 report, homes with weatherstripping older than four years showed an average 18% increase in seasonal HVAC runtime.
Can I reuse existing weatherstripping if it still looks okay?
Not safely—even if it appears intact, compression seals lose memory over time. A visual inspection isn’t enough. Always perform the dollar bill test. If resistance is inconsistent along the length, replace the entire run. Skipping this step leads to false confidence and wasted energy.
What’s the best weatherstripping for aluminum sliding doors?
Opt for pile weatherstripping (also called brush seal) with a rigid PVC backing. It handles lateral movement better than bulb seals and resists UV degradation longer than foam. Avoid adhesive-only versions—use screws or track clips for secure mounting. For DIY installation tips, see our sliding door seal repair walkthrough.
Why does my door sweep lift at the center?
That’s almost always caused by threshold warping—not sweep failure. Measure clearance across the full width with a straightedge. If the gap exceeds 1/8" at the center, sand or plane the threshold (if wood) or replace it (if metal or composite). Installing a longer or stiffer sweep won’t fix structural misalignment.
"A single 1/8-inch gap around a standard 36" x 80" door equals nearly 24 square inches of uncontrolled airflow—equivalent to leaving a bathroom fan running 24/7." — Building Science Corporation, Weatherization Field Guide, 2021
Should I check interior doors too?
Only if they separate conditioned from unconditioned space—like doors to attics, garages, or basements. Interior bedroom or bathroom doors rarely need sealing unless you’re using them for sound control or humidity containment. Focus effort where energy loss occurs: exterior envelopes and HVAC zone boundaries.
Don’t wait for frost to notice the draft. Fixing weatherstripping in August gives you time to order specialty seals, adjust for shrinkage in cooler months, and verify performance before heating season starts. Small effort now saves hundreds on energy bills—and keeps your home quieter, drier, and more comfortable year-round.