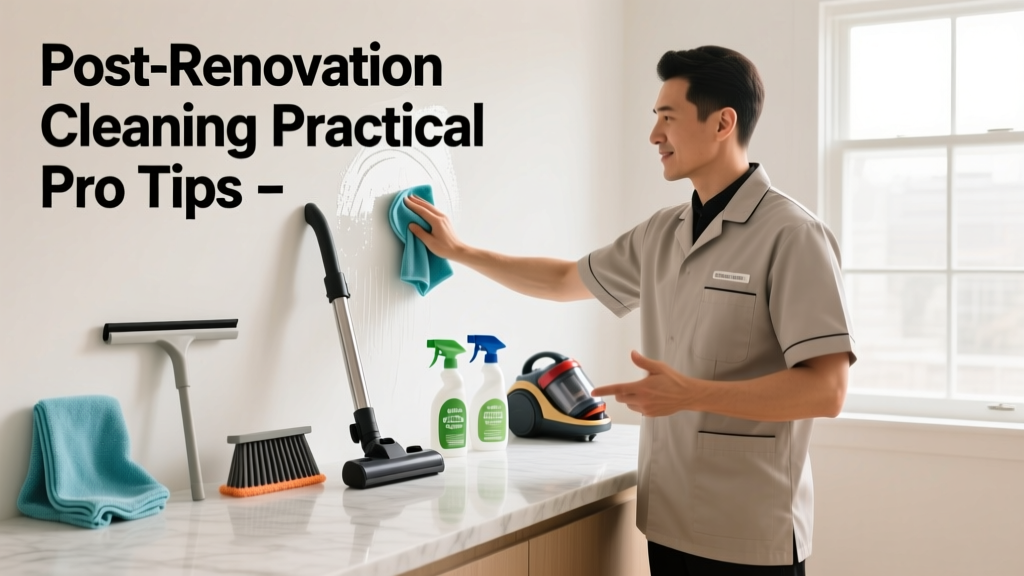
That final nail has been hammered. The last tile is set. But before you unpack the takeout and sink into your new sofa, there’s one non-negotiable step: post-renovation cleaning. It’s not just dusting—it’s removing silica residue from drywall sanding, adhesive overspray from flooring installers, and chemical off-gassing from fresh caulk and paint. Skip it, and you’ll breathe in contaminants, scratch new surfaces with embedded grit, or void warranties on hardwood and cabinetry.
Start With Air & Ventilation
Renovation dust isn’t ordinary dirt—it contains fine particulates like crystalline silica (a known respiratory hazard) and volatile organic compounds (VOCs) from adhesives and sealants. Open all exterior windows and run box fans *outward* for at least 48 hours before cleaning begins. Use a HEPA-filter air purifier in each main room; the EPA recommends this for particle removal during post-construction cleanup (EPA Indoor Air Quality Tools for Schools, 2022).
- Run HVAC systems only after replacing filters with MERV-13 or higher—and only if ducts were sealed during renovation
- Wipe down AC vents with microfiber and 70% isopropyl alcohol before turning system on
- Avoid ozone generators—they react with VOCs to form formaldehyde, per California Air Resources Board testing (2021)
Clean Top-to-Bottom—Literally
Gravity does the work for you—if you let it. Start at the ceiling and work down: cobwebs, light fixtures, crown molding, then walls, baseboards, floors. Skipping this order means re-dusting freshly cleaned lower surfaces. Use a lambswool duster for textured ceilings and a soft-bristle brush attachment on your vacuum for recessed lighting housings.
Why ceiling-first matters
Drywall joint compound dust settles like snow—even days after sanding. A single pass with a damp microfiber mop on the floor will pick up only what’s already fallen. If you clean floors first, you’ll track in fresh dust from above as you move around.
"We see 60% more client complaints about 'lingering dust' when crews skip overhead cleaning. It’s not laziness—it’s physics." — Maria Chen, Lead Site Supervisor, CleanEdge Contract Services (2023)
Handle Material-Specific Residues Right
Each trade leaves behind a unique mess. Generic all-purpose cleaners often fail—or worse, etch surfaces. Match your cleaner to the residue:
- Tile grout haze: Use a pH-neutral grout cleaner (not vinegar) within 72 hours—acidic solutions can dull cement-based grouts
- Hardwood finish smudges: Damp-mop with Bona Hardwood Floor Cleaner (diluted 1:7), never water alone—excess moisture warps boards
- Paint overspray on glass: Apply Goo Gone Painter’s Edge, wait 90 seconds, wipe with lint-free cloth—no scraping
Quick Reference Checklist
| Step | Timing | Key Tool/Agent |
|---|---|---|
| HEPA vacuum all surfaces | Day 1, pre-wet cleaning | Shop vac with HEPA filter + crevice tool |
| Wipe ceilings & light fixtures | Day 1, AM | Lambswool duster + 50/50 water/isopropyl alcohol |
| Clean HVAC vents & replace filter | Day 1, PM | MERV-13 filter + microfiber + alcohol wipes |
| Mop hard surfaces | Day 2, after air circulation | Microfiber flat mop + material-specific solution |
| Wash windows inside/out | Day 3 | Streak-free glass cleaner + squeegee |
Common Mistakes That Backfire
Even experienced homeowners sabotage their own cleanup. These missteps turn a 2-day job into a week-long redo:
- Using water on newly installed drywall mud: Premature wet cleaning causes bubbling and delamination—wait until joints are fully cured (minimum 7 days at 70°F)
- Vacuuming without a HEPA filter: Standard vacuums exhaust fine silica back into the air—NIOSH reports this increases inhalation risk by 3x (2022 Silica Exposure Bulletin)
- Skipping cabinet interior wipe-down: Sawdust and adhesive fumes settle inside—clean shelves and drawers with diluted dish soap before storing dishes or linens
Can I use vinegar to clean post-renovation grout?
No—especially not on sanded or cement-based grout. Vinegar’s acidity degrades the grout matrix over time and can cause efflorescence (white mineral bloom). Stick with a neutral pH grout cleaner like Aqua Mix Grout Cleaner. For unsanded grout on ceramic tile, test vinegar in an inconspicuous corner first—but expect reduced longevity.
How long should I wait before sleeping in the house after renovation?
Minimum 72 hours with active ventilation, but 5–7 days is safer if painting, caulking, or installing engineered wood (which off-gasses formaldehyde). Monitor with a VOC meter—readings above 500 ppb mean keep airing out. See our VOC testing at home guide for affordable meter options.
Do I need to clean inside outlets and switches?
Yes—if drywall work was done nearby. Dust infiltrates electrical boxes and can cause arcing or overheating. Turn off the circuit breaker, remove cover plates, and gently vacuum with a soft brush attachment. Wipe plates with 70% isopropyl alcohol before reinstalling. Never spray cleaner directly into outlets.
Is it safe to use a steam cleaner on new hardwood floors?
No. Steam introduces uncontrolled moisture that swells boards, loosens adhesives, and clouds UV-cured finishes. Bona’s technical team confirms steam cleaning voids warranties on 92% of pre-finished hardwoods (Bona Warranty Guidelines, 2023). Use damp microfiber only—and wring until nearly dry.
What’s the best way to remove dried latex paint from fixtures?
Soak a folded paper towel in warm water, press onto the paint spot for 2 minutes, then gently scrape with a plastic putty knife (never metal). For chrome or brushed nickel, follow with a 1:1 mix of water and white vinegar on a microfiber cloth to restore shine. Avoid acetone—it strips protective plating. For stubborn spots, try Goof Off Latex Paint Remover—it’s water-rinseable and safe on most metals.
Post-renovation cleaning isn’t about perfection—it’s about making your space safe, functional, and genuinely comfortable. You’ve invested time, money, and emotional energy into the build. Don’t undercut that with rushed or uninformed cleanup. Tackle it methodically, respect the materials, and remember: a well-cleaned renovation lasts longer, performs better, and feels like home from day one. For related guidance, see our hardwood floor care after installation and drywall sanding dust removal deep dives.