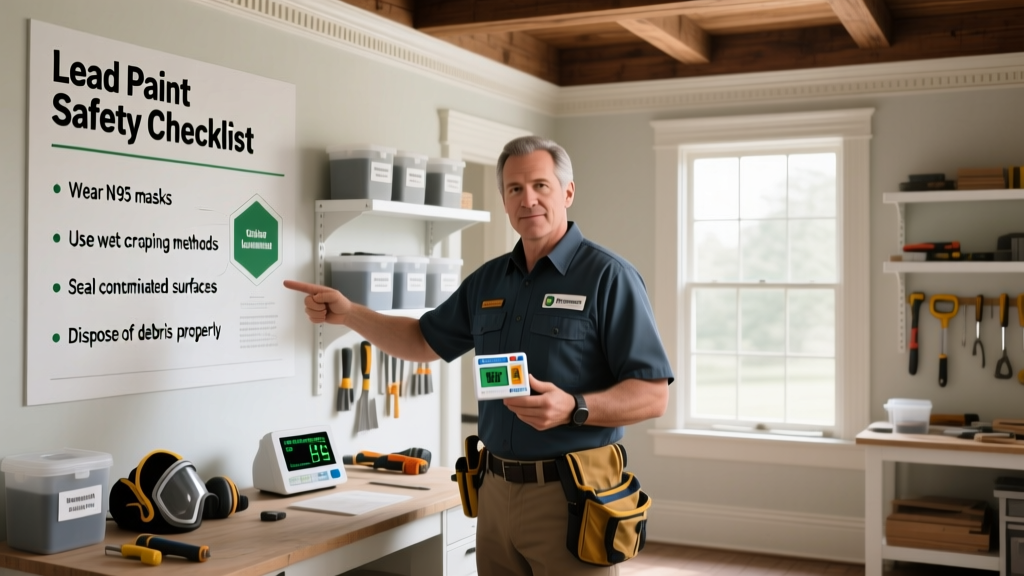
If your home was built before 1978—especially before 1950—there’s a high chance it contains lead-based paint. It’s not just dust or chipping that’s dangerous; even intact layers become hazardous during sanding, scraping, or renovation. And unlike mold or asbestos, lead exposure has no safe threshold—especially for children under six, whose developing brains absorb up to 50% of ingested lead (CDC, 2022).
Test Before You Disturb
Never assume paint is lead-free—even if it’s covered by newer layers. The U.S. EPA requires certified renovators to test surfaces before disturbing painted surfaces in pre-1978 housing. Use an EPA-recognized test kit like the 3M LeadCheck Swabs (which detect ≥1.0 mg/cm²), but know their limits: they can miss low-level lead or give false negatives on weathered or chalky surfaces.
- Test all layers—not just the top coat—by carefully scraping through to the substrate
- Send samples to an accredited lab (e.g., ALS Environmental) for XRF analysis if you’re planning major work
- Label tested areas clearly: ‘LBPP CONFIRMED’ or ‘TEST PENDING’ with date and tester initials
Contain, Don’t Create Dust
Dry sanding or aggressive scraping turns lead paint into inhalable, ingestible dust—the #1 exposure route. The CDC reports that 70% of childhood lead poisoning cases linked to home renovation involve improper dust control (CDC Childhood Lead Poisoning Prevention Program, 2021).
“Wet scraping with a HEPA-filtered vacuum attachment isn’t optional—it’s the minimum standard for any surface removal in a pre-1978 home.” — Renovation Safety Specialist, National Center for Healthy Housing, 2023
Use these containment tactics:
- Seal off the work area with 6-mil polyethylene sheeting taped at all seams and floor edges
- Run a HEPA air purifier inside the zone during and for 2 hours after work
- Wipe all surfaces—including door handles, light switches, and baseboards—with damp disposable cloths, then discard them in labeled hazardous waste bags
Hire Smart or Certify Yourself
Not all contractors understand lead-safe work practices. Under the EPA’s Renovation, Repair and Painting (RRP) Rule, firms must be certified—and at least one worker on-site must hold RRP certification. Verify active status at EPA’s RRP database.
If you’re DIY-ing small repairs (under 6 ft² interior / 20 ft² exterior), you still need training. The EPA-approved 4-hour online course from the National Lead Information Center costs $39 and includes a printable certificate valid for 5 years.
Quick Reference Checklist
| Task | Do | Avoid |
|---|---|---|
| Surface Prep | Wet scrape or use chemical stripper rated for lead (e.g., Dumond Smart Strip) | Dry sanding, heat guns above 1100°F, or abrasive blasting |
| Dust Control | HEPA vacuum + disposable filter + damp wipe-down | Broom sweeping, compressed air, or household vacuums |
| Disposal | Double-bag debris in labeled 6-mil bags; check local HHW facility rules | Mixing with regular trash or dumping in yard waste |
| Post-Cleanup | Clearance testing by third-party inspector (XRF scan + dust wipe) | Visual inspection only or skipping final wipe test |
Common Mistakes That Risk Exposure
Folks often think ‘just this one window’ or ‘I’ll be careful’—but lead safety fails fast when routines slip. Here’s what consistently trips people up:
- Using a shop vac without a HEPA filter—standard filters blow 99% of lead dust back into the air
- Skipping floor containment: lead dust settles within minutes and tracks across the house on shoes and pet paws
- Assuming new paint seals lead—it doesn’t. Encapsulation only works with certified products like LeadStop or EcoBond LBP, applied per manufacturer specs
- Cleaning with vinegar or bleach—these degrade paint films and increase dust generation during later disturbance
Can I paint over lead paint safely?
Yes—if you use an EPA-recognized encapsulant and prepare properly. First, repair all cracks and loose paint. Then apply two coats of product like ECOS LeadLock or INSL-X Shieldz. Never sand or prime with conventional materials first. For more on safe sealing methods, see our guide on encapsulating lead paint.
How do I clean up after a lead-safe project?
Start with a HEPA vacuum pass over every horizontal surface—including ceiling corners and HVAC vents. Follow with three rounds of wet wiping using disposable microfiber cloths and a trisodium phosphate (TSP) substitute (e.g., Krud Kutter Original). Finish with a certified dust wipe test: collect dust from 1 ft² areas, send to lab, and confirm <0.6 µg/cm² for floors, <1.0 µg/cm² for windowsills (EPA Clearance Standards, 2022).
Are lead test kits reliable for DIYers?
They’re screening tools—not definitive proof. The 3M LeadCheck swab turns pink if lead is present at ≥1.0 mg/cm², but misses lower concentrations common in multi-layered walls. False negatives occur on latex-over-lead or oxidized surfaces. Always follow up positive results with lab testing—and treat inconclusive results as presumptive positives.
What if my child tests high for lead?
Contact your pediatrician immediately and request a venous blood test (capillary tests can be contaminated by dust). The CDC’s reference level is now 3.5 µg/dL (2021 update)—not 5.0. Also call your local health department: they’ll inspect your home for hazards and may provide free dust wipe testing. Read more about next steps in our lead blood test response guide.
Does lead paint smell?
No. Lead-based paint has no odor—unlike mold or VOC-heavy modern paints. Don’t rely on scent to assess risk. Chalky residue, alligatoring, or paint that scrapes easily in brittle layers are better visual clues—especially on windows, doors, and trim.
Can I remove lead paint myself in a rental unit?
No. Landlords must comply with federal and state lead disclosure laws—and most states prohibit unlicensed tenants from disturbing lead paint in rental properties. In fact, 42 states require landlords to provide EPA’s Renovate Right pamphlet before any renovation. Tenants who disturb lead without notice may face liability for cleanup costs. See our full breakdown of landlord lead responsibilities.
Lead paint isn’t a problem you can ignore—or solve with elbow grease alone. It demands methodical testing, strict containment, and verified cleanup. But with the right tools and awareness, you can protect your family without gutting your home’s character. Start small: test one window frame, seal one stair riser, and build from there. Your future self—and your kids’ neurology—will thank you.