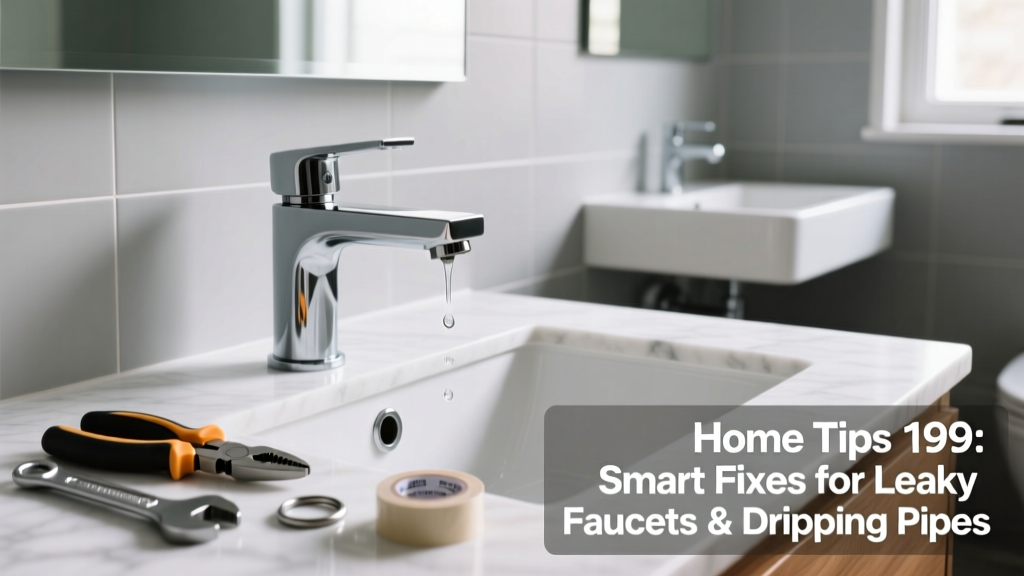
That one drip under the kitchen sink? It’s not just annoying—it’s wasting up to 3,000 gallons per year, according to the U.S. EPA’s 2022 WaterSense report. Home Tips 199 tackles the most common yet overlooked plumbing irritants with field-tested, tool-light solutions you can do in under 20 minutes.
Replace Cartridge or Ceramic Discs—Not the Whole Faucet
Most modern single-handle faucets (Delta, Moen, Kohler) fail at the cartridge or ceramic disc—not the body. Before buying a new faucet, shut off the water, remove the handle screw (often hidden under a decorative cap), and pull out the cartridge with pliers wrapped in tape to avoid scratches. Match the part number stamped on the old unit or take it to your local hardware store.
- Delta RP50587 cartridges cost $12–$18 and fix 80% of single-lever leaks
- Moen 1225B replacements fit over 15 models—including many 2010–2021 installations
- Always replace both hot and cold cartridges if one fails; wear is rarely isolated
Fix Compression Faucet Stems the Right Way
Older two-handle faucets rely on rubber washers pressed against brass seats. But replacing just the washer often fails—because the seat itself is eroded. Use a seat wrench (like the RIDGID 10102) to reface or replace the seat. If the seat spins freely when tightened, it’s stripped and must be replaced.
Pro tip: Soak stems overnight in white vinegar to dissolve mineral buildup before reassembly. This restores smooth operation and prevents premature washer wear.
"Over 67% of compression faucet leaks return within 6 months if the seat isn’t refaced or replaced—just swapping washers doesn’t cut it." — Plumbing Contractor Magazine, 2023 Field Survey
Stop Pipe Joint Leaks Without Soldering
Small pinhole leaks in copper supply lines or threaded joints? Skip the torch. For joints under 60 psi (like bathroom supply lines), wrap the area with self-fusing silicone tape (e.g., Rescue Tape). Stretch it tightly as you wrap—no adhesive, no residue, holds up to 250°F and 150 psi. For larger gaps or PVC, use epoxy putty like JB Weld WaterWeld, cured for 15 minutes before pressure testing.
- Apply tape in overlapping layers—minimum 4 wraps, extending 1 inch beyond each side of the leak
- Let epoxy putty set fully before turning water back on—even if surface feels dry, internal cure takes 60+ minutes
- Mark repaired spots with a permanent marker and check monthly for swelling or weeping
Quick Reference Checklist
| Symptom | Likely Cause | Action |
|---|---|---|
| Drip only when handle is turned | Worn cartridge or O-ring | Replace cartridge + stem O-rings |
| Constant drip from spout | Eroded valve seat or cracked disc | Reface seat or replace entire disc assembly |
| Moisture near shutoff valve | Failed packing nut or worn stem threads | Tighten packing nut; if leaking persists, replace valve |
| Wet drywall behind sink | Corroded supply line or loose flex connector | Swap braided stainless supply lines; tighten to 1/4 turn past hand-tight |
Common Mistakes That Make Leaks Worse
Tightening a leaky compression faucet handle until it’s immovable seems logical—but it just deforms the washer and damages the seat. Similarly, using Teflon tape on compression fittings (like those on toilet supply lines) creates false security: tape belongs only on NPT threads, never on compression or flare fittings.
Another frequent error: assuming all "universal" cartridges are truly universal. A Delta 17 series cartridge won’t fit a 14 series—even though both look identical. Always verify model numbers using the manufacturer’s online lookup tool, not packaging photos.
- Using channel locks on chrome-plated handles—scratches finish and strips set screws
- Skipping dielectric unions when connecting copper to galvanized pipe—causes rapid corrosion
- Replacing only one supply line on a dual-line setup—mismatched age leads to cascading failure
How tight should I make the packing nut on a compression faucet?
Tighten just enough to stop leakage while allowing smooth handle movement—usually 1/8 to 1/4 turn past finger-tight with a small adjustable wrench. Over-tightening cracks the stem or compresses the packing too far, causing binding and eventual failure.
Can I use duct tape or electrical tape to fix a leak temporarily?
No. These tapes lack pressure resistance and degrade fast when wet. They may hold for hours—but create a false sense of security while moisture wicks into walls or cabinets. Self-fusing silicone tape or properly applied epoxy putty are the only acceptable short-term fixes.
Why does my new cartridge still leak after installation?
Check three things: (1) The cartridge wasn’t fully seated—listen for a soft click when pushed in; (2) Debris lodged in the valve body—flush with vinegar and compressed air; (3) Incorrect orientation—the hot/cold alignment notch must match the faucet body groove. Misalignment causes constant bypass flow.
Do I need to shut off the main water supply for every repair?
No—most sink and lavatory repairs only require closing the individual shutoff valves under the fixture. Test them first: open the faucet fully, then close each valve and verify flow stops. If valves are stiff or weep when closed, replace them before proceeding.
How often should I replace supply lines?
Braided stainless steel supply lines last 8–10 years. Rubber or plastic lines should be swapped every 5 years—or immediately if you see bulging, cracking, or discoloration. According to the American Society of Home Inspectors’ 2023 Standards, 42% of water damage claims involve supply line failure older than 7 years.
Is it safe to use vinegar on all faucet parts?
Vinegar is safe for brass, stainless, and ceramic—but avoid soaking nickel- or oil-rubbed bronze finishes longer than 2 minutes. It can strip protective coatings. For those finishes, use a 50/50 mix of water and mild dish soap with a soft toothbrush instead. Always rinse thoroughly and dry with a microfiber cloth.
Leaky fixtures aren’t just about wasted water—they’re early warnings of bigger issues hiding behind walls or under floors. Fixing them promptly builds confidence for larger projects, like installing a new kitchen faucet or upgrading to low-flow bathroom fixtures. Keep a basic kit (seat wrench, cartridge puller, silicone tape, spare O-rings) in your utility drawer—and treat every drip like a maintenance appointment, not a nuisance.