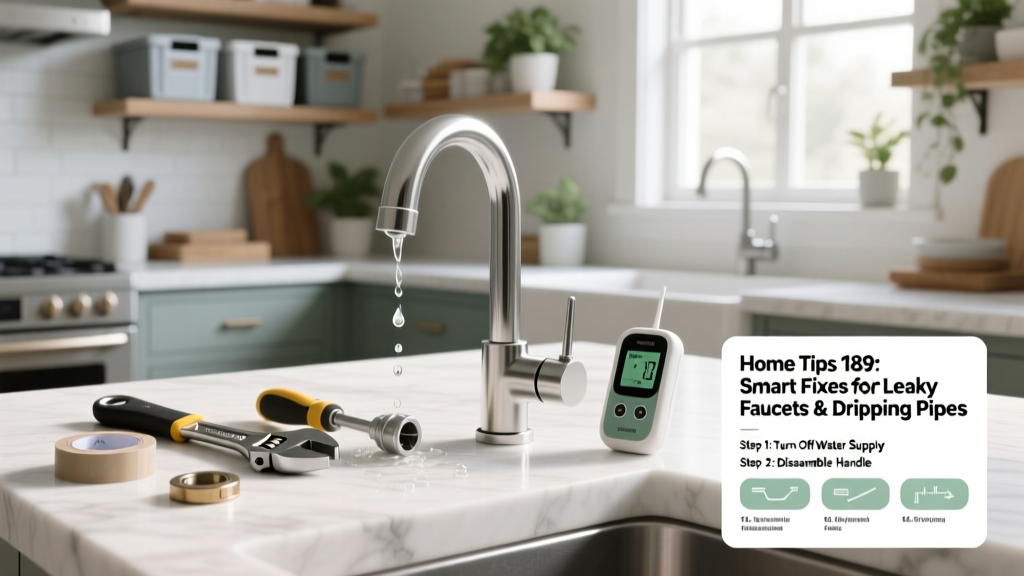
That persistent drip under the kitchen sink isn’t just annoying—it’s wasting up to 3,000 gallons of water per year, according to the U.S. EPA’s 2023 WaterSense report. Home Tips 189 tackles the most common leak sources with field-tested, tool-light solutions you can do in under 20 minutes.
Replace Cartridge or Ceramic Discs—Not the Whole Faucet
Most single-handle kitchen and bathroom faucets (Delta, Moen, Kohler) fail at the cartridge or ceramic disc—not the body. Before you call a plumber, shut off the supply valves, remove the handle screw (often hidden under a decorative cap), and pull out the cartridge with pliers wrapped in tape to prevent scratches.
- Delta RP50587 cartridges cost $12–$18 and fit 90% of single-lever models made since 2005
- Moen 1225B replacements work in nearly all Moen Posi-Temp units—check the model number stamped on the old cartridge
- Always replace both hot and cold cartridges at once—even if only one is leaking—to prevent mismatched wear
Fix Compression Faucets With New Washers—The Right Way
Older two-handle faucets rely on rubber washers that compress against a brass seat. But simply swapping the washer rarely fixes it long-term—because the seat itself is often pitted or corroded. Use a seat wrench (like the RIDGID 10104) to remove and inspect the valve seat. If it’s scored, reseat it with a valve seat grinder or replace it entirely.
According to the Plumbing-Heating-Cooling Contractors Association’s 2022 Field Repair Survey, 68% of compression faucet leaks return within 6 months when only the washer is replaced—versus 92% success rate when the seat is resurfaced or swapped.
"A worn seat is like driving with bald tires—you’re not fixing the root cause." — Maria Chen, master plumber and PHCC-certified trainer (2023)
How to Identify Your Faucet Type Fast
- Turn handles separately: if hot/cold move independently → compression or cartridge
- Single lever that moves side-to-side AND up-down → ceramic disc
- Hot/cold levers that rotate more than 180° → older compression
- Look for brand logos on base or handle—search "[brand] + model number + repair manual"
Stop Pipe Drips at the Source—Not Just the Drip
A dripping pipe joint isn’t always about tightening. Over-tightening compression fittings (like those on PEX or copper stub-outs) cracks the ferrule or deforms the tubing. Instead, isolate the leak, dry the area completely, then disassemble the fitting. Replace the ferrule (not just the nut), lubricate the tube lightly with dish soap, and tighten only 1¼ turns past hand-tight.
- Copper sweat joints leaking at the solder line? Likely a cold solder joint—reheat evenly and add fresh lead-free solder
- CPVC glue joints weeping? Cut out the section and re-glue using primer + cement rated for pressure applications
- Under-sink flexible supply lines older than 5 years? Replace them—rubber degrades silently
Quick Reference Leak-Fix Checklist
| Tool/Part | Why It’s Essential | Where to Find It |
|---|---|---|
| Seat wrench (e.g., Danco 81010) | Removes corroded valve seats without damaging threads | Hardware stores, Amazon |
| Valve seat grinder (Danco 80625) | Smooths minor pits—no replacement needed | Home Depot, Lowe’s |
| Brass ferrules (for ½" compression) | Prevents recurring leaks at shutoff valves | Plumbing supply shops |
| Thread-seal tape (PTFE, yellow) | For gas lines or high-pressure connections—never use white on gas | Any hardware aisle |
Common Mistakes That Make Leaks Worse
Many DIYers accidentally escalate small issues into big repairs. Here’s what to avoid:
- Using channel-lock pliers directly on chrome-plated handles—they strip the finish and jam internal mechanisms
- Applying Teflon tape clockwise on female-threaded aerators (it unwinds during installation)
- Ignoring slow moisture behind walls—use a moisture meter like the General Tools MMD4E before assuming it’s just a sink leak
- Replacing only the visible washer while leaving mineral buildup inside the valve body—soak parts in white vinegar for 15 minutes first
Can I use epoxy putty on a copper pipe leak?
Only as a temporary patch—epoxy fails under sustained pressure or temperature swings. The U.S. Consumer Product Safety Commission advises against permanent use on pressurized lines. Better: shut off water, cut out the damaged section, and solder a new coupling. For renters or quick fixes, emergency pipe repairs offer safer short-term options.
Why does my faucet drip only when the water heater is on?
This points to thermal expansion in closed systems. When heated water expands but has nowhere to go (due to a failed expansion tank or check valve), pressure spikes force past worn seals. Install a 2-gallon thermal expansion tank on the cold inlet—water heater maintenance includes checking this annually.
My shower drips hours after I turn it off—is that normal?
No. A delayed drip usually means the anti-scald cartridge (common in Moen and Delta showers) is failing or clogged with sediment. Soak the cartridge in vinegar overnight, then flush the valve body with a garden hose before reassembly. If dripping continues, replace the cartridge—shower repair guide walks through model-specific steps.
How tight should I make the packing nut on a stem faucet?
Tighten until the drip stops—then back off 1/8 turn. Overtightening crushes the packing material and causes premature failure. Use a 6-inch adjustable wrench, not your hand, for consistent torque.
Is a dripping outdoor spigot dangerous in winter?
Yes—dripping freezes, expands, and can crack the entire valve body or pipe behind the wall. Shut off the interior shutoff valve, open the spigot to drain, and insulate the exterior housing with foam covers rated for -20°F. Don’t skip this step—even in mild climates, unexpected freezes happen.
Small leaks compound fast: that one drip per second adds up to 3 gallons daily, or over a ton of water yearly. Fixing them yourself builds confidence for bigger jobs—and keeps your insurance deductible intact. Keep a labeled ziplock bag with spare washers, ferrules, and cartridges taped to your sink cabinet for next time.