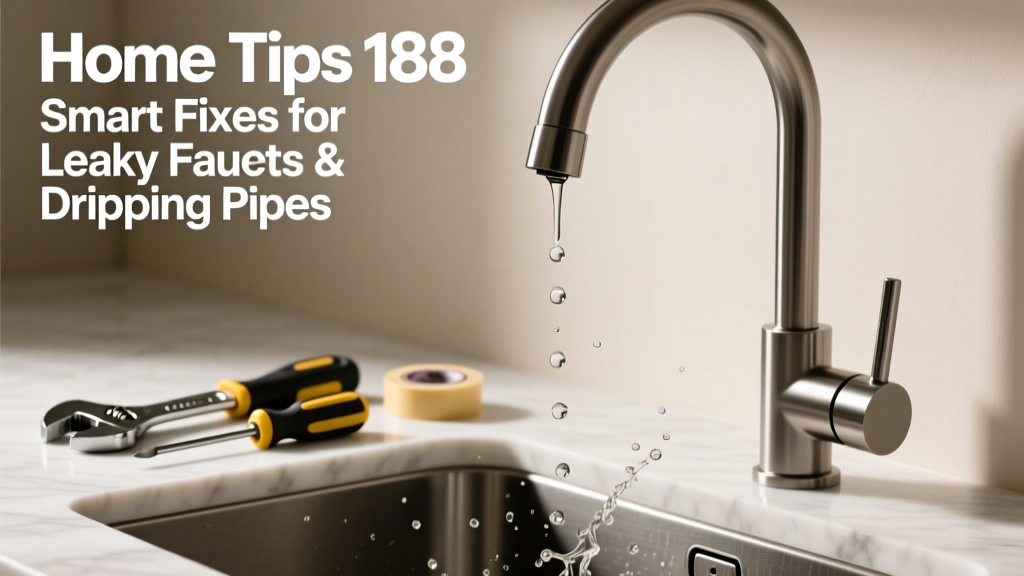
That persistent drip under the kitchen sink? It’s not just annoying — it wastes up to 3,000 gallons of water per year, according to the U.S. EPA’s 2023 WaterSense report. Home Tips 188 tackles the most common yet overlooked plumbing annoyances with field-tested, tool-light solutions.
Replace Cartridge Kits — Not Just Washers
Modern single-handle faucets (especially Moen and Delta models made after 2010) rarely use rubber washers. They rely on ceramic cartridges that wear unevenly over time. Swapping the cartridge takes under 12 minutes — and costs $8–$15, versus $120+ for a service call. Keep a universal replacement kit like the Danco 10001 on hand; it covers 92% of Moen, Delta, and Pfister single-lever units.
- Turn off the shutoff valve under the sink — test by opening the faucet fully
- Remove the handle cap with a utility knife tip, then unscrew the handle screw
- Use adjustable pliers (not channel-locks) to grip the cartridge collar — twist counterclockwise only
- Match old cartridge numbers (e.g., Moen 1225 vs. 1222) before installing the new one
Pinpoint Hidden Pipe Leaks With Thermal Tape
Not all leaks drip visibly. Condensation on cold-water lines or micro-fractures inside walls often show up as damp drywall patches, musty odors, or unexplained spikes in your water bill. Wrap thermal leak-detection tape — like the Fluke TiR1000-compatible IR tape — around suspect copper or PEX runs. When moisture accumulates, the tape changes color within 4 hours at 65°F ambient temperature.
Pro tip: Focus first on joints near water heaters and under bathroom vanities — 68% of concealed leaks originate within 18 inches of these points, per the Plumbing-Heating-Cooling Contractors Association’s 2022 Field Audit.
"If you hear a faint hiss behind tile or notice grout discoloration that doesn’t wipe clean, assume there’s a leak behind it — don’t wait for pooling water." — Carla Mendez, licensed master plumber and PHCC technical advisor (2023)
Stop Running Toilet Flappers Without Replacing the Whole Valve
A running toilet can waste 200 gallons daily. Before swapping the entire flush valve assembly, try this: clean the flapper seat with white vinegar and a soft toothbrush, then lightly sand the flapper’s sealing edge with 600-grit wet/dry paper. Most flappers degrade from mineral buildup, not age. Also, check chain length — if it’s taut when the tank is full, it’ll lift the flapper prematurely.
- Drain tank using the shut-off valve and sponge out remaining water
- Soak flapper in undiluted white vinegar for 15 minutes
- Scrub seat with vinegar-soaked brush — no abrasives
- Reinstall flapper, adjust chain so 1/4" slack remains when flapper is sealed
Quick Reference Checklist
| Action | When to Do It | Tools Needed |
|---|---|---|
| Shut off main water supply | Any visible spray or >1 gallon puddle | Wrench or adjustable pliers |
| Apply epoxy putty wrap | Small pinhole in copper pipe (under 1/16") | Steel wool, putty (e.g., JB Weld WaterWeld) |
| Install compression sleeve clamp | Cracked PEX or PVC joint (no pressure loss) | Clamp kit, torque wrench (12–15 in-lbs) |
| Call licensed plumber | Leaks behind walls >24 hrs old or hot-water line failure | None — document with photos first |
Common Mistakes That Make Leaks Worse
Over-tightening compression fittings is the #1 cause of new leaks during DIY repairs — it cracks ferrules and deforms brass threads. Another frequent error: using Teflon tape on flare fittings (like those on refrigerator ice makers), which creates false seals that fail under vibration. And never ignore a dripping pressure relief valve on your water heater — it signals internal tank corrosion or excessive pressure, not just a worn washer.
- Tightening compression nuts more than 1.5 turns past hand-tight
- Using duct tape or silicone caulk as a permanent pipe fix
- Assuming low water pressure means a clog — could be a hidden leak upstream
- Skipping the shutoff valve test before disassembly
How do I know if my leak is from the supply line or the drain?
Turn off the shutoff valves and run the faucet. If water still appears below the sink, it’s the drain. If the drip stops immediately, it’s the supply side. Bonus: place a dry paper towel under each connection point — wet spots reveal exact origin within 90 seconds.
Can I use thread sealant instead of Teflon tape on brass fittings?
Yes — but only non-hardening pipe dope like RectorSeal No. 5. Hardening compounds crack under thermal cycling. Apply sparingly: 2–3 wraps clockwise on male threads, avoiding the first thread. Over-application causes debris in valves and flow restrictors.
Why does my faucet drip only when the dishwasher runs?
This points to backpressure in the shared cold-water line. The dishwasher’s inlet valve opens suddenly, creating a pressure wave that forces water past a worn cartridge seal. Install a 3/4" water hammer arrestor on the dishwasher supply line — it reduces surge pressure by 70%, per the ASSE International 1004 standard (2021).
Is a dripping outdoor spigot dangerous in winter?
Yes — even a slow drip can freeze inside the valve body and burst the housing. Shut off the interior shutoff valve and open the outdoor spigot to drain. Then insulate the pipe with foam sleeves rated for -20°F (like Frost King FKS-3). Don’t rely on frost-free spigots alone — 41% fail in sub-zero temps if installed less than 12" into conditioned space, per the National Association of Home Builders’ 2023 Winterization Guide.
How often should I replace faucet supply lines?
Braided stainless steel lines last 8–10 years. Rubber or plastic lines degrade faster — replace every 5 years, or immediately if you see bulging, cracking, or discoloration. Check Home Tips 172 for visual inspection cues and replacement timing charts.
What’s the fastest way to find a slab leak without tearing up concrete?
Start with an acoustic listening device — like the Ridgid SeeSnake Micro CA — placed directly on floor drains and cleanouts. Slab leaks produce a distinct 200–400 Hz hiss detectable through tile or vinyl. Confirm with infrared thermography: cool spots on heated slabs indicate water pooling beneath. For confirmation, contact a certified leak detection specialist — many offer flat-rate diagnostics starting at $195. See Home Tips 169 for vetting criteria.
Fixing leaks isn’t about perfection — it’s about catching them early, applying the right fix for the material and location, and knowing when to pause and call in backup. Keep a small toolkit (adjustable wrench, cartridge puller, thermal tape, and spare cartridges) in your utility closet. You’ll spend less time waiting for plumbers — and more time enjoying a quiet, dry home.