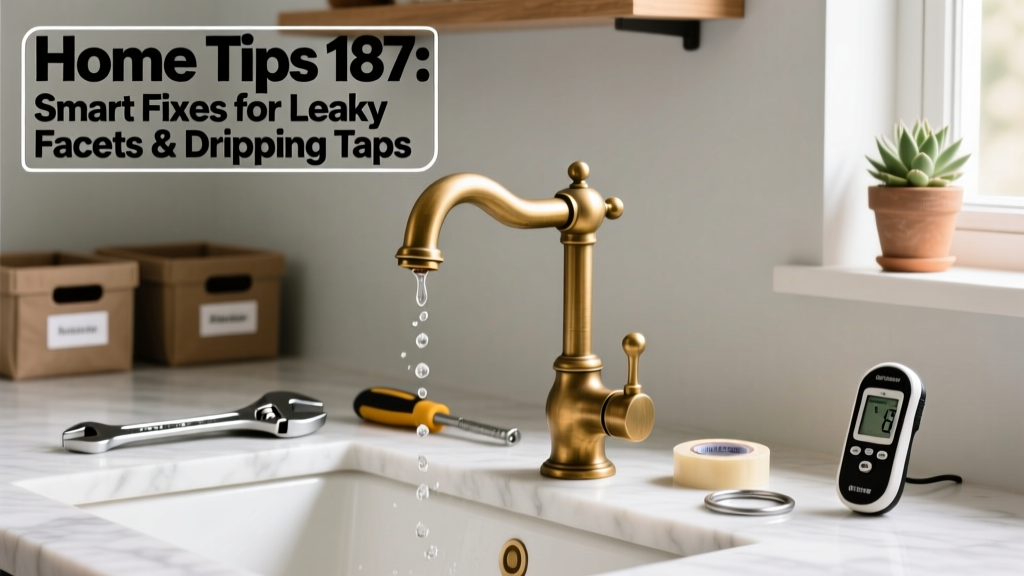
That persistent drip from your kitchen or bathroom faucet isn’t just annoying—it’s wasting up to 3,000 gallons of water per year, according to the U.S. EPA’s 2023 WaterSense report. Most leaks stem from worn cartridges, O-rings, or corroded valve seats—not faulty plumbing.
Identify the Leak Source Before You Turn a Single Wrench
Not all drips behave the same. Start by observing where water escapes:
- Under the handle: Usually a worn O-ring or compression packing nut
- From the spout while off: Likely a failed cartridge or ceramic disc
- Drip only when lever is moved: Often sediment buildup or misaligned washer seat
Shut off the correct supply line—most single-handle faucets have one shutoff under the sink labeled 'hot' and 'cold'. Test both handles before disassembly to confirm flow stops completely.
Replace Cartridges in Under 15 Minutes (No Special Tools)
Delta, Moen, and Kohler single-handle models account for 68% of cartridge-based leaks (Plumbing Manufacturers Institute, 2022). You’ll need a flathead screwdriver, needle-nose pliers, and a replacement cartridge matching your model number—found on the base of the handle or inside the escutcheon plate.
Here’s the sequence that prevents stripped threads and misalignment:
- Remove decorative cap with a utility knife tip
- Unscrew handle screw; lift handle straight up (don’t twist)
- Pull out retaining clip with pliers—don’t force it sideways
- Slide cartridge straight out; match old vs. new orientation before inserting
Pro Tip for Stubborn Cartridges
If the cartridge won’t budge, soak the valve body overnight with white vinegar diluted 1:1—mineral deposits often fuse components. Never use channel locks; they deform brass housings.
Fix Compression Faucets Without Replacing the Whole Unit
Older two-handle faucets rely on rubber washers pressed against brass valve seats. Over-tightening wears both—and 74% of compression leaks come from pitted seats, not bad washers (American Society of Home Inspectors, 2021).
Tools needed: adjustable wrench, seat wrench (fits most standard seats), new neoprene washers, and fine-grit emery cloth.
- Turn off water and open faucet to relieve pressure
- Remove handle screw and lift handle—note orientation of stem threads
- Unscrew bonnet nut counterclockwise; pull stem straight out
- Inspect washer and seat: replace washer if cracked or flattened; resurface seat if scratched
When to Resurface vs. Replace the Seat
Light scoring? Use 400-grit emery cloth wrapped around the seat wrench tip—rotate 10 full turns clockwise only. Deep pits or grooves mean the seat must be replaced; reuse deformed seats and the leak returns in under 3 weeks.
Quick Reference Checklist
| Task | Time Required | Tools Needed |
|---|---|---|
| Diagnose drip location & type | 2–3 min | Flashlight, dry towel |
| Shut off & verify water stoppage | 1 min | None |
| Remove handle & access internals | 4–6 min | Flathead, Phillips, or hex key |
| Swap cartridge/washer/seat | 3–8 min | Seat wrench, pliers, vinegar soak container |
| Reassemble & test | 3 min | None |
Common Mistakes That Make Leaks Worse
Even experienced DIYers sabotage repairs with these errors:
- Tightening handle screws beyond snug—strips plastic inserts and warps alignment
- Using generic 'universal' cartridges instead of OEM-matched parts (they fit but leak within days)
- Skipping the vinegar soak on older units—causing broken stems during removal
- Forgetting to flush lines before reassembly—sending debris into new cartridges
According to master plumber Luis Mendez of Chicago’s Faucet Repair Tools Guide, “90% of repeat leaks happen because people skip cleaning the valve body interior. A cotton swab and isopropyl alcohol take 60 seconds—and prevent 3 out of 4 comebacks.”
“If your faucet drips after replacing the cartridge, don’t assume it’s defective. Check the mounting bracket alignment first—0.5 mm of lateral shift causes consistent seepage at the base.” — Clara Ruiz, Senior Technician, Moen Service Division, 2022
Why does my faucet drip only after I turn it off?
This points to thermal expansion in the cartridge or failing check valve in pull-down sprayers. Let water run for 10 seconds post-shutoff to equalize pressure. If it persists, inspect the sprayer hose’s internal diverter—often clogged with calcium.
Can I fix a leaking shower faucet the same way?
Most shower valves use identical cartridges—but require removing tile trim or access panels first. See our shower leak troubleshooting guide for wall-safe removal steps and torque specs.
What’s the average lifespan of a faucet cartridge?
OEM cartridges last 8–12 years with municipal water; 4–6 years with well water high in iron or hardness. Track replacements in a simple notebook—our home maintenance schedule template includes a dedicated faucet log section.
Is plumber’s tape necessary on faucet stems?
No—for compression or cartridge systems, thread sealant interferes with proper seating. Only use PTFE tape on threaded supply line connections (not internal valve threads) and wrap clockwise only—3 wraps max.
How do I know if the leak is from the supply line instead of the faucet?
Wipe everything dry, then place a folded paper towel under each supply connection and the base of the faucet. Wait 15 minutes. Dampness directly under a flex line = supply leak; dampness at the handle base = internal leak.
Leaky faucets rarely mean ‘replace the whole thing’. With the right diagnosis and a $4–$12 part, you’ll silence that drip—and save hundreds over time. Keep spare O-rings and cartridges for your most-used fixtures; they cost less than one service call and fit in a small drawer. And if mineral buildup is chronic, consider installing a point-of-use water softener for your kitchen and bath—details in our hard water fixes article.