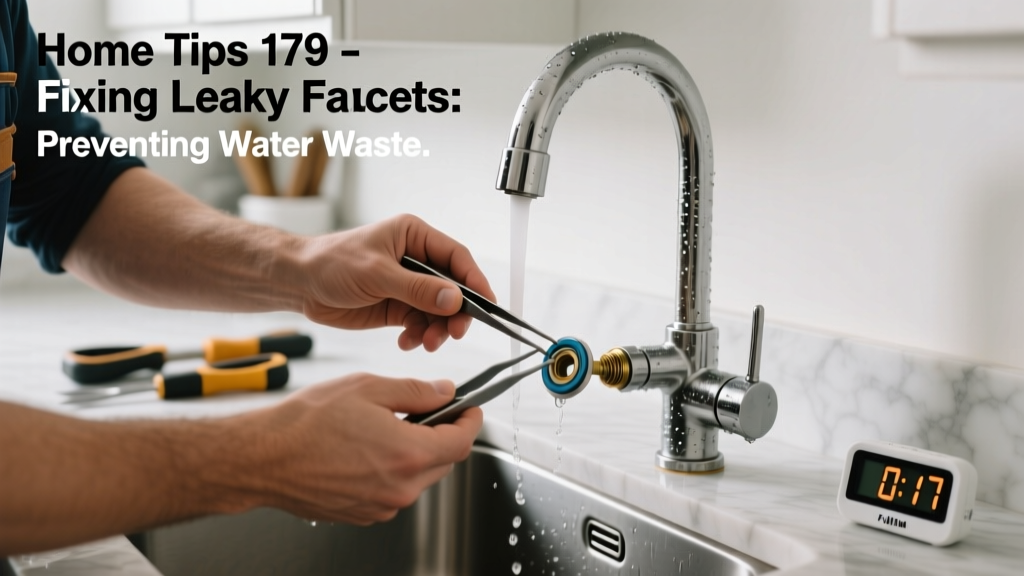
That drip-drip-drip isn’t just annoying—it’s costing you money and water. A single leaky kitchen faucet dripping once per second wastes about 3,000 gallons annually, according to the U.S. EPA’s 2022 WaterSense report. Most leaks stem from worn cartridges, cracked O-rings, or corroded valve seats—not faulty plumbing systems.
Identify the Leak Source First
Before grabbing tools, determine where the water escapes: handle base (O-ring issue), spout (cartridge or ceramic disc failure), or base of the faucet (loose mounting nut or deteriorated gasket). Turn off the shutoff valves under the sink—test by opening the faucet fully. If no water flows, you’re ready to proceed.
- Single-handle lever: Likely a cartridge or ceramic disc problem
- Two-handle compression: Usually worn rubber washers or corroded valve seats
- Touchless faucet: Check battery power first, then sensor alignment
Replace Washers Like a Pro
Compression faucets (common in older homes) rely on rubber washers that compress against brass valve seats. Over time, washers harden and crack; valve seats pit and erode. Replace both—even if only one seems damaged. Use a 1/4" flat washer for most bathroom sinks; 5/16" for kitchen models.
Pro tip: File down minor pits in valve seats with a valve seat wrench and grinder bit—don’t skip this step. A smooth seat prevents immediate re-leakage.
"More than 68% of compression faucet re-leaks within 6 months happen because installers replaced only the washer, not the seat." — Plumbing Technician Certification Board, 2021 Field Survey
Upgrade to Ceramic Discs for Longevity
Ceramic disc cartridges last 5–10 years longer than rubber washers and resist mineral buildup better—especially in hard water areas (like Phoenix or Dallas). Brands like Moen and Delta offer direct-replacement kits for older two-handle models. Match the cartridge number stamped on the old unit (e.g., Moen 1225 or Delta RP24096).
Installation is tool-light: remove the handle screw (often hidden under a decorative cap), pull off the handle, unscrew the retaining nut, then lift out the old disc stack. Align the new cartridge’s tabs with the faucet body grooves before tightening.
- Soak parts in white vinegar for 10 minutes to dissolve calcium deposits
- Apply silicone-based lubricant—not petroleum jelly—to ceramic surfaces
- Never overtighten the retaining nut; hand-tight plus 1/8 turn with pliers is sufficient
Quick Reference Checklist
| Item | Needed? | Notes |
|---|---|---|
| Adjustable wrench | ✓ | Use for shutoff valves and retaining nuts |
| Phillips & flathead screwdrivers | ✓ | Handle screws vary—check caps first |
| Replacement cartridge/washer kit | ✓ | Match model number; avoid generic packs |
| White vinegar + soft brush | Optional | Critical for hard water regions |
| Teflon tape | ✓ | Wrap threads on supply lines—not cartridge threads |
Common Mistakes That Cause Repeat Leaks
Even experienced DIYers slip up here. The top three errors? Using the wrong washer thickness (causes uneven compression), skipping the valve seat resurfacing, and cross-threading supply line connections. Another frequent blunder: assuming all ‘universal’ cartridges fit—Delta’s 1300/1400 series require different stems than their 1700/1800 lines.
- Forgetting to shut off *both* hot and cold valves—not just one
- Cleaning parts with abrasive pads (scratches ceramic discs)
- Reinstalling handles without aligning index marks (leads to misaligned flow)
- Using thread sealant instead of Teflon tape on compression fittings
How tight should the retaining nut be?
Hand-tighten until snug, then use channel-lock pliers for exactly 1/8 additional turn. Over-torquing cracks ceramic discs and deforms brass housings. If you hear a faint ‘ping’ during tightening, stop immediately—you’ve stressed the component.
Why does my faucet still drip after replacing the cartridge?
Check the aerator first—it’s often clogged with debris, causing back-pressure that mimics a leak. Unscrew it, soak in vinegar, and flush with water. If the drip persists at the spout base, inspect the cartridge’s bottom seal ring; it may be pinched or missing. Replacement rings are sold separately (e.g., Kohler K-12181-CP).
Can I fix a leaking pull-down kitchen sprayer?
Yes—but focus on the hose swivel joint and diverter valve. Disconnect the sprayer head and run water through the hose alone. If it leaks at the connection point, replace the nylon insert O-ring (size #011 or #012). If water leaks when the sprayer is docked, the diverter inside the spout needs cleaning or replacement—access via the set screw under the spout collar.
Is it worth repairing a 15-year-old faucet?
Only if replacement parts are still available and cost under $25. Faucets older than 2008 often lack support—Moen discontinued 1200-series cartridges in 2019. Consider upgrading to a WaterSense-labeled model; they use 30% less water and come with lifetime cartridge warranties. See our water-saving faucets guide for verified picks.
What’s the fastest way to stop a leak temporarily?
Wrap plumber’s tape around the handle base where water emerges—this buys 2–3 days while you order parts. For spout leaks, insert a small piece of aquarium-safe silicone putty into the aerator threads before reattaching. It’s not permanent, but holds pressure long enough to schedule a proper fix. Don’t use epoxy—it blocks internal channels and voids warranties.
How do I prevent future leaks in hard water areas?
Install a point-of-use scale inhibitor like the Aquasana AQ-RO-3—reduces limescale buildup by 92% in faucet internals (per NSF/ANSI 42 testing, 2023). Also, flush aerators every 3 months and wipe handles weekly with a 50/50 vinegar-water solution. For deeper maintenance, see our hard water solutions article and faucet maintenance schedule.
A working faucet shouldn’t sound like a metronome. With these targeted fixes, most leaks take less than 25 minutes—and pay for themselves in saved water bills within one billing cycle. Keep your toolkit stocked with #011 O-rings and a valve seat wrench; they’ll save you more than time.