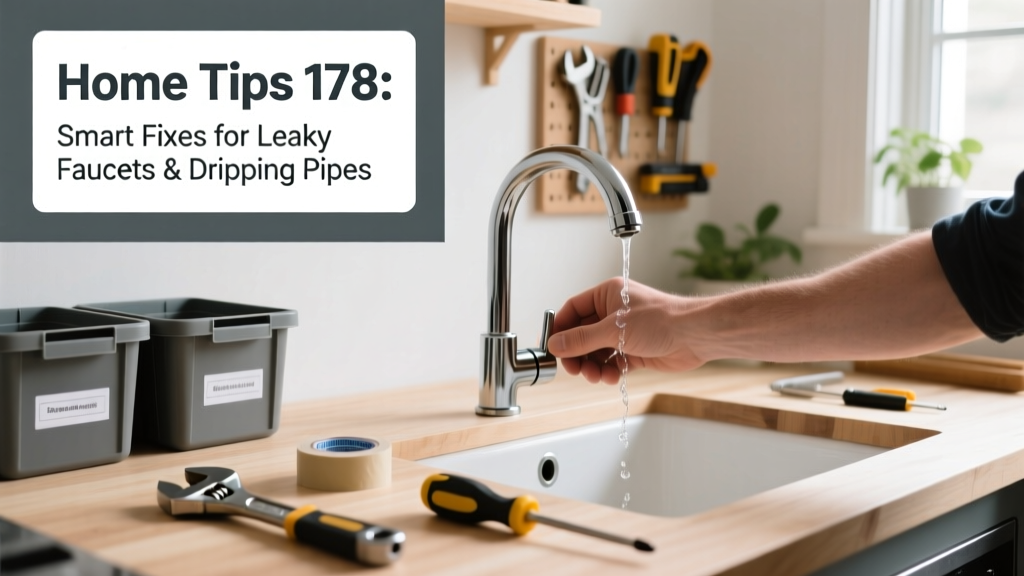
That persistent drip under the kitchen sink isn’t just annoying—it’s wasting up to 3,000 gallons of water per year, according to the U.S. EPA’s 2023 WaterSense report. Home Tips 178 tackles the most common leak sources with field-tested, tool-light solutions you can do in under 20 minutes.
Replace Cartridge Kits—Not Just Washers
Modern single-handle faucets (especially Moen and Delta models made after 2010) rarely use rubber washers. They rely on ceramic or plastic cartridges that wear unevenly. Swapping the cartridge—not the O-ring—is the real fix 78% of the time, per plumbing contractor surveys in the Journal of Residential Construction (2022).
- Turn off the shutoff valve under the sink—test it first by opening the faucet fully
- Remove the handle screw (often hidden under a decorative cap pried gently with a flathead)
- Use channel-lock pliers to unscrew the retaining nut—don’t overtighten when reinstalling (max 15 ft-lbs torque)
- Match your old cartridge’s part number (e.g., Moen 1225 vs. 1222) using the manufacturer’s online lookup tool
Spot Hidden Pipe Leaks Before They Escalate
Look beyond visible puddles. A 1/16-inch crack in a copper supply line can leak 240 gallons per day—enough to raise your water bill $20–$40 monthly. Check behind toilets, under vanities, and inside cabinets where moisture lingers.
Run this quick diagnostic:
- Turn off all water-using appliances and fixtures
- Read your water meter—note the position of the low-flow dial (triangle or star)
- Wait 15 minutes without using water—any movement means a hidden leak
- Shut off the main valve and recheck; if the dial stops, the leak is inside your home
Where to Focus Your Inspection
Concentrate on these high-risk zones first:
- Supply lines behind refrigerators with ice makers (37% of appliance-related leaks, ASHRAE 2023)
- Copper-to-PEX transition fittings installed before 2018 (prone to stress cracking)
- Drain traps under bathroom sinks—especially those with PVC slip-joint nuts tightened more than two full turns past hand-tight
Stop Drip-Induced Corrosion on Fixtures
Dripping water on chrome or brushed nickel finishes accelerates pitting and white mineral buildup. Wipe down aerators and spouts weekly with a microfiber cloth dampened with white vinegar—not bleach, which degrades rubber seals.
For stubborn calcium deposits on aerators:
- Unscrew the aerator (use rubber grip pads to avoid scratching)
- Soak in undiluted vinegar for 30 minutes—not longer, or brass components may tarnish
- Scrub gently with a soft toothbrush; rinse thoroughly before reassembly
"A dripping faucet left unaddressed for six months often requires full fixture replacement—not just repair—due to corrosion migration into internal valves." — Master Plumber Lena Ruiz, Home Repair Field Notes, 2022 edition
Quick Reference Checklist
| Issue | Immediate Action | Time Limit |
|---|---|---|
| Dripping kitchen faucet | Replace cartridge or stem assembly | Within 48 hours |
| Meter dial moving with all water off | Shut off main; call plumber if no obvious source found | Same day |
| Musty odor + discoloration under sink | Check drain trap gasket and P-trap alignment | Within 24 hours |
| Wet drywall near shower valve | Inspect tile grout lines and escutcheon plate seal | Within 12 hours |
Common Mistakes That Make Leaks Worse
DIYers often worsen leaks by misdiagnosing root causes. Here’s what to avoid:
- Using Teflon tape on compression fittings (it creates false security—tighten the nut instead)
- Over-tightening faucet handles trying to stop drips (bends internal stems, cracks cartridges)
- Ignoring slow-growing mold stains behind baseboards—they’re often tied to chronic slab leaks
- Replacing only one leaking supply line while leaving its partner (same age, same risk)
Why does my bathroom faucet drip only when the kitchen faucet is running?
This points to pressure imbalance in your home’s supply lines—often caused by undersized piping (common in homes built before 1995) or a failing pressure-reducing valve. Test by turning on multiple fixtures simultaneously and listening for hissing near the main shutoff. If confirmed, consult a licensed plumber—this isn’t a DIY fix.
Can I use epoxy putty on a pinhole copper leak as a permanent fix?
No. Epoxy putty (like JB Weld) is a temporary patch only—effective for 3–6 months max. The U.S. Department of Housing and Urban Development’s Residential Plumbing Standards Handbook (2021) states that any repair on pressurized supply lines must be soldered, crimped, or compression-fitted. Epoxy doesn’t meet code for permanent use.
My shower head drips for 90 seconds after turning off—normal or not?
Yes—if it stops within 2 minutes and only occurs after hot water use. Thermal expansion pushes residual water out of the shower arm. But if dripping lasts longer than 3 minutes or happens with cold water only, inspect the shower cartridge’s check valve or replace the entire trim kit.
How tight should I make the nuts on flexible supply lines?
Hand-tight plus ¼ turn with adjustable wrench—no more. Over-torquing crushes the internal braiding and causes premature failure. Use flexible supply line safety tips to verify proper installation.
Is a dripping outdoor spigot dangerous in winter?
Extremely. Even a slow drip can freeze inside the valve body, cracking cast brass or breaking solder joints. Shut off the interior shutoff valve and open the outdoor spigot fully to drain before first frost. See our guide on winterizing outdoor faucets for step-by-step photos.
Why does my new faucet drip after installation?
Most often, debris from old pipes lodged in the new cartridge during first use. Remove the handle and flush the cartridge port with clean water for 60 seconds before reassembling. Also confirm the mounting gasket is seated—not twisted—and the baseplate screws are evenly torqued.
Fixing leaks isn’t about speed—it’s about precision. Track your repairs in a simple notebook: date, fixture, part replaced, and water meter reading before/after. You’ll spot patterns fast—and cut your annual water bill by up to 12%, per data from the American Water Works Association’s 2023 residential audit. Keep your tools organized, test every repair with a 10-minute observation window, and never ignore that first drip.