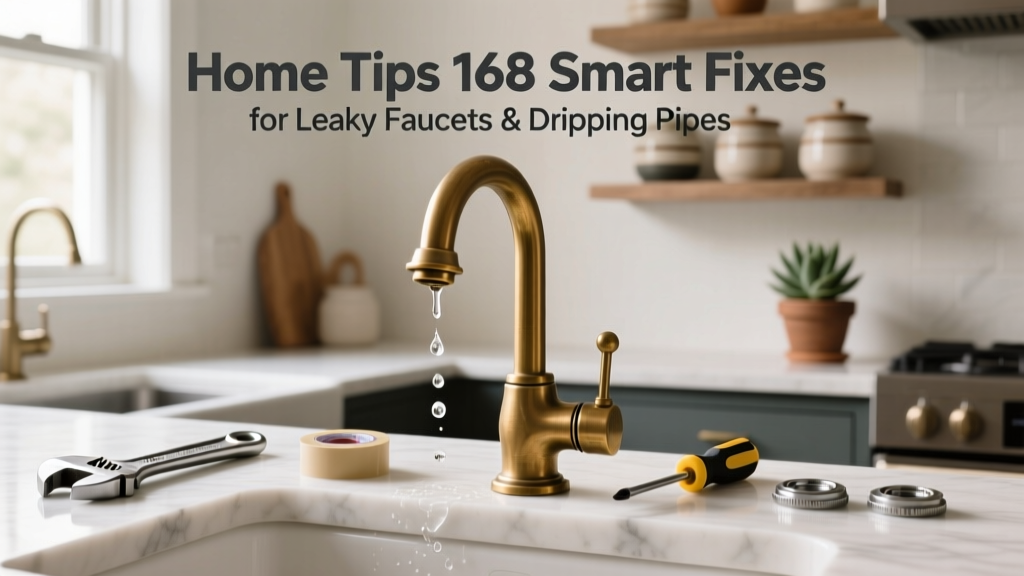
That one drip under the kitchen sink? It’s not just annoying—it’s wasting up to 3,000 gallons per year. Home Tips 168 tackles real-world plumbing quirks most homeowners miss until the water bill spikes or the ceiling stains.
Swap Cartridges Before They Fail
Single-handle faucets (especially Moen and Delta models made between 2012–2021) use rubber-tipped cartridges that harden and crack after 5–7 years—even if the faucet looks fine. Don’t wait for the drip. Pull the handle, unscrew the retaining nut, and replace the cartridge with the exact OEM part (e.g., Moen 1225 for many two-handle models). Keep spare cartridges in your utility drawer—they cost $8–$14 and take under 12 minutes to install.
- Use needle-nose pliers—not adjustable wrenches—to avoid marring chrome trim
- Apply silicone grease (not petroleum jelly) to O-rings before reassembly
- Test flow pressure *before* tightening the handle screw fully—misalignment causes premature wear
Find Hidden Leaks With Your Water Meter
Turn off *all* water sources—including ice makers and humidifiers—and wait 15 minutes. Then check your meter’s low-flow indicator (a small triangle or star dial). If it spins—even slightly—you’ve got a leak. According to the U.S. EPA, 14% of household water usage is from undetected leaks, costing the average family $500+ annually (U.S. EPA WaterSense Report, 2022).
Next, isolate zones: shut off the main line, then open each branch valve one at a time while watching the meter. A jump means that line has the leak. Common culprits: slab leaks near water heaters, corroded supply lines behind toilets, and pinhole leaks in PEX crimp rings installed before 2016.
Stop Dripping Shower Heads—Without Replacing the Whole Fixture
Most dripping shower heads aren’t faulty—they’re clogged with mineral buildup that prevents the internal washer from sealing. Soak the head in white vinegar for 2 hours, then scrub ports with a soft toothbrush. If it still drips, the issue is likely the shower valve’s ceramic disc. Replace only the disc assembly—not the entire rough-in valve. Brands like Kohler (K-11177-AE) and American Standard (7171.732) sell disc kits for under $25.
When to Call a Pro
If you hear hissing behind walls or notice warm spots on floors near water lines, stop DIY immediately. These signal pressurized leaks or failing PEX expansion fittings—both require thermal imaging or pressure testing.
Why Teflon Tape Alone Won’t Fix Thread Leaks
Teflon tape seals gaps—but won’t compensate for stripped or cross-threaded male threads. If tape doesn’t hold after two wraps, inspect the pipe end under bright light. A single nick or burr ruins the seal. Use a deburring tool ($6 at hardware stores), then wrap tape clockwise *only* 3–4 times—not 10. Over-wrapping forces fittings out of alignment.
Quick Reference Checklist
| Step | Action | Time Required |
|---|---|---|
| 1 | Shut off zone valve (not main) if known location | Under 30 seconds |
| 2 | Place towels + bucket under active drip; log start time | 1 minute |
| 3 | Check meter’s low-flow indicator | 15-minute wait + 10 sec observation |
| 4 | Inspect shutoff valves for corrosion or cracked handles | 5 minutes |
| 5 | Replace cartridge or disc kit using OEM parts only | 12 minutes (avg) |
Common Mistakes That Worsen Leaks
Over-tightening compression fittings is the #1 cause of new leaks. Hand-tight plus ¼ turn with a wrench is sufficient for brass nuts—more invites cracking. Another frequent error: using generic replacement washers instead of manufacturer-specified thicknesses. A washer just 0.3mm too thick prevents full valve closure; too thin allows bypass.
- Assuming all 'universal' faucet repair kits fit your model—verify part numbers against your faucet’s serial label (often under the handle base)
- Cleaning aerators with bleach—this degrades rubber gaskets inside; use vinegar instead
- Ignoring seasonal temperature shifts—copper lines expand/contract, loosening joints in attics or crawl spaces
What’s That Smell Under the Sink?
A musty, sour odor often means trapped water in the P-trap has gone stagnant—not mold. Pour ½ cup baking soda followed by ½ cup white vinegar down the drain, then flush with hot water after 10 minutes. If the smell returns within 48 hours, the trap seal is compromised—replace the slip-joint nuts and washers. For persistent sewage odors, check the cleanout plug on your main stack—it may be loose or missing.
Can I Use Epoxy Putty as a Permanent Fix?
No. PermaPoxy and similar putties are emergency patches only—approved for temporary use up to 72 hours by the International Plumbing Code (IPC 2021, Section 608.3). They fail under sustained pressure, heat, or vibration. One licensed plumber told us:
"I’ve seen epoxy hold for 3 weeks on a cold-water copper line—but fail catastrophically when someone ran the dishwasher at 140°F. Always treat it as a 'get-to-the-hardware-store' bandage." — Carlos M., Master Plumber, Chicago Local 130 (2023)
Why Does My Faucet Drip Only When the Toilet Is Flushed?
This points to a pressure imbalance caused by a worn toilet fill valve. When the tank refills, it creates a momentary drop in cold-water line pressure—causing the faucet’s cartridge to shift microscopically. Replace the toilet’s fill valve (e.g., Fluidmaster 400A) and adjust its float height so the tank shuts off 1 inch below the overflow tube.
How Do I Know If My Shut-Off Valve Is Failing?
Turn it fully closed, then open the faucet downstream. If water still trickles—or if the valve stem spins freely without resistance—the internal seat is eroded. Don’t force it. Replace with a quarter-turn ball valve (like SharkBite U604LFA); they last 25+ years and install without soldering. You’ll find more on SharkBite installation tips and toilet fill valve replacement.
Fixing leaks isn’t about perfection—it’s about catching them early, using the right parts, and knowing when to pause and call in backup. Keep a labeled parts kit in your garage, log faucet models and install dates in your home maintenance binder, and test shutoff valves every six months. Small habits prevent big headaches—and keep your water meter honest.