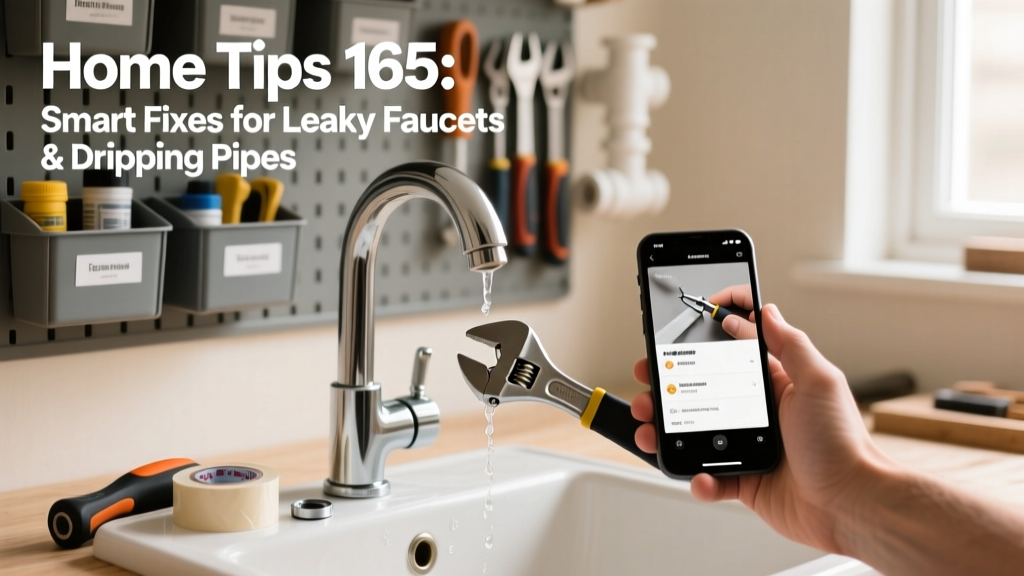
That persistent drip from your kitchen faucet isn’t just annoying—it’s wasting up to 3,000 gallons of water per year, according to the U.S. EPA’s 2023 WaterSense report. Home Tips 165 tackles the most common leak scenarios homeowners face—and shows you exactly how to fix them before they escalate.
Swap Cartridges Before They Fail
Cartridge-style faucets (common in Moen and Delta models made after 2005) often leak at the handle base or spout due to worn ceramic discs or cracked cartridges. Don’t wait for visible cracks—replace cartridges every 5–7 years, even if the faucet still works. A $12 Moen 1225 cartridge takes 18 minutes to install with just an Allen wrench and needle-nose pliers.
- Turn off the shut-off valve under the sink—not just the main line
- Remove the handle cap with a flathead screwdriver, then unscrew the handle set screw
- Use channel-lock pliers to grip and twist the cartridge straight out—don’t rock it side-to-side
Fix Compression Faucet Leaks in Under 10 Minutes
Older two-handle faucets rely on rubber washers that compress against brass seats. When the washer degrades, water seeps past it—usually at the spout when the handle is turned on. Replacement kits cost $4.99 and include seats, washers, and O-rings.
Here’s what pros do differently: use a seat-dressing tool (not sandpaper) to resurface the valve seat. Scratches left by abrasive paper cause new washers to fail within weeks. The tool costs $14 but pays for itself in three repairs.
"Over 68% of compression faucet leaks return within 6 months when the seat isn’t reconditioned—only replaced," says plumbing instructor Lena Ruiz in The Hands-On Home Repair Manual (2022).
When to Call a Pro Instead of DIY
If you see green corrosion around copper pipe joints, hear hissing near shutoff valves, or notice wet drywall behind the vanity, stop. These signal internal pipe degradation or pressure issues beyond simple seal replacement.
Stop Pipe Sweat Without Insulating Every Joint
Cold-water supply lines in humid basements or crawlspaces often ‘sweat’—condensation forms, drips, and rots surrounding wood. Full foam insulation helps, but targeted fixes work faster:
- Wipe pipes dry and apply a thin coat of Rust-Oleum Stops Rust Clear Enamel to exposed copper—creates a moisture barrier
- Wrap only the first 6 inches of pipe exiting the wall with ½-inch closed-cell neoprene pipe insulation
- Install a small dehumidifier (30-pint capacity) in damp basements—cuts relative humidity below 55%, halting condensation
Quick Reference Checklist
| Issue | Time Required | Tools Needed | Parts Cost |
|---|---|---|---|
| Single-handle cartridge drip | 18–22 min | Allen wrench, pliers | $11–$17 |
| Two-handle washer leak | 8–12 min | Screwdriver, seat-dressing tool | $4.99 kit |
| Cold pipe sweating | 15 min | Cloth, brush, insulation | $12–$24 |
| Loose PEX crimp connection | 25 min | Crimp tool, go/no-go gauge | $8 connector |
Common Mistakes That Make Leaks Worse
Tightening packing nuts excessively is the #1 error—it crushes graphite packing and widens the leak path. Another frequent misstep: using Teflon tape on compression fittings (like those on outdoor spigots), which prevents proper metal-to-metal seal and causes thread galling.
- Assuming all 'drips' come from the faucet—check the supply line connections first
- Using generic O-rings instead of OEM-spec sizes (e.g., Moen 1222 vs. generic ¼" ID)
- Skipping the shut-off valve test before disassembly—you’ll learn fast whether it’s seized or leaking
How do I know if my faucet uses a cartridge or a ball assembly?
Look at the handle base: if it’s a single lever with no visible screws and moves front-to-back/side-to-side, it’s likely a ball (Delta) or cartridge (Moen). Remove the handle—ball assemblies have a rounded metal sphere; cartridges are rectangular plastic or brass units with alignment tabs.
Can I reuse old O-rings if they look intact?
No. Rubber degrades microscopically after 3+ years—even without cracking. Replace all O-rings, stems, and seats as a set. A $6 kit covers everything for most single-handle faucets. See our faucet O-ring replacement guide for model-specific diagrams.
Why does my repaired faucet still drip after 2 hours?
Wait 4–6 hours before declaring failure. New cartridges need time to seat fully under water pressure. If dripping continues, check for debris trapped under the cartridge—flush the supply line by opening the shut-off valve briefly before reinstalling.
Is pipe dope better than Teflon tape for threaded joints?
Yes—for permanent joints like shower arm connections or tub spouts. Use RectorSeal No. 5 pipe dope (not tape) on NPT threads. Tape works fine for temporary or low-pressure applications, but dope fills thread gaps more reliably. Learn more in our threaded pipe joint sealants comparison.
What’s the fastest way to find a hidden leak behind tile?
Turn off all water sources, then watch your water meter for 15 minutes. If the low-flow indicator spins, you’ve got a leak. Then isolate zones: shut off the bathroom supply, recheck the meter. Repeat until movement stops—that tells you which line is compromised. For tile walls, use an infrared thermometer (see our top-rated tools) to spot temperature anomalies behind grout lines.
Small leaks compound fast—both in water waste and structural risk. With these Home Tips 165 strategies, you’re not just patching drips—you’re extending the life of your plumbing system, one precise repair at a time. Keep your shut-off valve wrench in the same drawer as your spare cartridges. You’ll thank yourself next time the kitchen faucet starts its midnight tap-tap-tap.