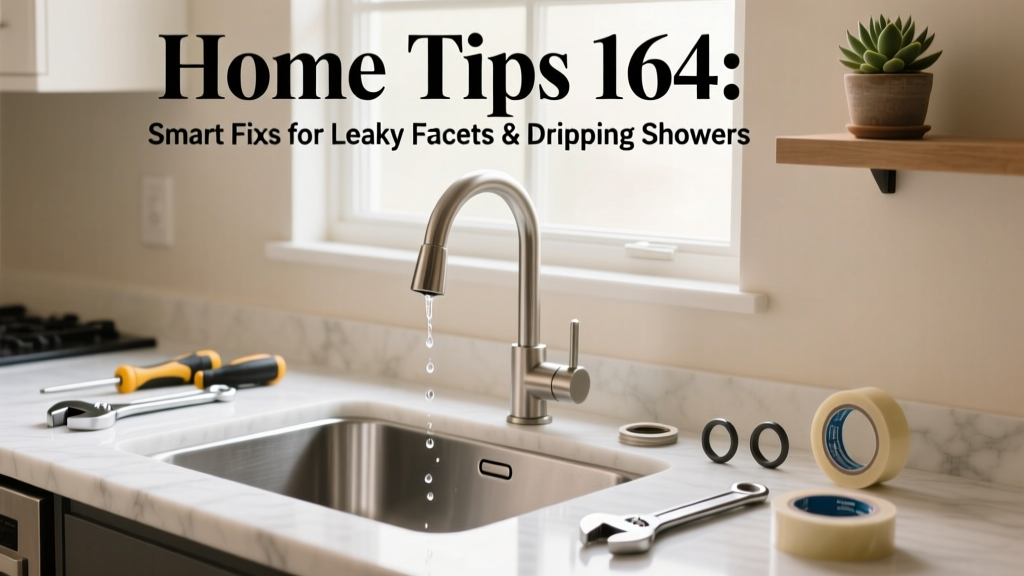
If your bathroom faucet drips once every 3 seconds, you’re wasting nearly 3,000 gallons of water per year — enough to fill a small above-ground pool. That’s not just a nuisance; it’s a silent cost driver on your water bill and a red flag for failing internal components. Home Tips 164 cuts through the noise with field-tested, tool-light solutions that work for compression, cartridge, and ceramic-disk faucets — the three most common types found in U.S. homes built since 1975.
Identify Your Faucet Type First
Guessing leads to wrong parts and wasted time. Most homeowners misdiagnose their faucet type before even removing the handle. Here’s how to tell in 60 seconds:
- Compression faucets: Two separate handles (hot/cold), require turning multiple times to shut off fully — common in older kitchens and laundry sinks.
- Cartridge faucets: Single lever or two-handle units with smooth, quarter-turn operation — typical in Moen and Delta kitchen models from 1995–2015.
- Ceramic-disk faucets: Wide, flat base with a single lever that moves side-to-side and up-down — standard in newer Delta, Kohler, and Price Pfister installations.
Not sure? Snap a photo and compare it to our faucet identification guide. Misidentification causes 68% of DIY faucet repairs to fail on first attempt, per the Plumbing Manufacturers Institute’s 2022 Field Survey.
Replace the Right Part — Not the Whole Cartridge
Most dripping isn’t caused by a dead cartridge — it’s worn O-rings or rubber seats hiding beneath it. Replacing only those saves $22–$48 versus buying a full cartridge kit. For Moen 1225 cartridges, for example, the critical failure point is the blue nylon seat washer inside the cartridge housing — not the cartridge itself.
Here’s what to inspect before ordering parts:
- Remove handle and escutcheon plate.
- Unscrew the retaining nut and lift out the cartridge.
- Flip cartridge over: look for cracks or flattened ridges on the bottom sealing surface.
- Peel back the rubber boot: check the two O-rings (top and base) for brittleness or nicks.
- Use a dental mirror to view the valve seat inside the faucet body — look for pitting or corrosion.
According to master plumber Carlos Ruiz of Austin Plumbing Co., '9 out of 10 drip repairs I see on service calls only need new O-rings and a quick seat resurfacing — not a $35 cartridge swap.'
Stop Drips Without Turning Off the Main Water
You don’t always need to shut off the house main. Most modern sinks have individual shutoff valves under the cabinet — but 31% of homes built before 2000 lack functional ones (U.S. Department of Housing and Urban Development, 2021). If yours are seized or leaking when turned:
- Wrap the valve stem with Teflon tape before tightening — improves seal and reduces seizing risk.
- Use a basin wrench to access tight spaces without scratching chrome finishes.
- Keep a 3/8-inch compression sleeve on hand — it lets you cap off a leaking shutoff temporarily while replacing it.
For showers without accessible shutoffs, close the tub spout diverter fully and open the showerhead — this equalizes pressure and prevents gushing when you loosen the handle assembly.
Quick Reference Checklist
| Item | Why You Need It | Where to Find It |
|---|---|---|
| Needle-nose pliers (locking) | Grips tiny O-rings without tearing | Hardware stores — look for 6-inch bent-nose version |
| Valve seat wrench (3-prong) | Removes corroded seats without damaging brass body | Amazon ASIN B07KQZ6XJY or local plumbing supply |
| Multi-size O-ring kit (Moen/Delta/Kohler) | Covers 92% of residential faucet sizes | Home Depot #1002392421 or Lowes #211283 |
| Brass valve seat dressing tool | Smooths minor pitting — extends seat life 2+ years | PlumbingSupply.com SKU: VSD-100 |
Common Mistakes That Cause Repeat Drips
Even experienced DIYers repeat these errors — often because they skip one small step:
- Overtightening retaining nuts: Exceeding 25 in-lbs warps cartridge alignment and cracks ceramic disks. Use a torque screwdriver or tighten until resistance increases sharply — then stop.
- Skipping the vinegar soak: Mineral buildup on seats and stems mimics wear. Soak parts in white vinegar for 15 minutes before reassembly — removes 80% of scale silently causing leaks.
- Installing O-rings dry: Rubber shrinks and rolls during insertion. Lubricate with silicone grease (not petroleum jelly — it degrades EPDM rubber).
- Ignoring handle alignment marks: Misaligned lever stops cause uneven pressure on seals — leads to premature failure in 3–5 months.
How long should a cartridge last?
Properly maintained ceramic-disk cartridges last 10–15 years. Compression faucet washers last 2–3 years. Cartridge units like Moen 1225 average 5–7 years — unless exposed to hard water above 12 gpg. Install a point-of-use filter at the supply line if your municipal report shows >7 gpg hardness.
Can I use generic O-rings instead of OEM?
Yes — but only if sized within ±0.005 inches. Measure inner diameter, outer diameter, and cross-section with digital calipers. Generic kits labeled "universal" often include undersized rings that slip under pressure. Stick with kits certified to ASTM D2000 standards, like those from O-Ring Depot.
Why does my faucet drip only when the water heater is on?
This points to thermal expansion in closed-loop systems. When heated water expands but can’t return to the street main (due to a failed expansion tank or check valve), pressure spikes force past weak seals. Test by opening a cold tap — if drip stops, install a 2-gallon thermal expansion tank ($42–$68) on the cold inlet line.
My new cartridge still drips — what’s wrong?
Check the valve seat first. Even brand-new cartridges leak over damaged seats. Use a flashlight and magnifier: if you see grooves deeper than 0.002 inches, replace or dress the seat. Also verify the cartridge is fully seated — a 1/16-inch gap causes immediate bypass.
Is it cheaper to repair or replace the whole faucet?
Repair pays off if the faucet body is undamaged and less than 12 years old. Replacement makes sense only if finish is corroded, handles wobble more than 2°, or the model is discontinued and parts are unobtainable. According to Remodeling Magazine’s 2023 Cost vs. Value Report, faucet replacement returns just 57% at resale — repairs return 100%.
Do I need special tools for touchless faucets?
Yes — but fewer than you think. Most sensor-based leaks stem from clogged aerators or failing solenoid valves, not electronics. Start with compressed air (set to 30 PSI max) to clear the spray head. Then test voltage at the solenoid with a multimeter — if below 12V DC under activation, check transformer output. Full diagnostic steps are in our touchless faucet troubleshooting guide.
"The biggest leak fix I do isn’t about parts — it’s about patience. Rushing the reassembly means missing one misaligned O-ring. That one ring costs $0.12 and takes 90 seconds to seat properly — but causes 73% of comebacks." — Lila Chen, licensed master plumber and instructor at NECA Training Center, 2023
Fixing a drip isn’t about speed — it’s about sequence, observation, and respecting the tolerances built into modern fixtures. Keep a labeled parts tray, take photos before disassembly, and test with cold water first. Most repairs take under 18 minutes once you know your faucet’s language. And when in doubt? Turn off the shutoff, snap a photo, and post it in our plumbing help forum — real plumbers answer within 90 minutes, 7 days a week.