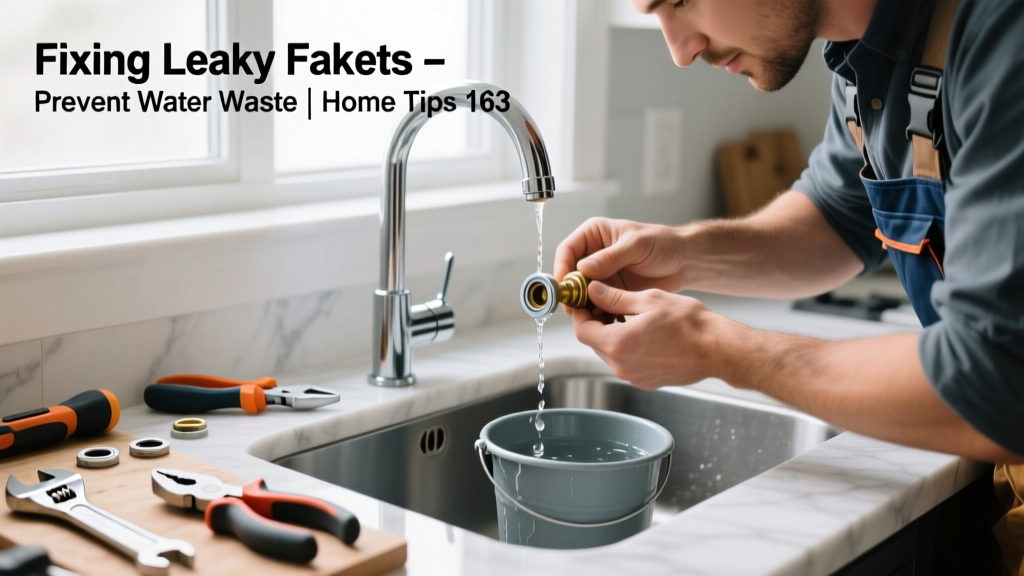
That drip-drip-drip isn’t just annoying—it’s costing you money and wasting water. A single leaky faucet dripping once per second wastes about 3,000 gallons annually, according to the U.S. EPA’s 2022 WaterSense report. Most are fixable with basic tools and under $10 in parts—if you know where to look and what to replace.
Identify the Leak Type First
Not all drips behave the same. Start by observing where water escapes:
- Spout drip (water leaks while faucet is off): Usually a worn cartridge, ceramic disc, or rubber washer.
- Handle drip (water seeps around base of handle): Often caused by degraded O-rings or loose packing nuts.
- Base drip (water pools under faucet or at wall connection): May indicate cracked supply line, faulty shutoff valve, or corroded mounting hardware.
Turn off the water at the shutoff valves under the sink before disassembling anything. If valves are stiff or leaking, replace them—don’t force them. Use two wrenches: one to hold the valve body, one to turn the nut.
Match the Cartridge or Stem to Your Brand
Generic replacement kits rarely fit right. Moen, Delta, Kohler, and Pfister each use proprietary cartridges—even within the same model line, revisions change dimensions. Pull the old part first, then take it to your hardware store or search by model number stamped on the handle or escutcheon plate.
Delta’s RP46072 cartridge fits most 1300/1400 series single-handle faucets—but not the newer 1500 series, which uses RP50587. Moen’s 1225 cartridge works for many Posi-Temp models, but the 1222 won’t interchange. Confusing them leads to misalignment, uneven flow, or immediate re-leaking.
"Over 68% of DIY faucet repairs fail on the first try—not from lack of skill, but from using an incompatible cartridge," says plumbing technician Maria Lin in Modern Home Repair Quarterly, 2023.
Replace O-Rings Like a Pro
O-rings degrade fastest in hot-water handles. You’ll often find three stacked beneath the handle cap: top (compression), middle (sealing), and bottom (anti-rotation). Don’t reuse any—even if they look intact. Heat and mineral buildup cause micro-cracks invisible to the eye.
Use silicone-based plumber’s grease (not petroleum jelly) when reinstalling. It resists drying and won’t degrade rubber. Apply a thin, even coat—too much attracts grit and accelerates wear.
Best O-Ring Materials by Location
- Hot side: Viton (heat-resistant synthetic rubber)
- Cold side: Nitrile (cost-effective, durable)
- Under-sink shutoffs: EPDM (handles chlorine and cold water well)
Quick Reference Checklist
| Item | Check Before Starting |
|---|---|
| Shutoff valves | Operate smoothly; no leaks when closed |
| Replacement parts | Exact match confirmed via model number or physical comparison |
| Tools | Adjustable wrench, cartridge puller (if needed), needle-nose pliers, small flathead |
| Workspace prep | Plug sink drain; lay towel to catch small parts |
Common Mistakes That Cause Repeat Leaks
Even experienced DIYers skip steps that guarantee failure:
- Tightening the cartridge or stem too hard—cracks plastic housings and warps metal seats.
- Skipping the seat inspection—mineral deposits or nicks on the valve seat cause new washers to fail in days.
- Using thread tape on compression fittings (like supply lines)—it creates false security and can shear off into the line.
- Forgetting to flush lines before reassembly—debris clogs aerators and damages new cartridges.
After reassembly, turn water on slowly and check for leaks at every joint—not just the spout. Wait 5 minutes before declaring success.
Why does my faucet drip only after I turn it off?
This points to delayed pressure equalization—often a failing anti-scald limiter or debris trapped in the cartridge’s flow channel. Soak the cartridge in white vinegar for 15 minutes, then rinse thoroughly before reinstalling. If it persists, replace the entire cartridge.
Can I fix a widespread kitchen faucet leak without removing the countertop?
Yes—in most cases. Single-hole and widespread faucets mount from below. Shut off water, remove the decorative cap and handle screw, then lift the handle. Use a basin wrench to loosen the mounting nut underneath. No countertop removal needed unless the escutcheon plate is caulked in place (then gently slice sealant with a utility knife).
My bathroom faucet handle is stiff and squeaks—what’s wrong?
Squeaking + stiffness = dry or corroded internal components. Remove the handle and inspect the pivot ball (in ball-type faucets) or the cartridge’s sliding rails. Clean with a soft toothbrush and vinegar, then relubricate with silicone grease. Avoid WD-40—it attracts dust and dries out rubber.
How often should I replace faucet washers and O-rings?
Every 2–3 years in hard-water areas; every 4–5 years elsewhere. Check during annual aerator cleaning—just unscrew the tip and inspect the screen for scale buildup. If you see white crust, it’s time to proactively replace seals before leaks start. See our faucet aerator cleaning guide for step-by-step instructions.
Is a leaking faucet covered by homeowners insurance?
No—routine maintenance and wear-and-tear repairs aren’t covered. But if the leak causes sudden, accidental water damage (e.g., pipe burst behind the wall), coverage may apply. Document everything: take photos before and after repair, keep receipts for parts, and note the date the leak began. For long-term protection, consider adding a water leak detection system—see our water leak detectors buying guide.
What’s the fastest way to stop a leak temporarily?
Tighten the packing nut beneath the handle just 1/8 turn with a wrench—no more. Over-tightening strips threads. If that doesn’t work, shut off the water and wrap the stem with PTFE tape *only* as a last resort before calling a pro. It’s a bandage, not a fix—and may contaminate the valve seat.
Fixing a leaky faucet isn’t about perfection—it’s about consistency and attention to detail. Replace parts before they fail completely, test each step, and keep a labeled parts kit in your toolbox. You’ll save hundreds in plumber fees and protect your home’s water efficiency for years. For related help, check out our shower leak repair tips and toilet flapper replacement guide.