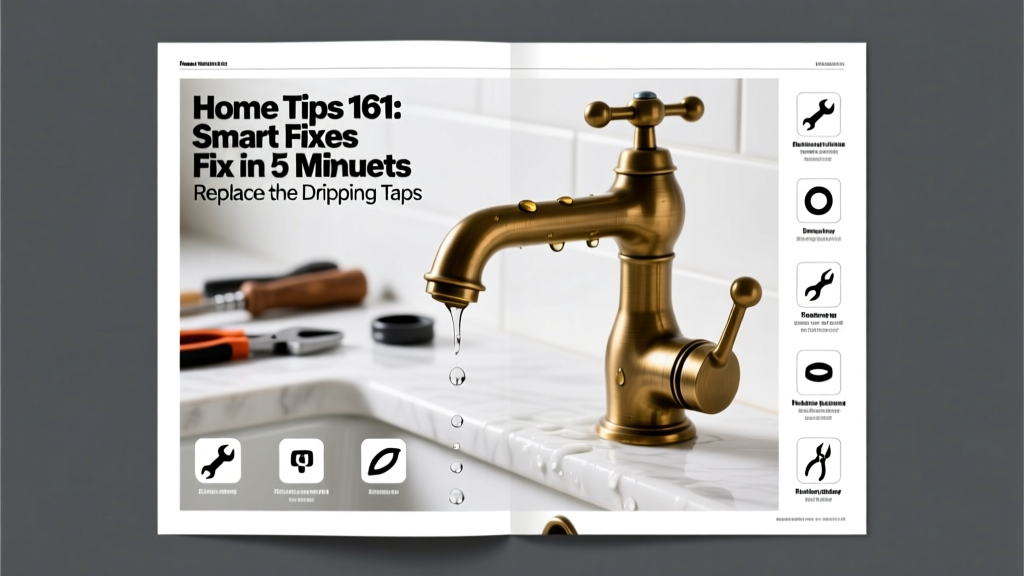
That persistent drip from your kitchen or bathroom faucet isn’t just annoying—it’s wasting up to 3,000 gallons of water per year, according to the U.S. EPA’s 2023 WaterSense report. Worse, most leaks stem from simple, fixable issues—not faulty plumbing systems.
Identify the Leak Source First
Not all drips behave the same. Start by observing where the water escapes:
- Spout drip (water leaks while faucet is off): usually a worn cartridge or ceramic disc
- Handle drip (water seeps around base when turned on): often a failed O-ring or compression washer
- Base drip (moisture pools under handle): typically a loose or corroded valve stem packing nut
Turn off the shutoff valves under the sink first—don’t skip this step. Then open the faucet fully to relieve pressure before disassembly.
Match Parts to Your Faucet Type
Using the wrong replacement part guarantees repeat failure. Most homes have one of four common types—and each requires specific components:
| Faucet Type | Common Brands | Key Replacement Part |
|---|---|---|
| Compression | Delta (pre-1995), Moen (older models) | Neoprene washer + brass seat |
| Cartridge | Moen (1225/1222), American Standard | Full cartridge (e.g., Moen 1225) |
| Ceramic Disc | Delta (RP20100 series), Kohler | Top seal kit (RP4993) + bottom seals |
| Ball-Type | Delta (single-handle pre-2007) | Cam assembly + ball + springs |
Take photos during disassembly. Note orientation—especially for cartridges with directional slots or ceramic discs with alignment tabs. Misaligned parts cause immediate re-leaking.
Use the Right Tools—No Guesswork
A $12 adjustable wrench and needle-nose pliers won’t cut it for precision work. Here’s what actually works:
- Basin wrench: essential for reaching shutoff nuts in tight cabinet corners
- Hex key set (2–5 mm): needed for Moen and Delta retaining screws
- Small flathead screwdriver with magnetized tip: prevents tiny washers from vanishing down the drain
- Plumber’s grease (silicone-based): apply sparingly to O-rings and cartridges—never petroleum jelly
According to the Plumbing-Heating-Cooling Contractors Association’s 2022 field survey, 68% of DIY faucet repairs fail due to improper lubrication or overtightening.
Quick Reference Checklist
Before you start—and before you close the cabinet—run through this verification list:
- Shutoff valves are fully closed and tested (turn faucet on briefly to confirm no flow)
- All old rubber parts removed—no residue left on seats or stems
- New O-rings seated fully in grooves (use magnifier if unsure)
- Cartridge or disc inserted with alignment marks matched exactly
- Handle tightened to manufacturer torque specs (usually 15–20 in-lbs; use a torque screwdriver if possible)
Common Mistakes That Cause Repeat Leaks
Even experienced homeowners repeat these errors:
- Reusing old O-rings: They harden after 6–12 months—even if they look intact
- Overtightening the handle screw: Cracks plastic housings and warps internal seals
- Skipping the seat inspection: A pitted or corroded valve seat ruins new washers in days
- Assuming 'universal' cartridges fit: Moen 1222B ≠ 1222—letter suffixes matter
If your faucet is over 15 years old and leaking at multiple points, consider upgrading to a WaterSense-certified model. They use 30% less water and include lifetime cartridge warranties.
How do I know if my faucet has a ceramic disc or cartridge?
Remove the handle and look inside the valve body. Ceramic disc units have two large, flat, white or gray discs stacked vertically. Cartridges are cylindrical, often plastic or brass, and slide straight in/out. If you see a single metal ball with springs and cams, it’s a ball-type—common in older Delta singles.
Can I replace just the O-ring without removing the whole cartridge?
Yes—but only on select Moen and Delta models with serviceable O-ring access ports (e.g., Moen 1225 with RP21501 O-ring kit). Check your model number against Moen’s repair parts lookup tool first. Most newer cartridges require full replacement.
Why does my faucet leak only when I turn it off?
This indicates delayed seat closure—often caused by mineral buildup on the ceramic disc surface or a warped cartridge. Soak the disc in white vinegar for 15 minutes, then gently wipe with a microfiber cloth. Never scrub with abrasive pads.
Is Teflon tape necessary for faucet repairs?
No—for internal components, never use tape. It can clog small water passages and interfere with seal compression. Reserve Teflon tape only for threaded shutoff valve connections—not faucet bodies.
How long should a properly repaired faucet last?
With quality replacement parts and correct installation, expect 5–7 years of drip-free operation. Cartridge faucets last longer than compression types—up to 10 years—when maintained annually with light grease application and mineral flushes.
What if the leak returns after 48 hours?
First, double-check alignment and torque. If still leaking, inspect the valve body for hairline cracks—common in cheap-branded faucets exposed to hard water. At that point, replacement is more cost-effective than further repair. Consider a mid-tier faucet with lifetime warranty instead of another quick fix.
"Over 40% of faucet leaks we diagnose in service calls stem from misaligned ceramic discs or improperly seated O-rings—not part failure." — Mike R., Master Plumber, PHCC National Certification Board, 2023
Fixing a leaky faucet isn’t about speed—it’s about precision. Take your time, match parts correctly, and treat every seal like it’s holding back a reservoir. You’ll save money, conserve water, and gain real confidence in handling the next household repair. And if you’re tackling a shower valve next, check out our guide on how to rebuild a pressure-balancing valve.