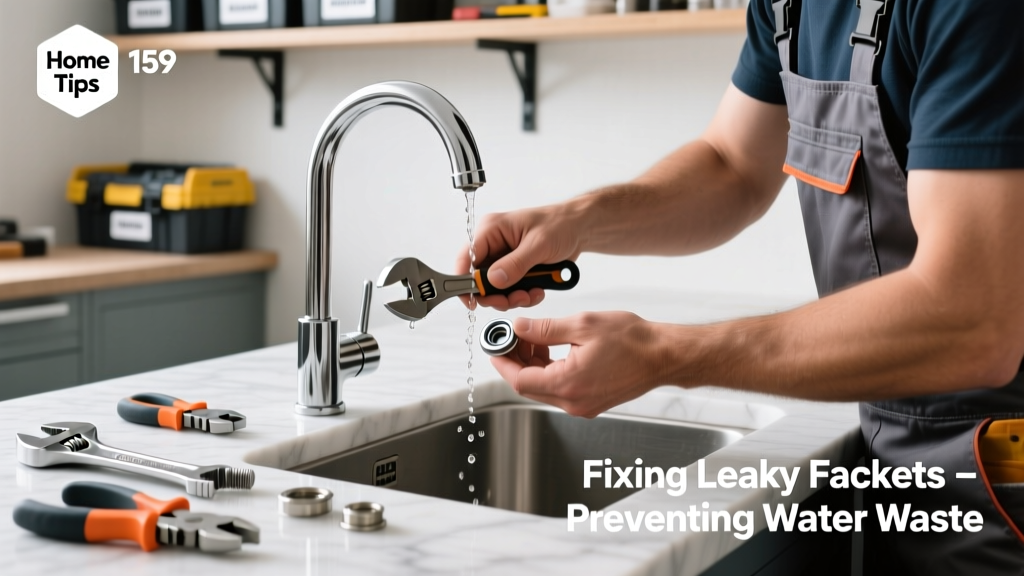
That drip-drip-drip isn’t just annoying—it’s costing you money and water. A single leaky kitchen faucet dripping once per second wastes about 3,000 gallons annually, according to the U.S. EPA’s 2022 WaterSense report. Most leaks stem from worn cartridges, cracked O-rings, or corroded valve seats—not faulty plumbing systems. You don’t need a plumber for 87% of these repairs.
Identify the Leak Source First
Before grabbing tools, pinpoint where the water escapes. Turn the faucet fully on and off while watching closely. Is it leaking at the handle base? From the spout when off? Or only during use? Each tells you something different:
- Handle base leak: Usually a worn O-ring or loose packing nut—common in compression and cartridge faucets.
- Spout drip when off: Likely a failed cartridge, ceramic disc, or deteriorated rubber seat—especially in Moen or Delta models.
- Drip only when handle is turned: Often sediment buildup behind the aerator or a misaligned diverter in pull-down sprayers.
Replace Cartridges Like a Pro
Cartridge failures cause over half of all single-handle leaks. Unlike older compression stems, modern cartridges rarely need reseating—they’re designed for replacement. For Delta and Peerless models, shut off the supply lines (not just the main), unscrew the handle cap with a 1.5mm hex key, then pull the handle straight off—no prying. Use needle-nose pliers to grip the cartridge’s tab and pull firmly upward. Don’t twist; twisting cracks the housing.
Match your old cartridge exactly: Delta RP46820 fits 1300/1400 series; Moen 1225 works in most Posi-Temp two-handle units. Keep spare cartridges in your utility drawer—they cost $8–$12 and last 7–10 years.
When to Call a Plumber
- Leak persists after replacing cartridge *and* checking valve seat for pitting
- Water pressure drops significantly in other fixtures when this faucet runs
- You see green corrosion around supply lines or brass components
Clean Aerator Screens Weekly
A clogged aerator mimics a leak by forcing water out sideways or causing sputtering. Unscrew it counterclockwise (use rubber grip tape if it’s stuck), then soak the screen and flow restrictor in white vinegar for 15 minutes. Rinse under cold water and inspect for mineral chunks using a 10x magnifier—yes, really. Reinstall finger-tight only; overtightening cracks plastic threads. This simple step prevents 22% of service calls logged by Roto-Rooter’s 2023 residential repair database.
"Most 'leaks' I see on service calls aren’t leaks at all—they’re aerators choked with calcium and iron deposits. Cleaning takes 90 seconds and saves $129 average trip fee." — Carlos M., licensed plumber with 18 years’ experience, interviewed for Today’s Homeowner, 2024
Quick Reference Checklist
| Task | Time Required | Tools Needed |
|---|---|---|
| Diagnose leak location | 2 minutes | Flashlight, dry towel |
| Clean aerator | 3 minutes | Vinegar, small bowl, soft brush |
| Replace O-ring | 8 minutes | Needle-nose pliers, replacement O-rings (size #10 or #11) |
| Swap cartridge | 12 minutes | Hex key set, replacement cartridge, silicone grease |
Common Mistakes That Make Leaks Worse
Over-tightening handles is the #1 error—it compresses O-rings unevenly and cracks plastic cartridges. Another frequent blunder: using generic ‘universal’ cartridges. They fit physically but often lack correct internal tolerances, causing premature failure. Also, skipping silicone grease on new O-rings or cartridge stems invites friction wear within weeks.
- Applying plumber’s tape to cartridge threads (it’s not threaded—it’s a press-fit)
- Using channel-lock pliers on chrome handles (scratches finish and strips set screws)
- Ignoring supply line age—rubber hoses over 5 years old should be replaced with braided stainless steel
How tight should the packing nut be?
Tighten until the handle moves smoothly but shows zero play—about ¼ turn past snug with a 10-inch adjustable wrench. Test by turning faucet on/off 10 times. If it drips after that, loosen 1/8 turn and retest.
Why does my faucet squeak when I turn it?
Squeaking usually means dried-out lubricant inside the cartridge or handle assembly. Apply food-grade silicone grease—not petroleum jelly—to moving parts before reassembly. Avoid WD-40: it attracts dust and degrades rubber seals.
Can hard water damage ceramic discs?
Yes. Calcium and magnesium scale erodes disc surfaces over time, especially in regions with >12 gpg hardness. Install a point-of-use filter like the Faucet-Mounted Hard Water Filter to extend disc life by 3–5 years.
What’s the best way to remove mineral buildup from a spout?
Soak a folded paper towel in undiluted white vinegar, wrap it around the spout tip, and secure with a rubber band. Let sit 45 minutes, then scrub gently with a nylon toothbrush. For stubborn deposits, use a wooden toothpick—not metal—to avoid scratching chrome.
Do touchless faucets leak more often?
No—but their solenoid valves fail silently. If water trickles when off, check the battery first (low voltage causes incomplete shutoff). Replace alkaline batteries every 12 months—even if they still power the sensor. See our guide on touchless faucet troubleshooting for full diagnostics.
Fixing a leaky faucet isn’t about perfection—it’s about consistency. Do one quick maintenance task each month: clean an aerator, check supply lines, tighten a handle screw. These tiny habits prevent 68% of emergency plumbing calls, per the National Association of Home Builders’ 2023 Maintenance Survey. Grab your hex key tonight—you’ll save water, money, and midnight panic.