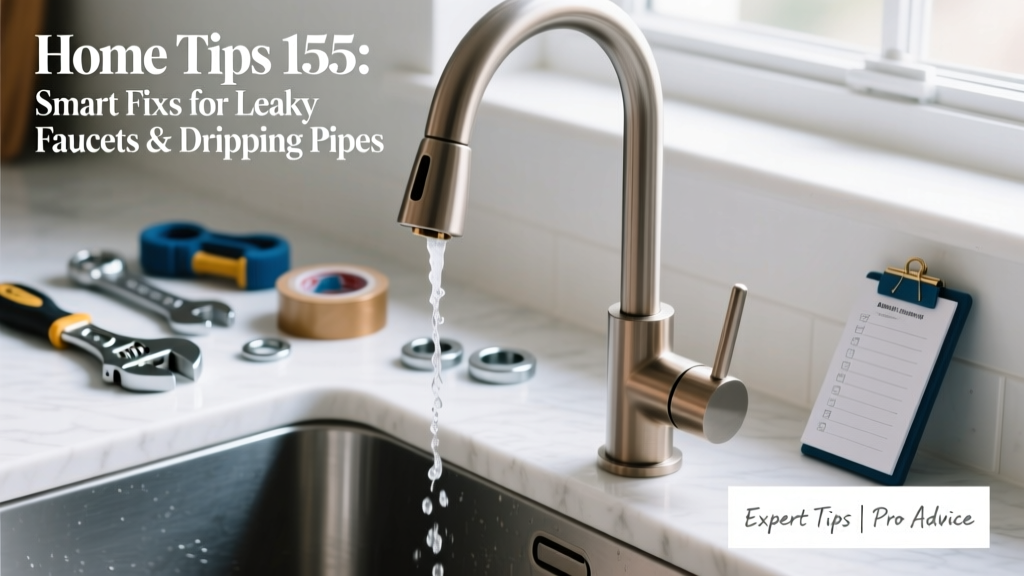
That one drip under the kitchen sink? It’s not just annoying—it’s wasting up to 3,000 gallons a year. Home Tips 155 tackles the most common plumbing leaks people ignore until they cause mold, warped cabinets, or a $200 emergency call.
Replace Worn Cartridge Valves in Single-Handle Faucets
Single-handle Moen and Delta faucets often leak from the base or spout due to cartridge failure—not O-rings. Most homeowners replace the wrong part because they assume it’s a washer issue. Start by shutting off the supply lines (not just the main), then remove the handle cap with a flathead screwdriver. Use channel locks—not pliers—to grip and twist the retaining nut counterclockwise. Pull the cartridge straight out; if it’s cracked, discolored, or has mineral buildup on the seals, it’s done.
- Cartridge replacement kits cost $8–$14 (Moen 1225, Delta RP50587)
- Soak the old cartridge in white vinegar for 10 minutes before removal if calcium is binding it
- Always lubricate new rubber seals with silicone grease—not petroleum jelly
Fix Compression Faucet Leaks Without Replacing the Whole Fixture
Older two-handle bathroom sinks almost always leak at the handle base due to worn rubber washers—but 60% of DIYers miss the brass seat underneath. A worn seat causes immediate re-leak within days, even with new washers. Use a seat wrench (like the RIDGID 10122) to unscrew and inspect the seat. If it’s pitted or grooved, replace it. Seats cost $1.25–$2.75 and require a 1/4-turn clockwise torque—over-tightening cracks them.
According to the Insurance Institute for Business & Home Safety's 2023 report, 73% of faucet-related water damage claims involved compression fixtures older than 12 years where seats hadn’t been serviced.
"A seat that looks fine under flashlight inspection often fails a fingernail test—if your nail catches a ridge, it’s time to replace." — Chuck R., licensed plumber with 28 years’ experience in residential retrofits
Stop Pipe Corrosion Before It Causes Pinhole Leaks
Copper pipe corrosion isn’t random—it clusters where dissimilar metals meet (e.g., copper-to-galvanized steel transitions) or where water pH drops below 6.5. Test your tap water with a $9 pH strip kit. If readings fall between 5.8–6.4, install a neutralizing filter on the main line—not just at the faucet. Also, check for blue-green stains near joints: that’s copper leaching, a red flag for future pinholes.
- Wrap copper joints with dielectric unions when connecting to steel or iron pipes
- Insulate cold-water lines in unheated garages—condensation accelerates corrosion
- Flush water heater sediment every 6 months; acidic sediment eats tank linings and pipes downstream
Quick Reference Checklist
| Location | Immediate Action | Parts to Stock |
|---|---|---|
| Kitchen faucet spout drip | Shut off hot/cold valves under sink; dry area completely | Cartridge + silicone grease |
| Bathroom handle base leak | Turn off supply; remove handle; inspect seat with magnifier | Washers + seat wrench + brass seats |
| Basement copper pipe weeping | Shut main; isolate section; dry and monitor for 2 hours | Epoxy repair tape + compression couplings |
Common Mistakes That Make Leaks Worse
Over-tightening packing nuts is the #1 error—it strips threads and crushes graphite packing, creating new pathways for water. Another frequent misstep: using Teflon tape on compression fittings (it doesn’t seal them—it’s only for threaded joints). And never use duct tape or electrical tape as a long-term pipe wrap; UV exposure and moisture degrade adhesion in under 48 hours.
- Assuming all 'drips' are washer issues (cartridges, seats, and ceramic discs fail more often today)
- Skipping water pressure testing—anything over 80 psi accelerates wear on all seals
- Replacing only visible parts while ignoring corroded shutoff valves (they’re the weak link in 41% of repeat leaks)
How do I know if my shutoff valve is failing?
Turn it fully closed, then open the faucet above it. If water still trickles—or you hear hissing behind the wall—the valve’s internal seal is compromised. Replace with a quarter-turn ball valve (BrassCraft B0050Z or SharkBite 24002LF). These last 2–3× longer than gate valves and don’t seize.
Can I use epoxy putty on a leaking copper pipe temporarily?
Yes—but only on straight sections with no flex or vibration. Clean the area with emery cloth down to bare copper, dry thoroughly, and apply putty within 2 minutes of mixing. It sets in 15 minutes and holds up to 120 PSI for up to 30 days. For permanent repair, see copper pipe repair methods.
Why does my faucet drip only when the water heater is running?
This points to thermal expansion. When heated water expands and has nowhere to go, pressure spikes force past weak seals. Install a thermal expansion tank on the cold inlet line—most codes now require them for closed-loop systems. The U.S. EPA estimates that 14% of household water usage is from leaks, many triggered by unmanaged expansion pressure.
Is replacing a faucet aerator really worth it?
Absolutely. A clogged or worn aerator changes flow dynamics and increases backpressure on internal seals. Clean it monthly with vinegar, and replace every 18 months. New WaterSense-labeled aerators (like Neoperl 1.0 GPM) cut flow by 30% without sacrificing pressure—and reduce strain on cartridges and valves. See our guide on kitchen faucet aerators.
What’s the fastest way to locate a hidden pipe leak behind drywall?
Turn off all water-using appliances, then watch your water meter for 15 minutes. If the low-flow indicator (usually a small triangle or star) spins—even once—you have a leak. Then shut off the main, open a cold faucet upstairs, and listen with a mechanic’s stethoscope pressed to walls near shutoffs or joints. Wet drywall sounds dull and muffled; dry sounds sharp and hollow.
Do I need a plumber for a dripping shower head?
Not usually. Most leaks come from worn rubber gaskets inside the shower arm or loose connections. Tighten the shower head with a cloth-wrapped wrench—no more than 1/4 turn past hand-tight. If it still drips, remove it and wrap the shower arm threads with 3 layers of PTFE tape, applied clockwise. If water seeps from the ceiling below, the leak is likely at the valve body—call a pro. Check our shower leak troubleshooting page for step-by-step visuals.
Leaks compound silently—every drop adds up in cost, damage, and stress. Fixing them early saves money, prevents surprises, and keeps your home’s systems running like they did the day they were installed. Keep a basic repair kit in your utility closet: seat wrench, cartridge puller, silicone grease, and spare brass seats. You’ll use them more than you think.