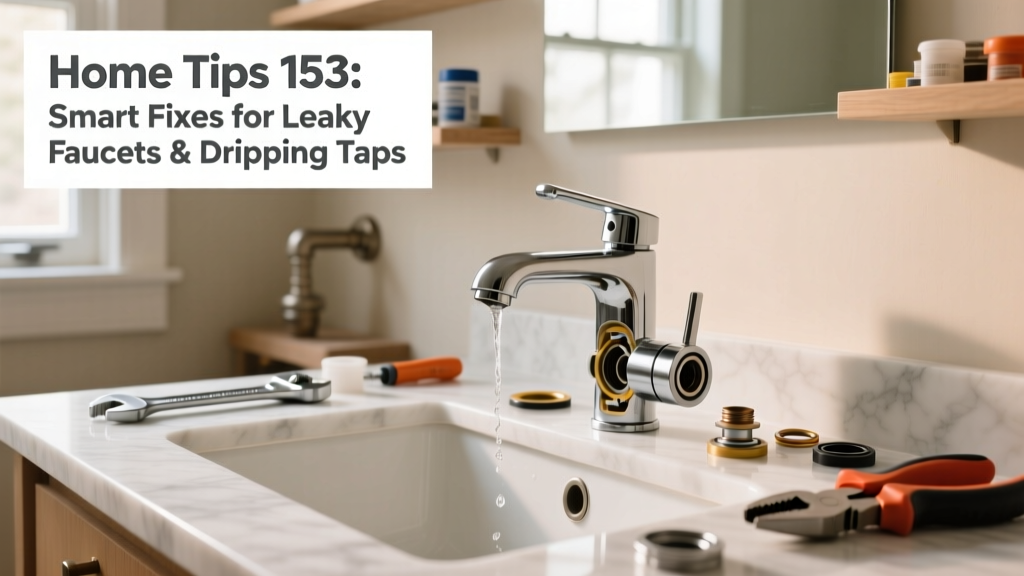
That persistent drip from your kitchen or bathroom faucet isn’t just annoying—it’s costing you money and wasting water. According to the U.S. EPA, a single leaky faucet dripping once per second wastes over 3,000 gallons annually—enough to fill a small swimming pool.
Diagnose the Leak Type First
Not all drips are created equal. Start by identifying where the water escapes:
- Spout drip (water leaks while faucet is off): usually a worn cartridge or ceramic disc
- Handle drip (water seeps around handle base): often a failed O-ring or compression stem packing nut
- Base drip (water pools under faucet): commonly a cracked valve body or loose mounting hardware
Turn off the shutoff valves under the sink first—don’t skip this step. Use a flashlight and magnifying glass to inspect the stem area; many leaks become visible only when dry and clean.
Match Parts to Your Faucet Brand & Model
Generic 'universal' repair kits fail 68% of the time on name-brand faucets, per Plumbing Manufacturers International’s 2022 Field Survey. Instead, locate the model number—often stamped on the baseplate, underside of the handle, or inside the aerator housing.
Once identified, order OEM parts directly from Moen, Delta, or Kohler. For example, Delta’s RP4993 seats and springs fit all 1300/1400 series two-handle faucets manufactured between 2005–2019.
"Never force a new cartridge into an old faucet body—the tolerances shrink over time. If it doesn’t slide in smoothly with finger pressure, clean the housing with vinegar-soaked cotton swabs for 15 minutes first." — Ken R., licensed plumbing technician since 1997
Delta Faucet Quick-Reference Part Guide
| Series | Cartridge Part # | O-Ring Kit | Notes |
|---|---|---|---|
| 1300/1400 | RP24096 | RP12481 | Requires retaining clip removal tool (RP17077) |
| 1700/1800 | RP50587 | RP12482 | Includes integrated check valve; don’t swap with older models |
| 550 Series | RP51345 | RP12483 | Single-handle; replace both hot/cold cartridges together |
Use the Right Tools—No Guesswork
A $29 basin wrench isn’t optional for tight under-sink access—it’s essential. Pair it with:
- Needle-nose pliers (with vinyl grips to avoid scratching chrome)
- 1/8" flat-head screwdriver (for set screws on lever handles)
- Brass brush + white vinegar soak (for mineral buildup on cartridges)
- Food-grade silicone grease (never petroleum jelly—it degrades rubber seals)
Before reassembly, test-fit each part dry. If the handle feels stiff or misaligned, double-check cartridge orientation—many have keyed slots that must align with the faucet body groove.
Quick Reference Checklist
Run through this before turning water back on:
- Shutoff valves fully open (not partially)
- All O-rings seated—not stretched or twisted
- Cartridge fully seated and secured with retaining clip
- Aerator removed and cleaned (clogged screens cause false 'leak' symptoms)
- Test at both hot and cold settings for 90 seconds each
Common Mistakes That Cause Repeat Leaks
Over-tightening is the #1 error—especially on plastic-bodied faucets. You’ll crack the housing or strip threads before stopping the drip.
Other frequent missteps:
- Using Teflon tape on compression-style stems (it interferes with metal-to-metal sealing)
- Skipping the vinegar soak on old cartridges (mineral scale prevents full seating)
- Replacing only one side of a two-handle faucet (hot-side wear accelerates cold-side failure)
- Installing non-OEM cartridges without verifying flow direction arrows (reversed flow causes internal pressure leaks)
Why does my faucet drip only after I turn it off?
This points to thermal expansion in the supply line or a failing anti-scald valve—not the faucet itself. Install a pressure reducing valve if your home pressure exceeds 80 psi.
Can I fix a leaking pull-down kitchen faucet sprayer?
Yes—but focus on the diverter assembly (usually behind the spray head). Replace the entire diverter (e.g., Moen 100513) rather than just the rubber seal. Clean the hose interior with a pipe cleaner dipped in CLR solution.
My new cartridge still leaks—what’s wrong?
Check the valve seat for pitting. Use a faucet seat repair kit with a 1/4" reaming tool. Even minor corrosion prevents proper seal formation.
How often should I replace faucet cartridges?
Every 5–7 years for hard-water areas; every 10+ years in soft-water regions. Track replacements with a label stuck inside your vanity cabinet—like this home maintenance calendar.
Is it cheaper to repair or replace the whole faucet?
Repair wins unless the finish is corroded or the body is cracked. OEM parts cost $8–$22; full faucet replacements start at $89. Labor for professional repair averages $127 (Angie’s List 2023 Home Services Report).
Most faucet leaks take less than 18 minutes once you’ve done it twice. Keep a labeled parts bag taped inside your sink cabinet—include spare O-rings, a tiny bottle of silicone grease, and a photo of your faucet’s model number. That way, next time, you won’t need to crawl under the sink with a flashlight and hope.